How Grid Lines Change Your Photos — Turning Them On in iPhone/Android
Published Jun 27, 2026

When a photo feels “somehow tilted” or “the subject’s stuck in the middle and looks flat,” the first thing to try is the grid lines. These guides split the screen into thirds both ways, making leveling and subject placement far easier.
Turning it on (iPhone)
Open the Settings app → Camera → turn on Grid. Now when you open the camera, the 3×3 lines appear on screen.
Turning it on (Android)
Names vary by model, but open the camera app and turn on “Grid lines” or “Grid” from settings (the gear icon). On a Pixel’s stock camera, you can choose 3×3 under the grid type setting.
How to use the grid
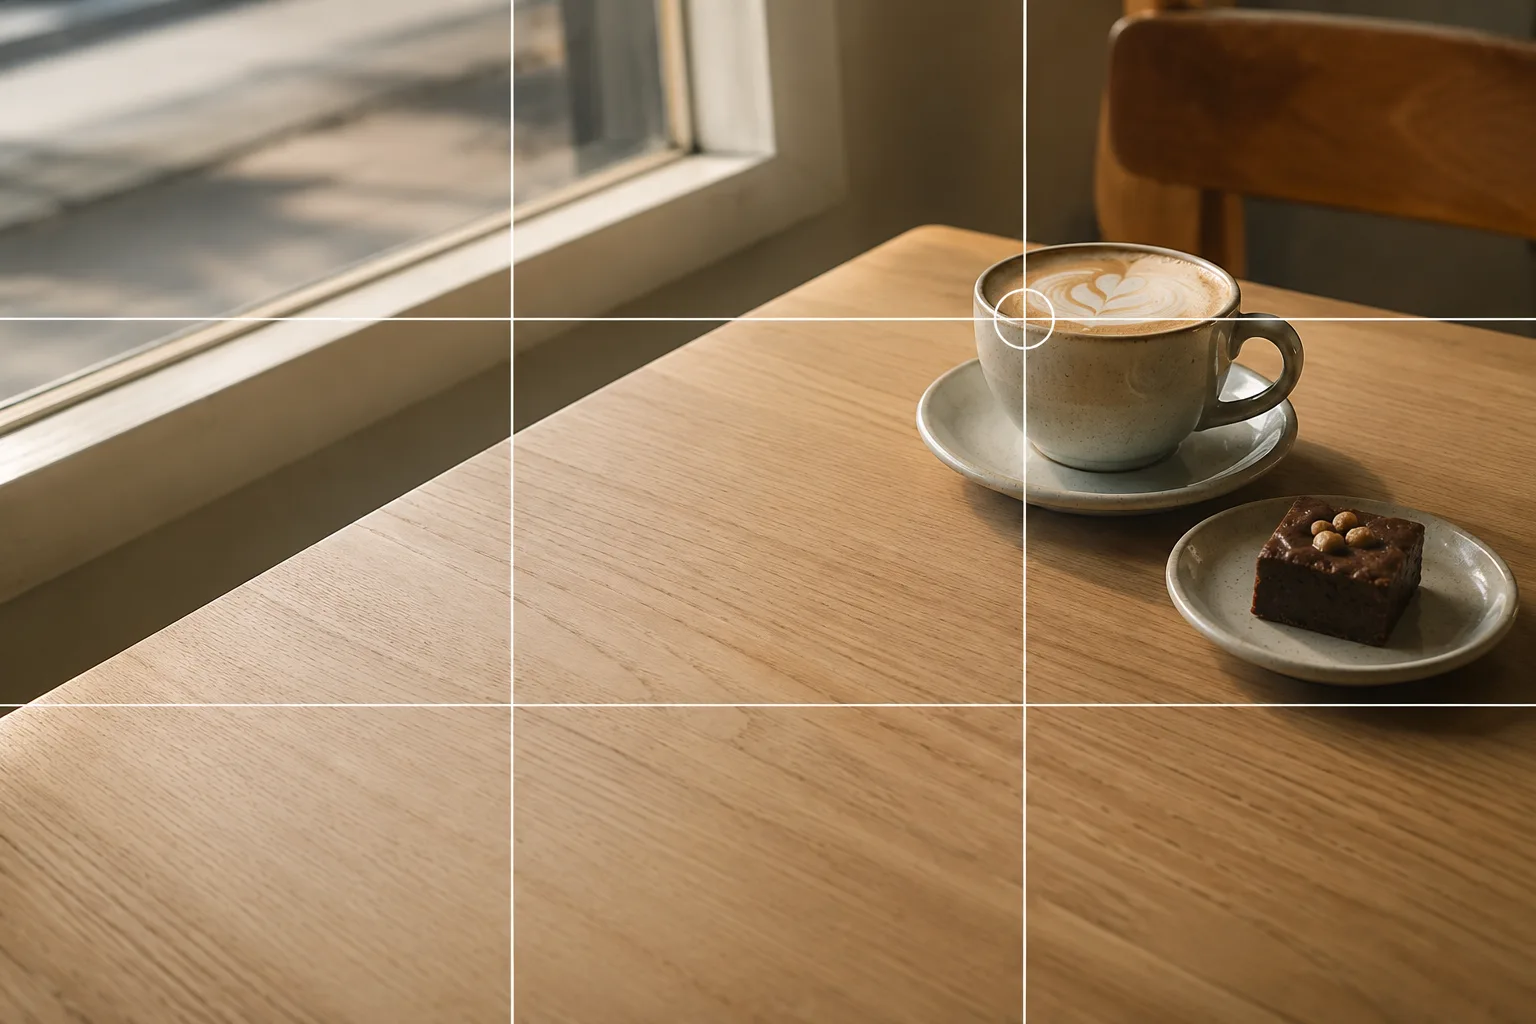
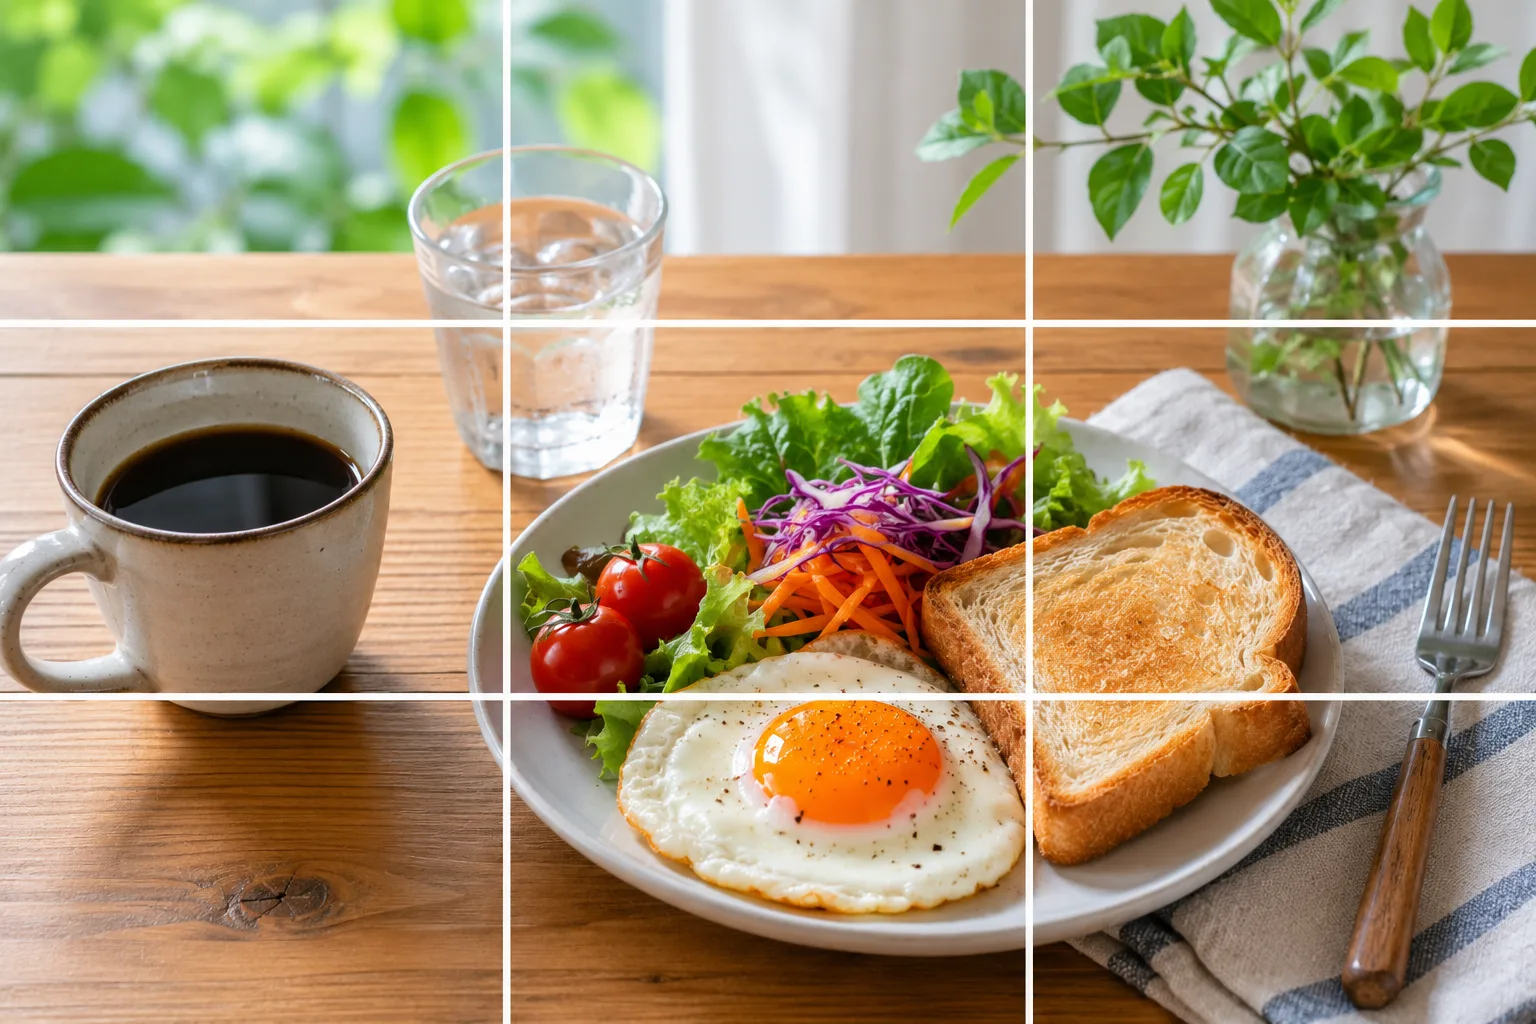
The four points where the lines cross are spots the eye is naturally drawn to. Put your subject on one of them, and the open space works better than centering — the photo steadies. This is the idea behind the rule of thirds. Line a horizontal up with your subject’s level (a table edge or the horizon) to prevent tilt (→ Rule of thirds).
Start with just this
Turn on Grid in settings, and level the shot with a horizontal line when you shoot. Once you’re comfortable, put your subject on an intersection. Those two steps sharply cut down on tilt and “where do I put the subject” hesitation.
FAQ
Do grid lines appear in the photo?
No. Grid lines are guides shown on screen while you shoot. They aren't saved into the photo.
How should I use the grid?
Place your subject on one of the four points where the lines cross, and use a horizontal line to level the shot. That alone steadies your photos.
Related reading
Compositions used

Related subject guides

How to Make Food Look Delicious — Why It Looks Bland and How to Fix It

Composing Stylish Café Photos — Why They Don't Pop and How to Fix It
How to Keep Photos Level — Why They Tilt and How to Fix It

Shooting Landscapes With Depth — Why They Look Flat and How to Level

Composing Marketplace Listing Photos That Sell — Clearing the Background