What Is the Rule of Thirds? The Go-To Composition for Phone Photos
Published Jun 27, 2026
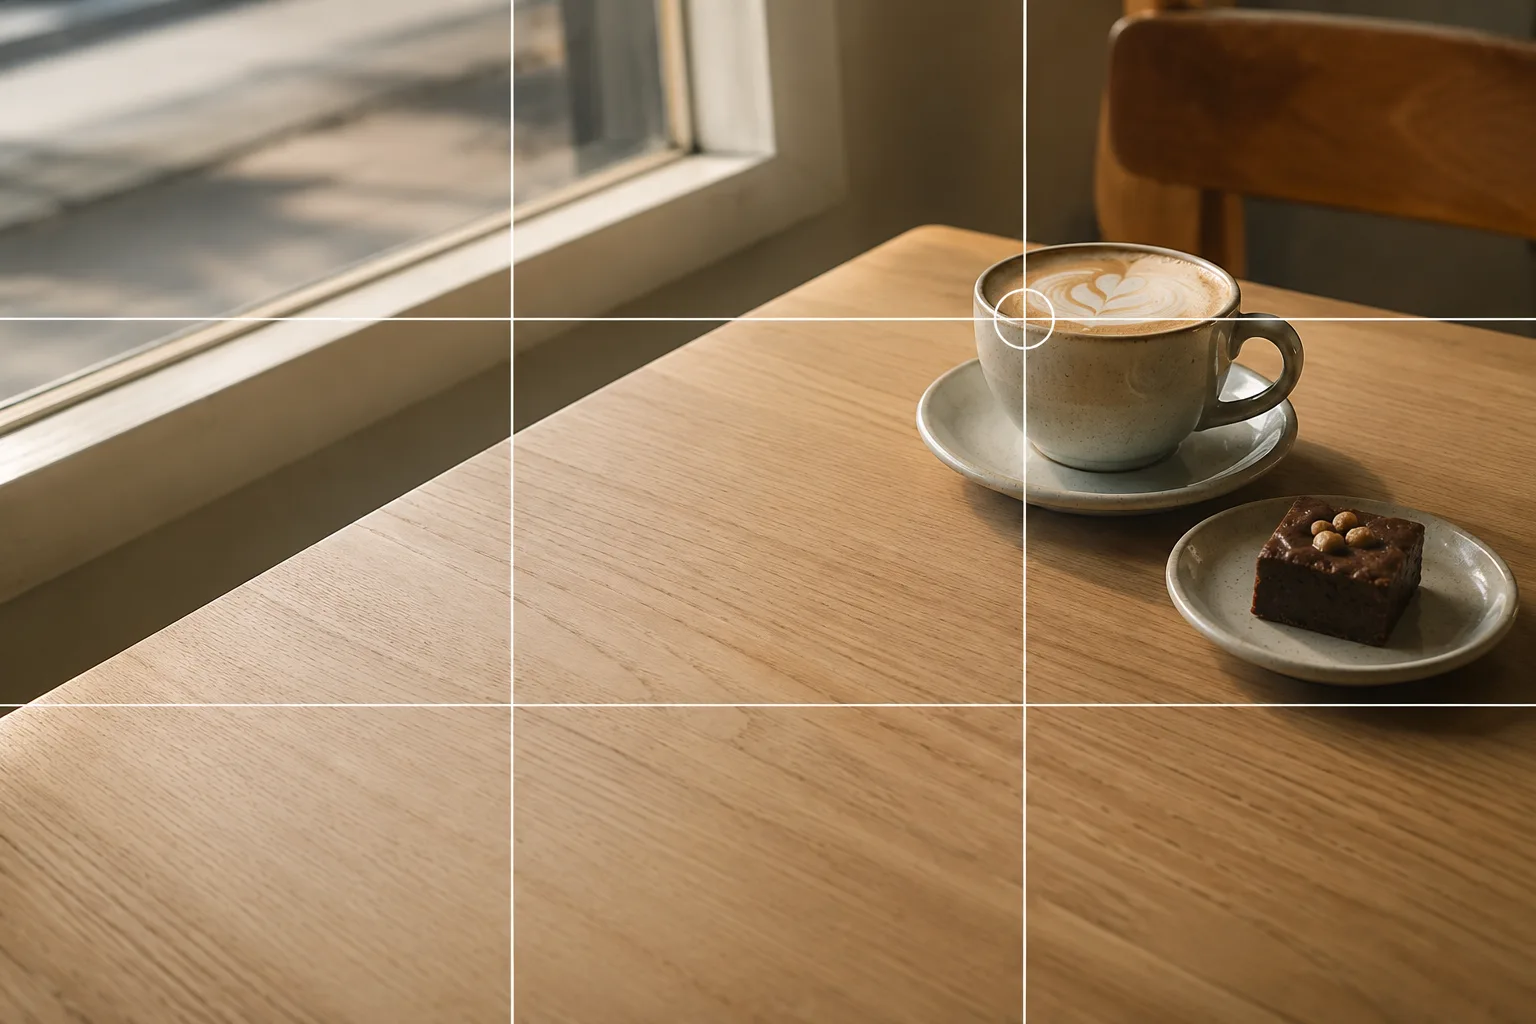
Want to try this composition live on your camera?
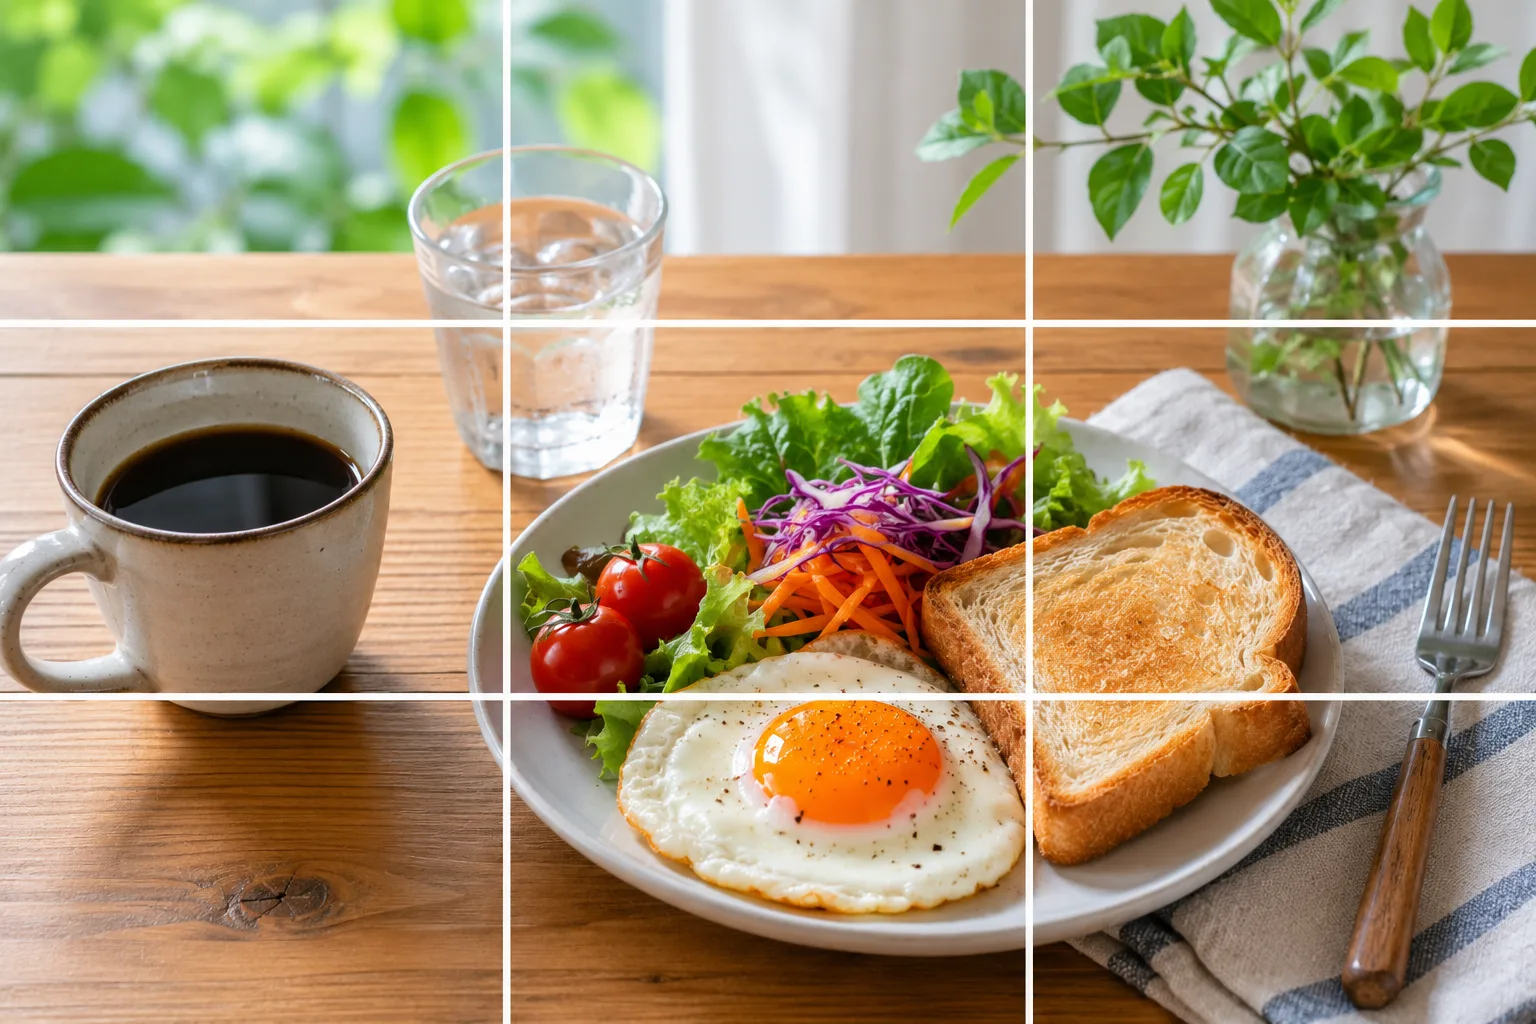
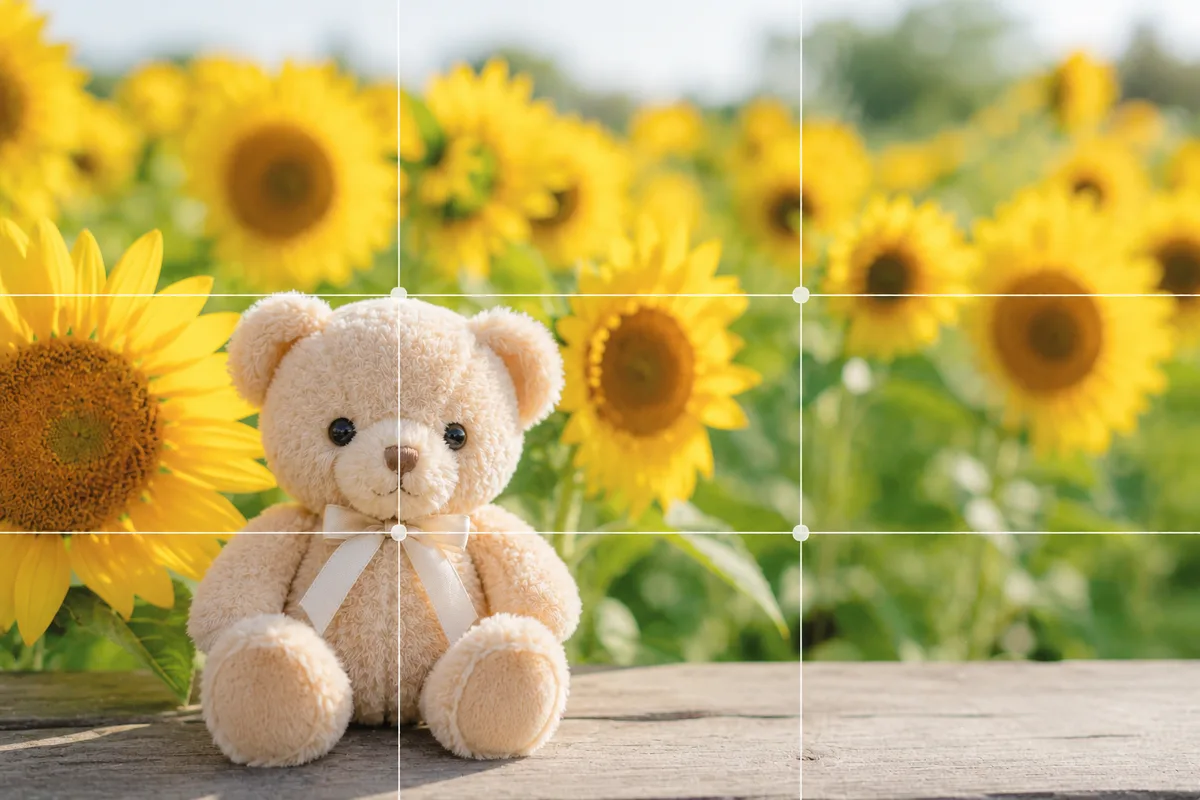
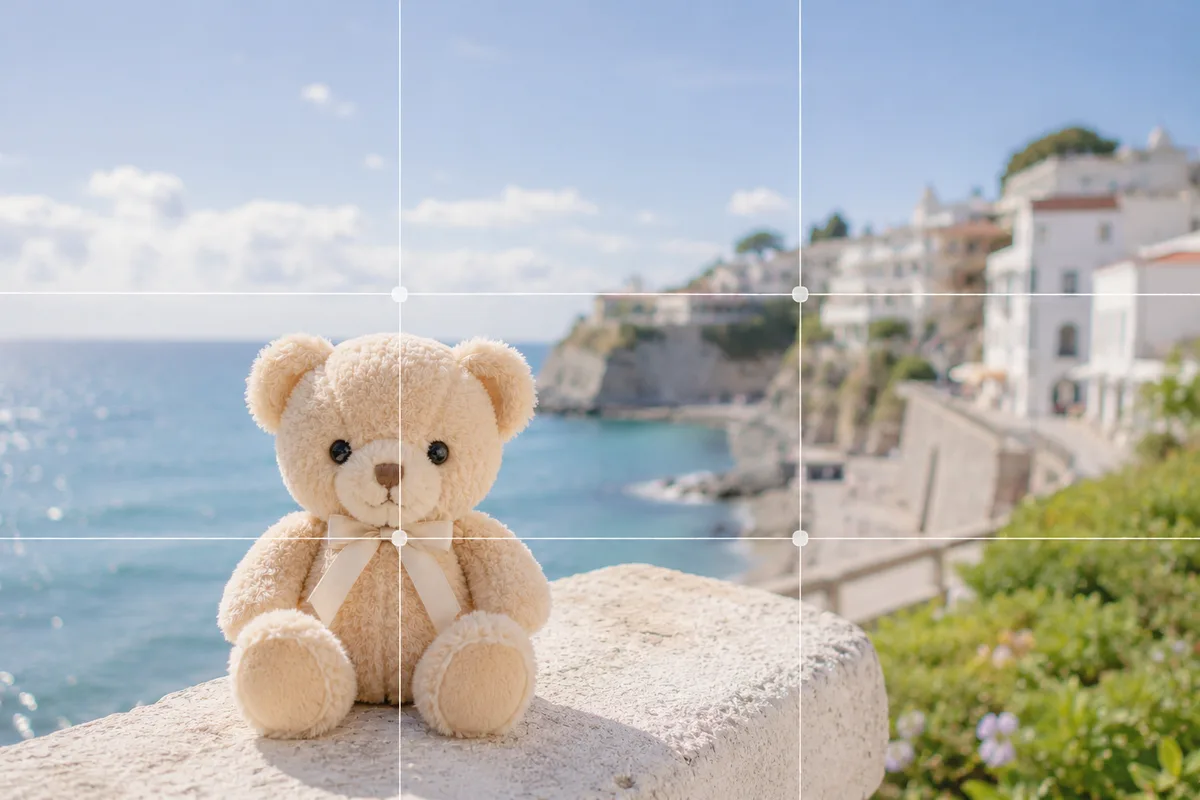
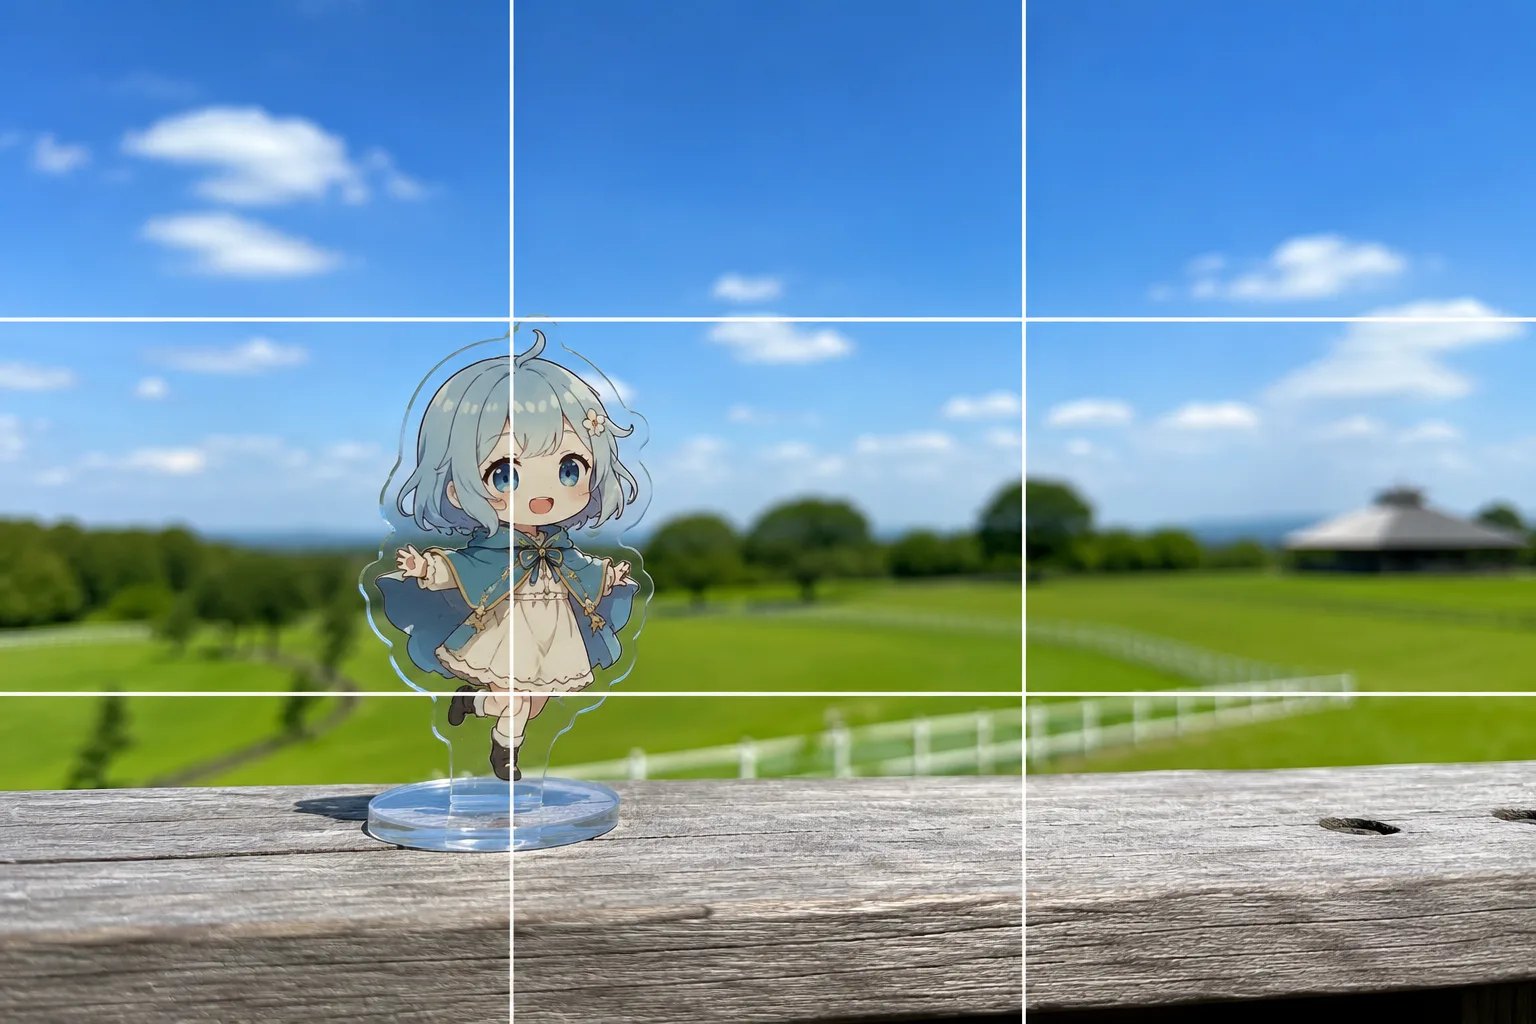
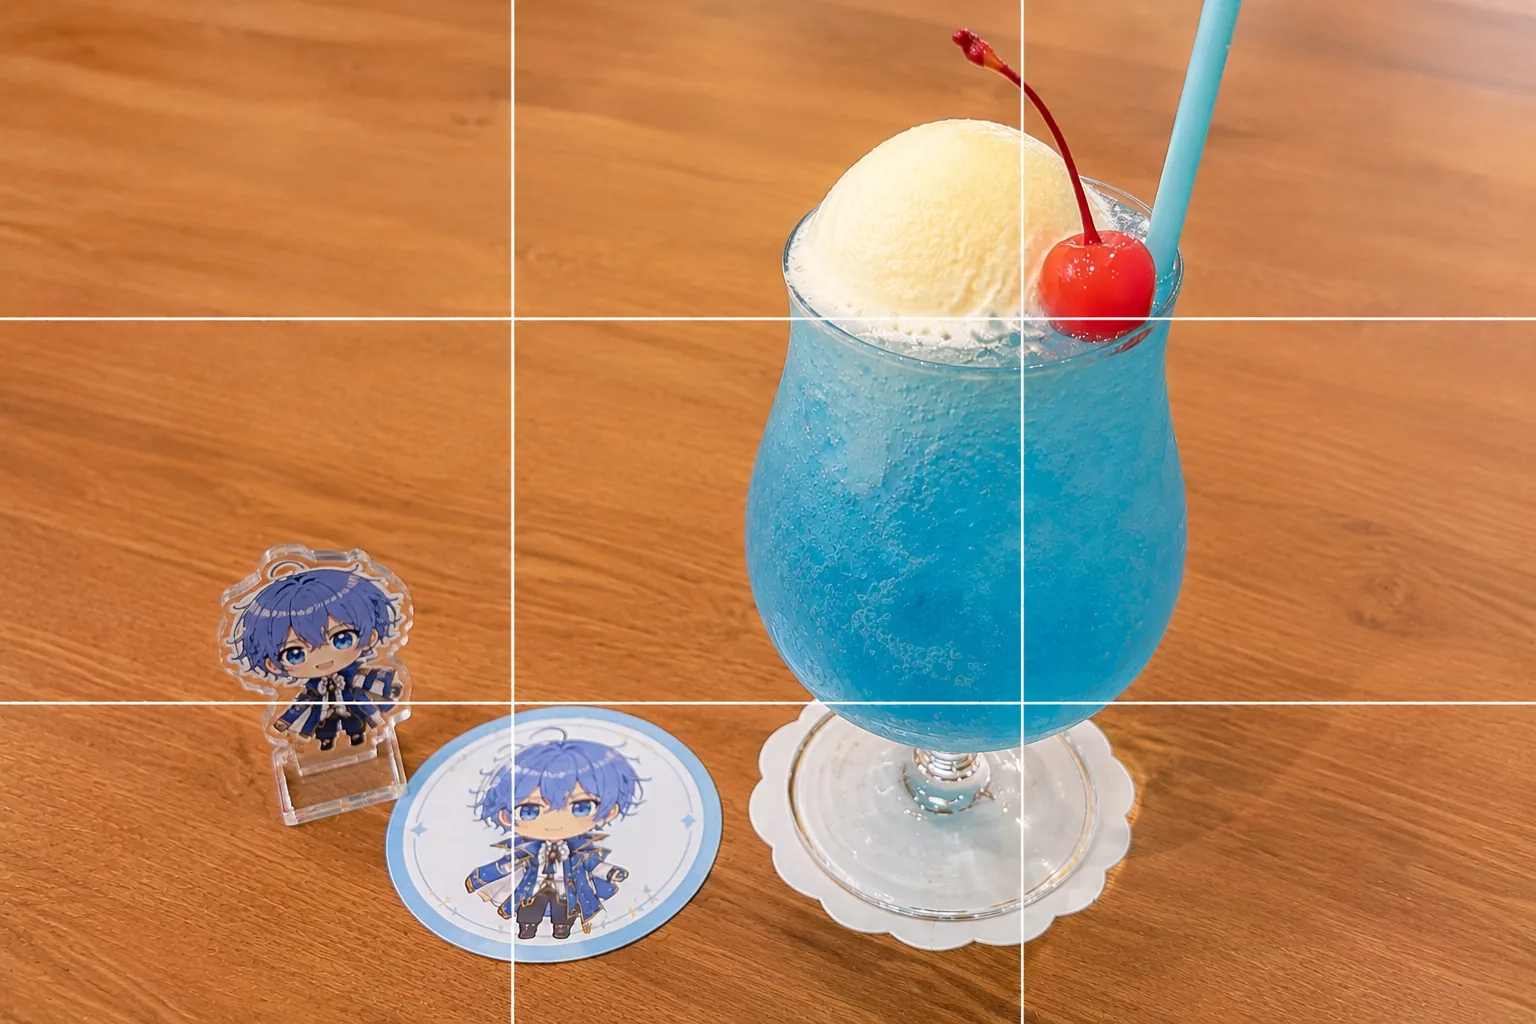
Try with this frame →The rule of thirds is the most widely used composition in photography. The idea: imagine lines dividing the frame into thirds both ways, then place your subject on one of the four points where those lines cross.
Turn on the grid in your phone’s stock camera and you get exactly this 3×3 set of lines. In other words, you can start using it today with no extra tools.
Why the intersections work
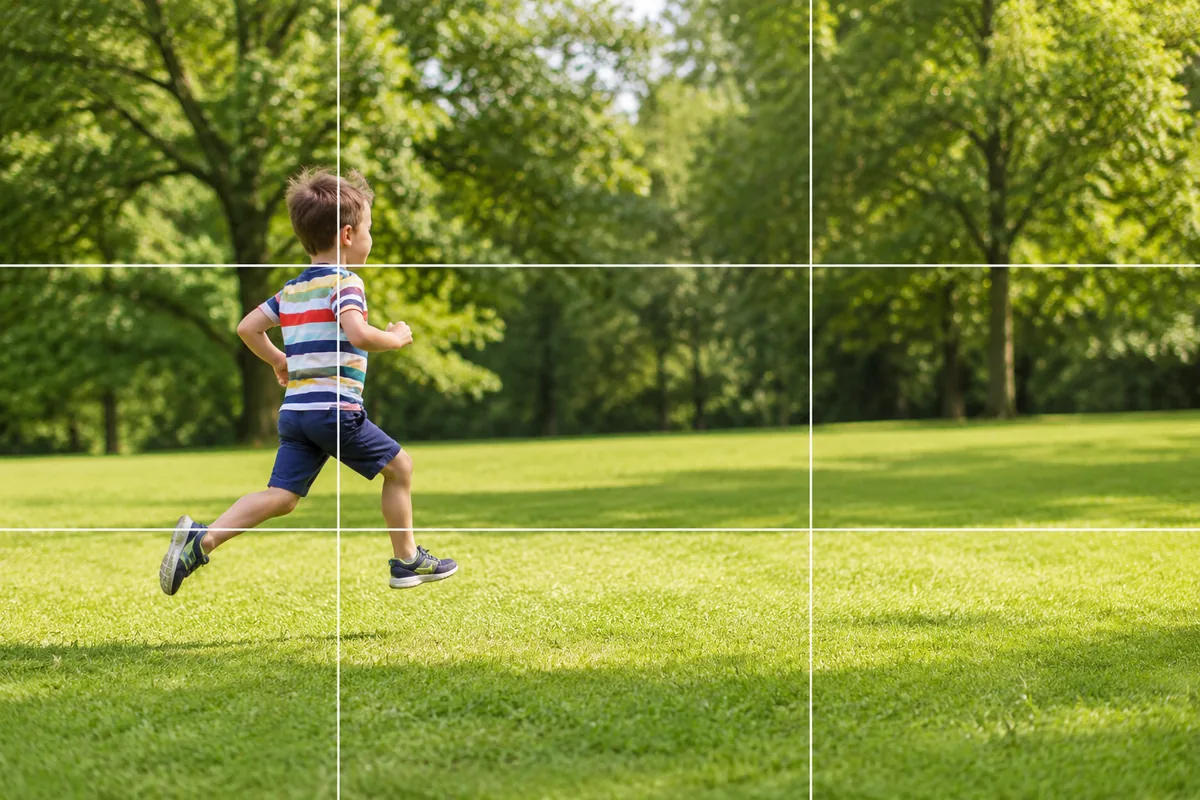
Putting your subject dead center reads strong and direct, but it can also feel static and overly explanatory. Shift it slightly onto an intersection and open space appears on the other side, so the eye flows naturally toward the subject and the whole shot looks more assured. When you do want the subject to hit hard, a center composition lands powerfully too (→ Center composition).
How to use it
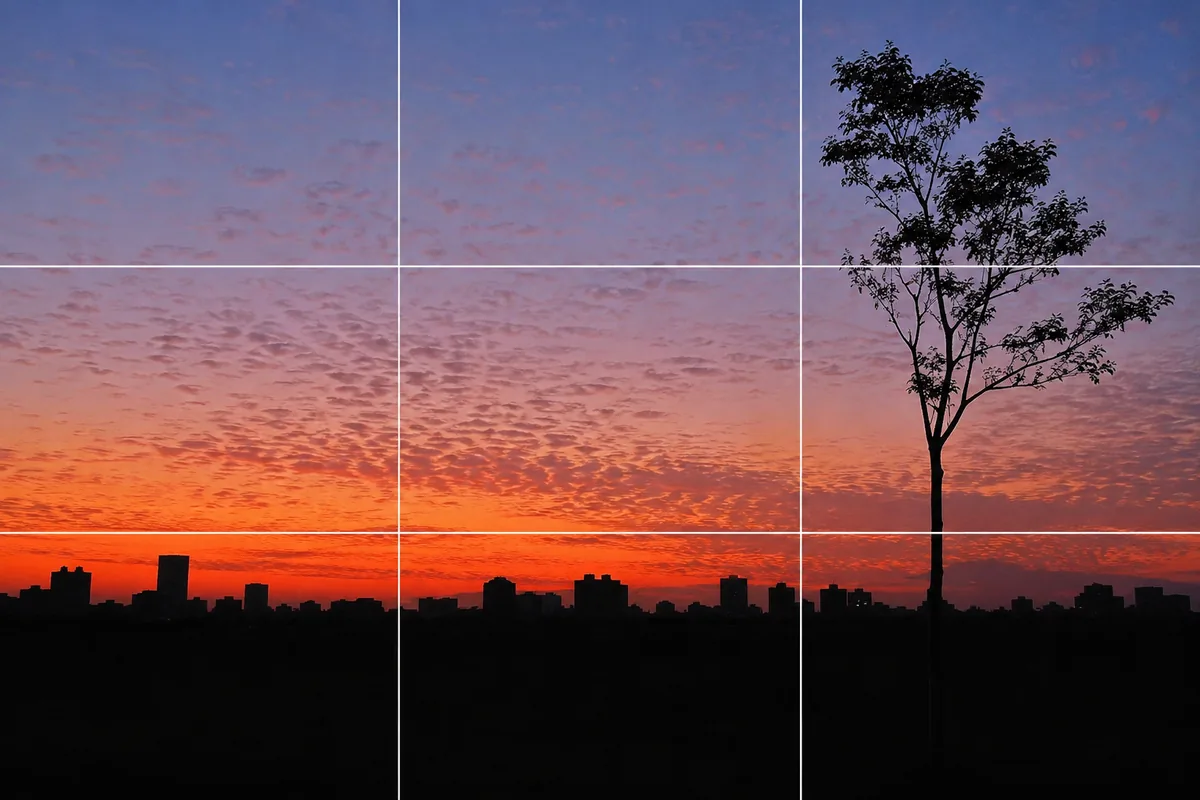
First, turn on the grid lines. Next, line your subject up with one of the four intersections. Match a horizontal grid line to anything that should be level (a horizon, a table edge) to avoid tilt. For landscapes, drop the horizon to the lower line when you want more sky, or raise it to the upper line when you want more ground.
A note of caution
The rule of thirds isn’t a cure-all. When you want a subject to feel bold, or to bring out the beauty of symmetry, a center composition can suit better. Start with the rule of thirds as your default and switch as the scene calls for it.
There’s also a more refined idea called the “golden ratio” that takes the rule of thirds a step further. Pros keep it in mind, but in practice the rule of thirds is plenty to start (→ Golden ratio).
Start with just this
Turn on the grid, line your subject up with one of the four intersections, and keep a horizontal line level. Remember “when in doubt, rule of thirds first,” and you’ll get a steady, balanced shot of almost anything.
FAQ
What is the rule of thirds?
The rule of thirds places your subject on one of four points where lines dividing the frame into thirds cross. Turn on the grid in your phone's stock camera and you get exactly this 3×3 layout, so you can start using it right away.
Why does the rule of thirds look good?
Placing the subject dead center reads strong but can feel static and overly explanatory. Shift it onto an intersection instead, and open space appears on the other side — the eye flows naturally to the subject and the shot looks more assured.
How do I use the rule of thirds?
Turn on your grid lines, then line the subject up with one of the four intersections. Match a horizontal line to anything that should be level, like a horizon or table edge, to avoid tilt.
What kinds of photos is the rule of thirds good for?
Almost any subject — food, landscapes, people, products. When you're not sure where to put something, reach for the rule of thirds first and your shots will stay reliably balanced.
Do I always have to put the subject exactly on an intersection?
No, it's only a guideline. When you want to emphasize the subject head-on, a center composition sometimes works better.
I placed the subject on an intersection but it still looks unsteady — why?
Often it's the horizontal that's slightly off. Try lining a grid line up with a table edge or the horizon. If it's still off, check whether the open space ended up on the wrong side of your subject's gaze or motion.
This composition across subjects
Related reading
Compositions used
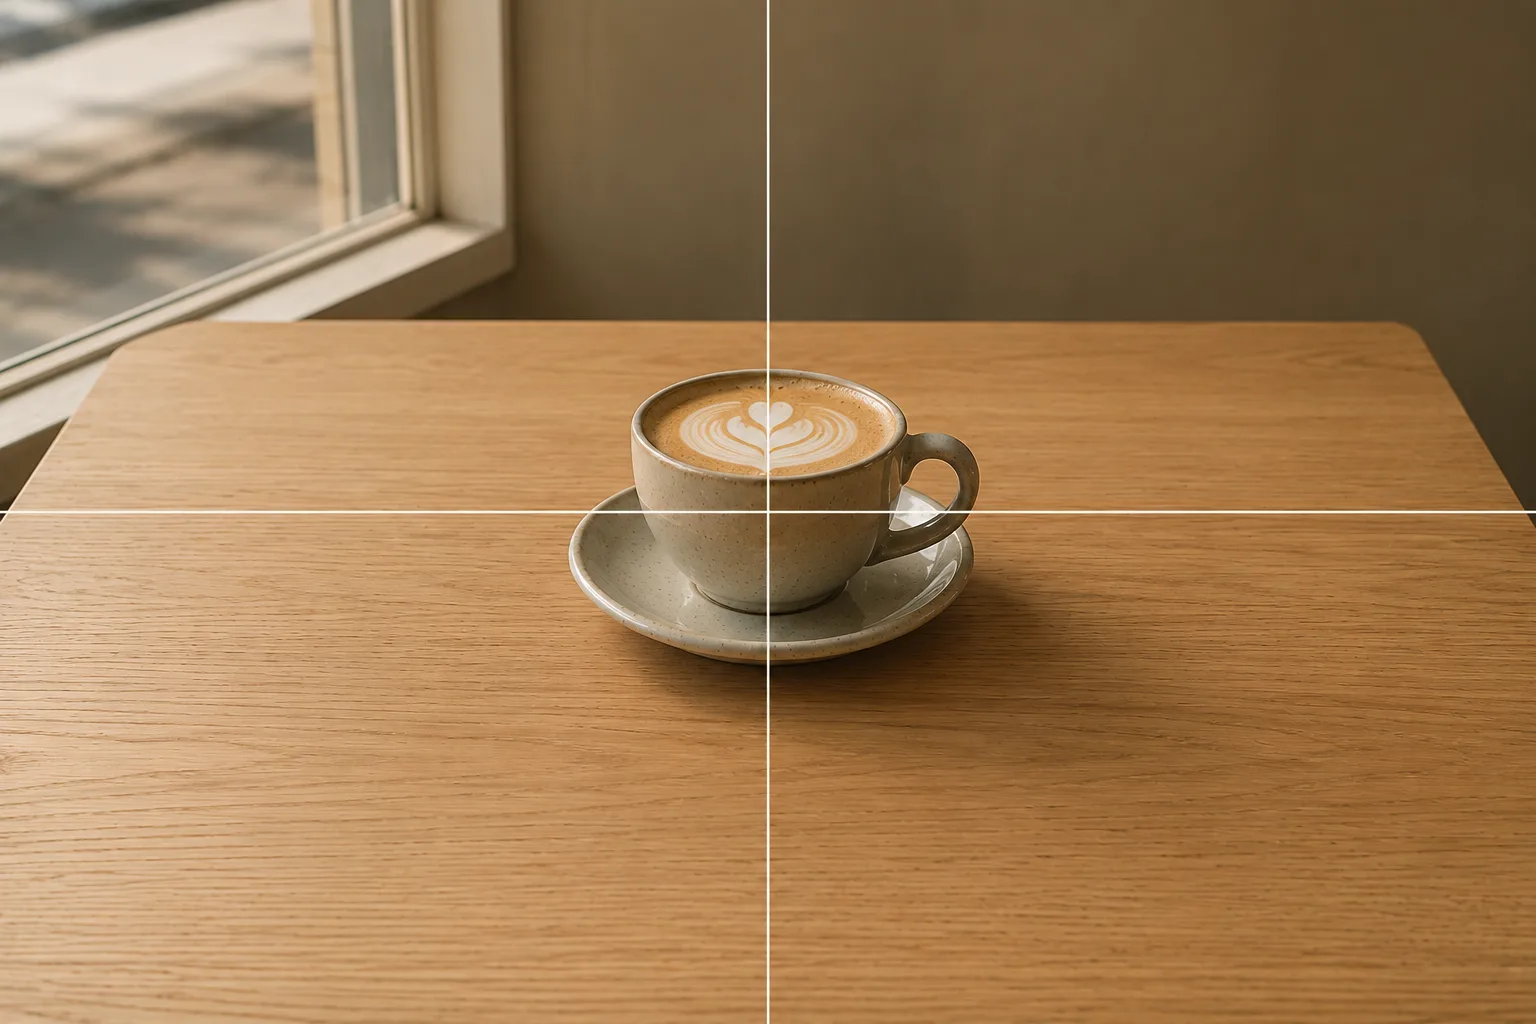
Centered Composition: When Putting Your Subject Dead Center Works
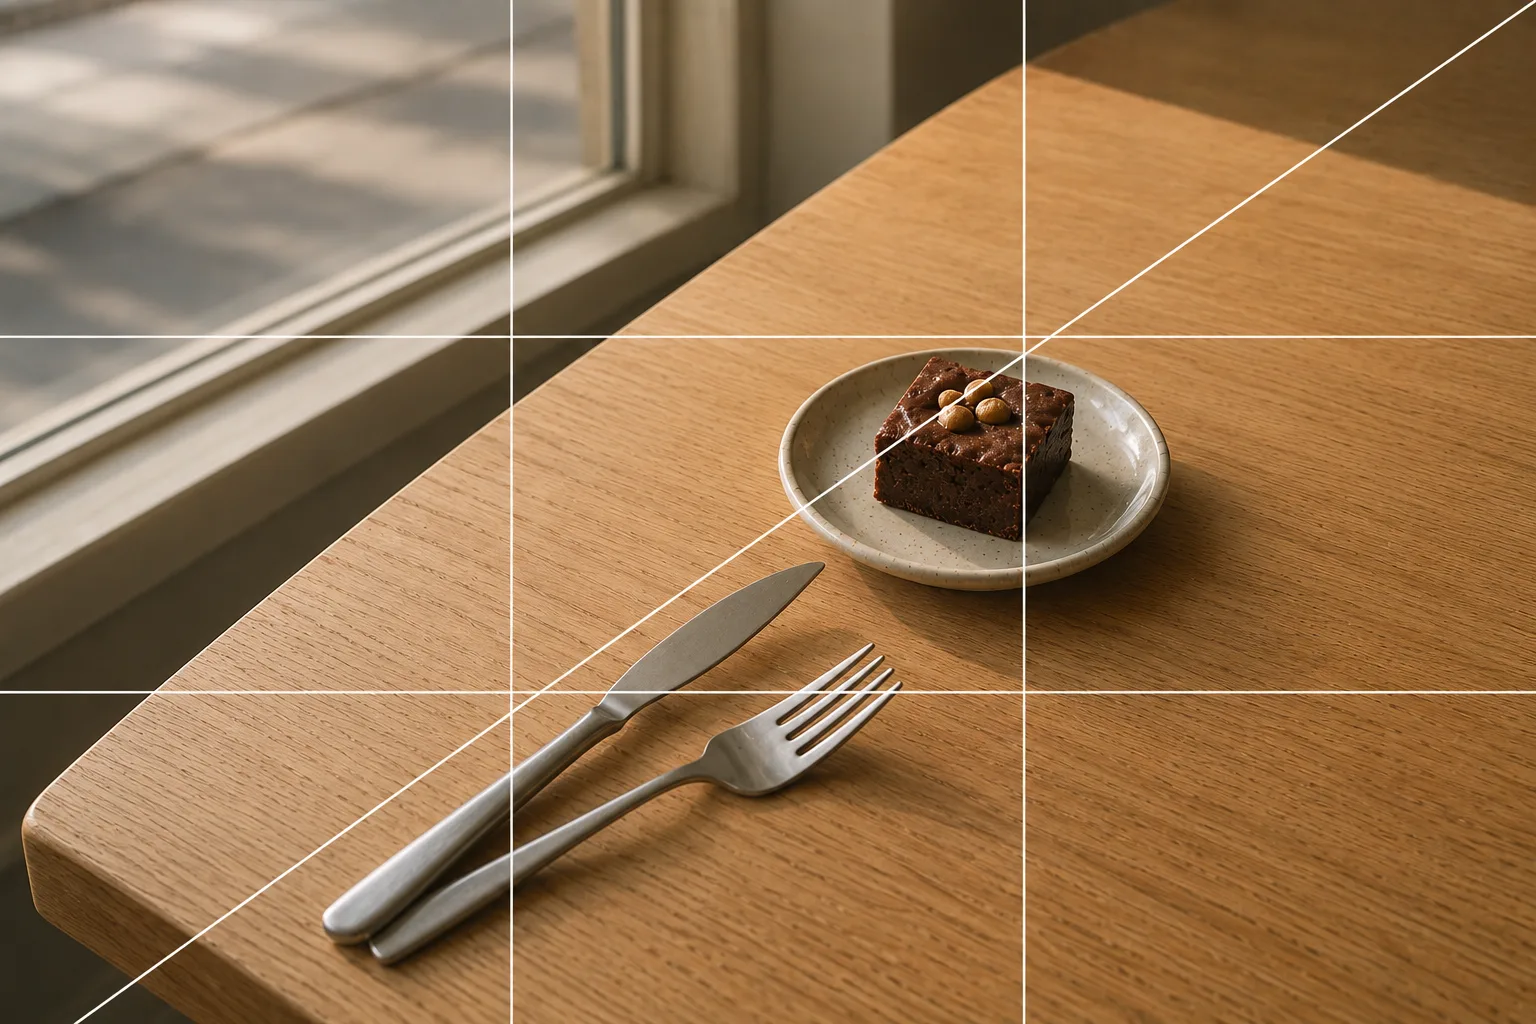
Diagonal Shots: How to Add Movement and Depth to Phone Photos
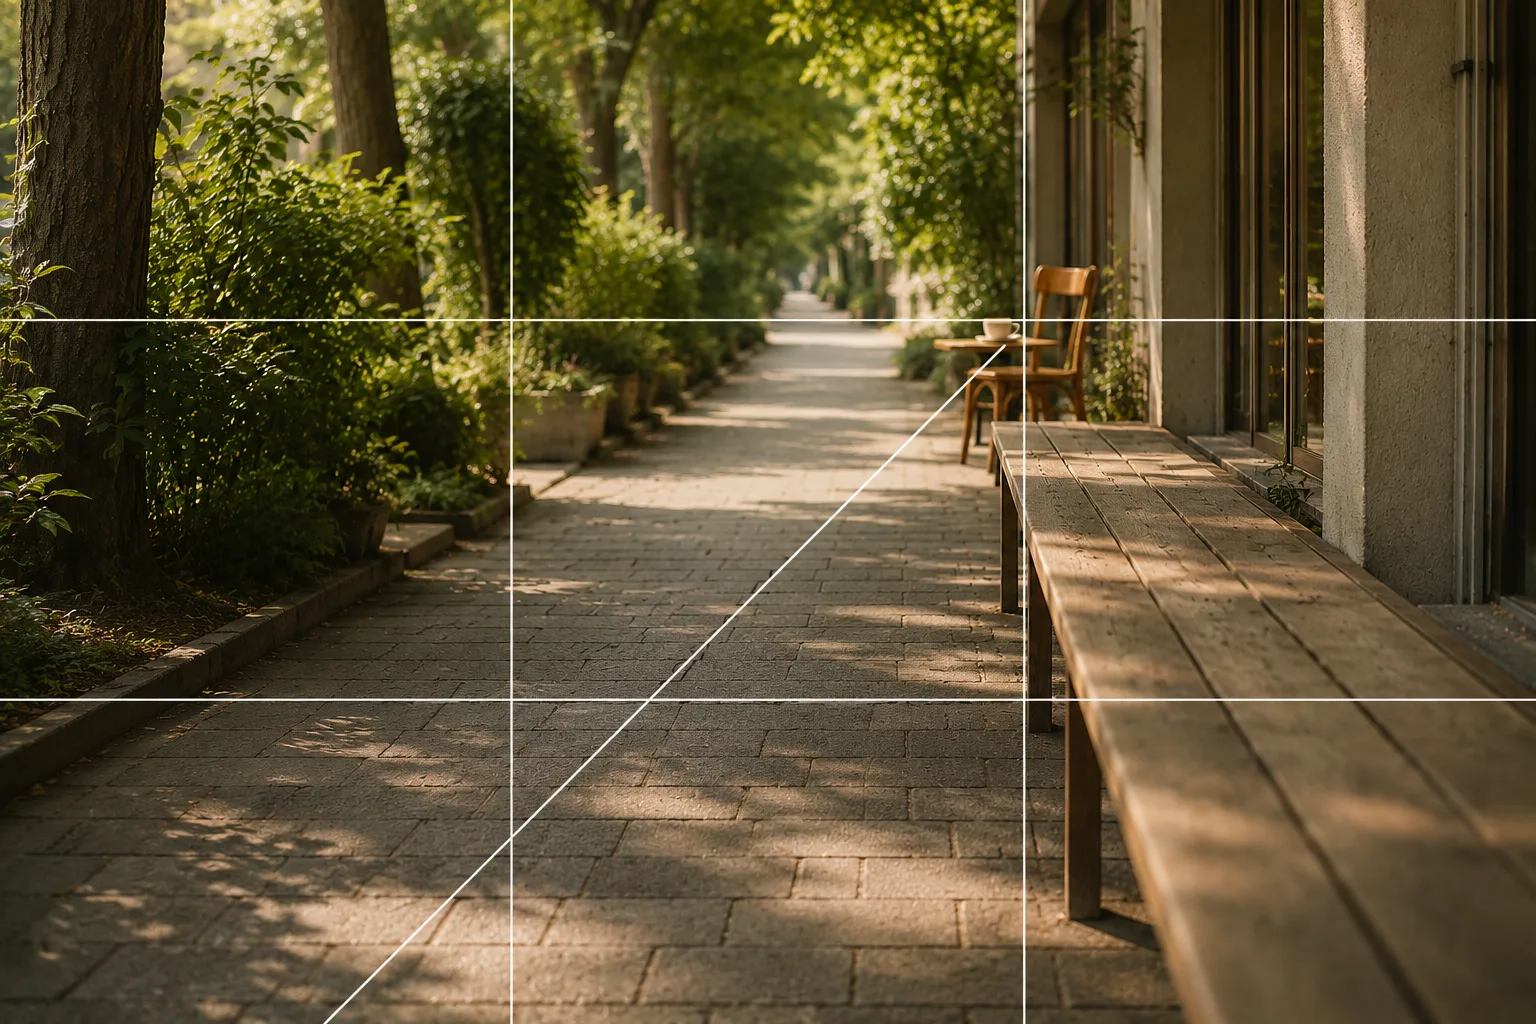
What Are Leading Lines? Guiding the Eye to Your Subject on a Phone
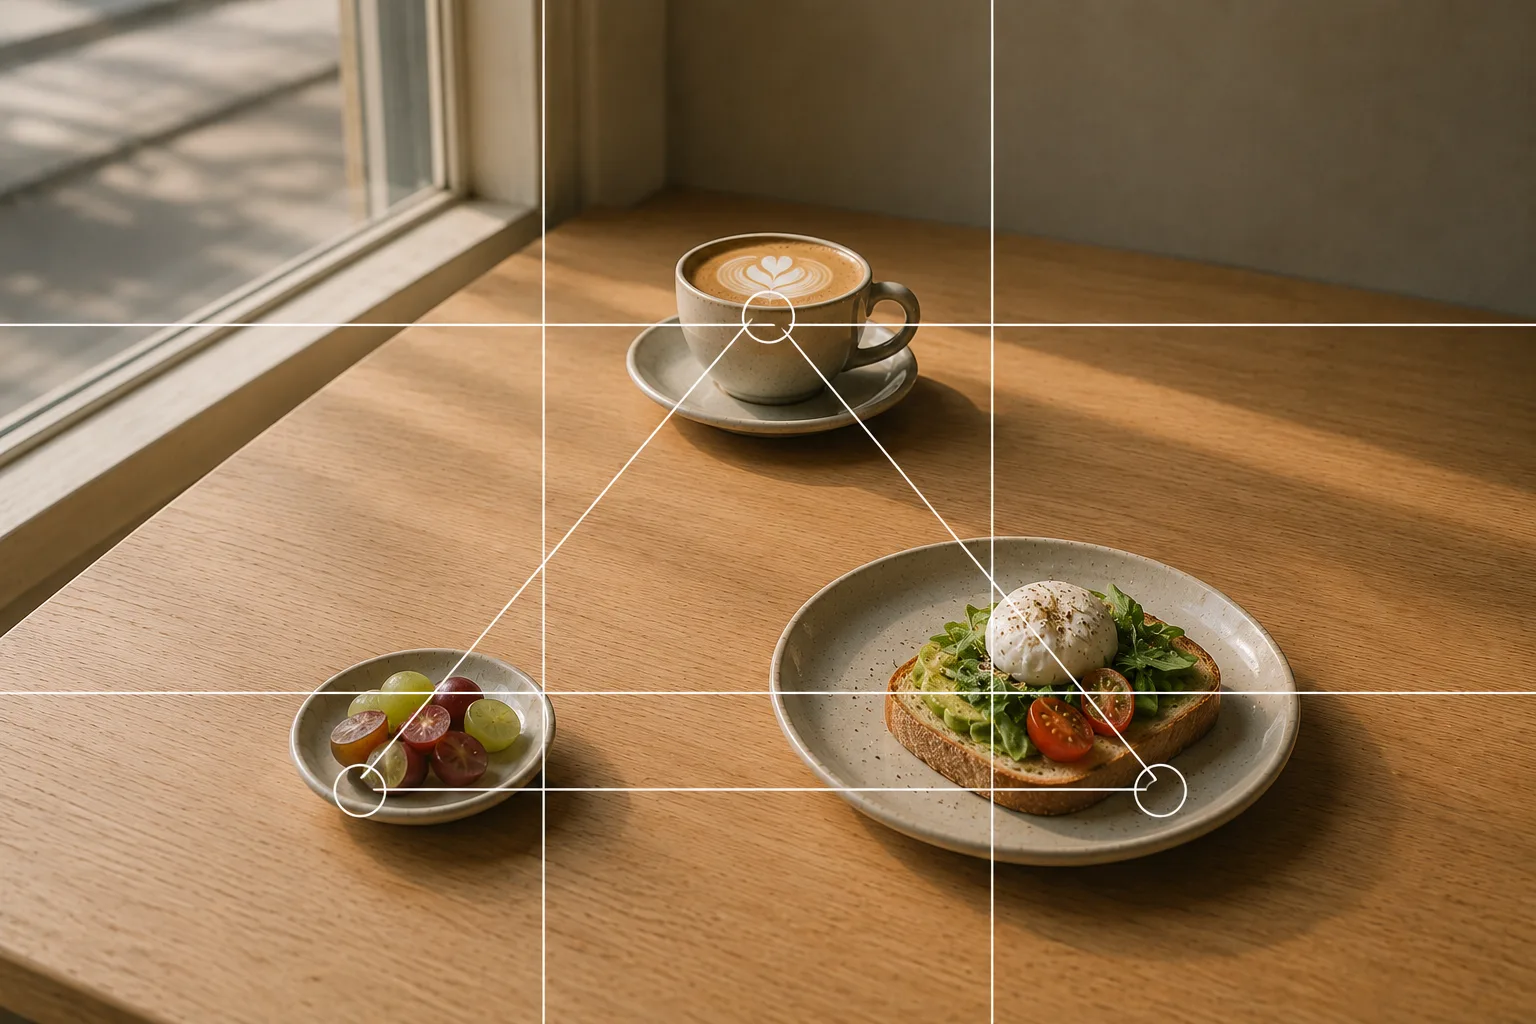
What Is a Triangle Composition? Bringing Stability and Cohesion to Phone Photos
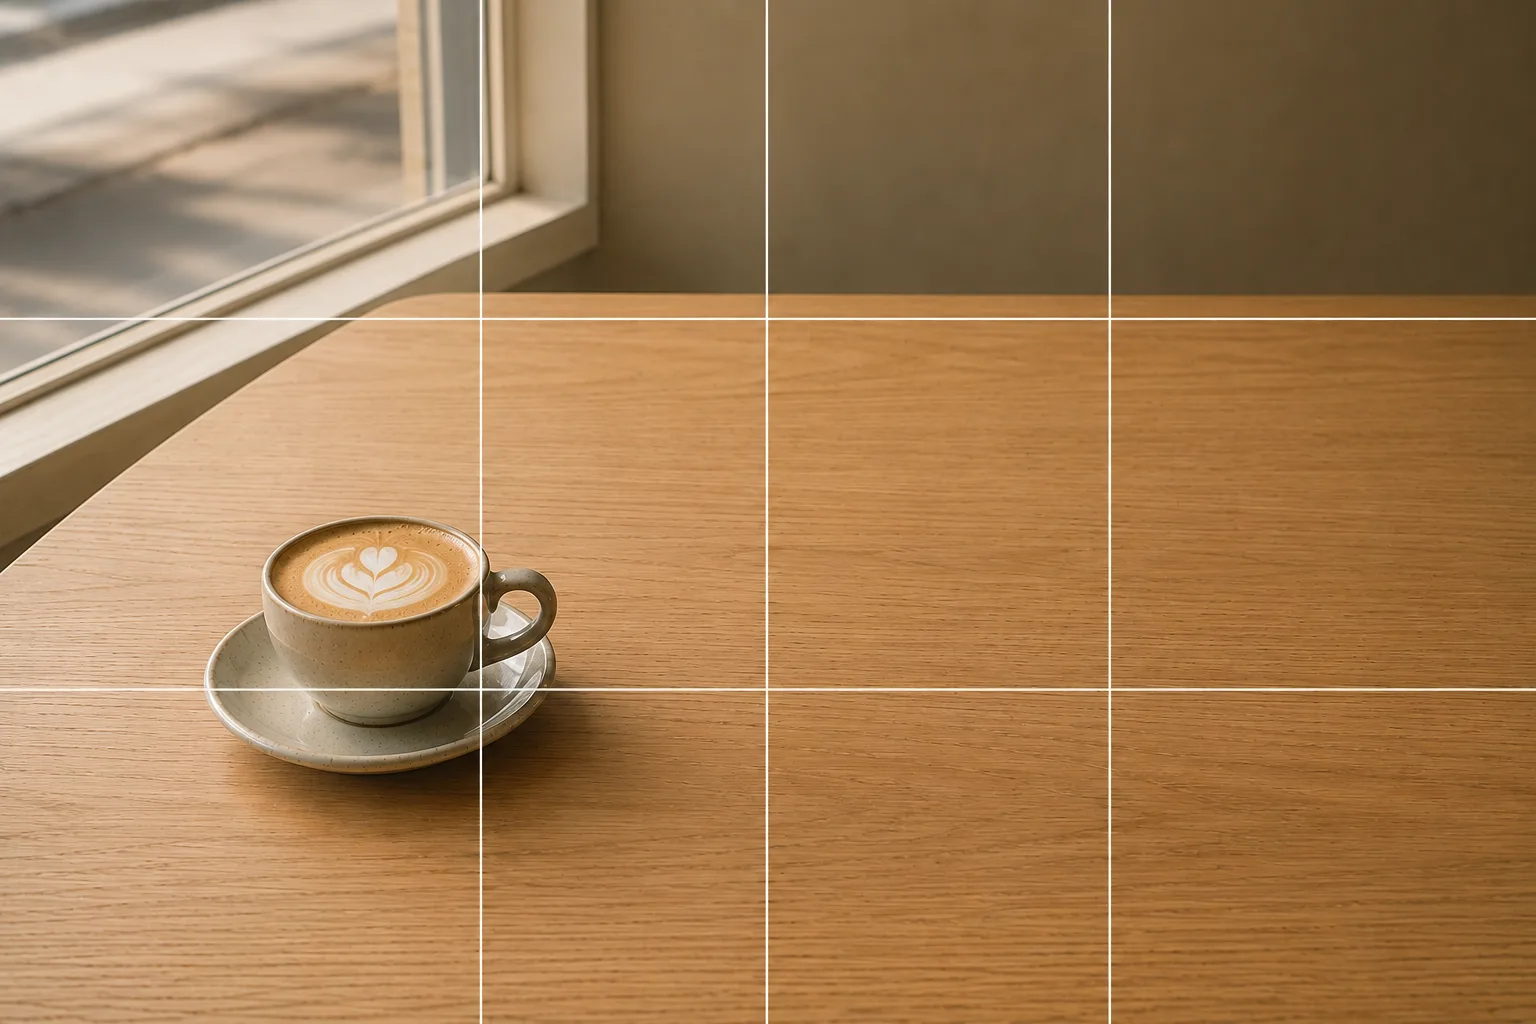
What Is Negative Space? Using "Emptiness" to Lift Your Subject
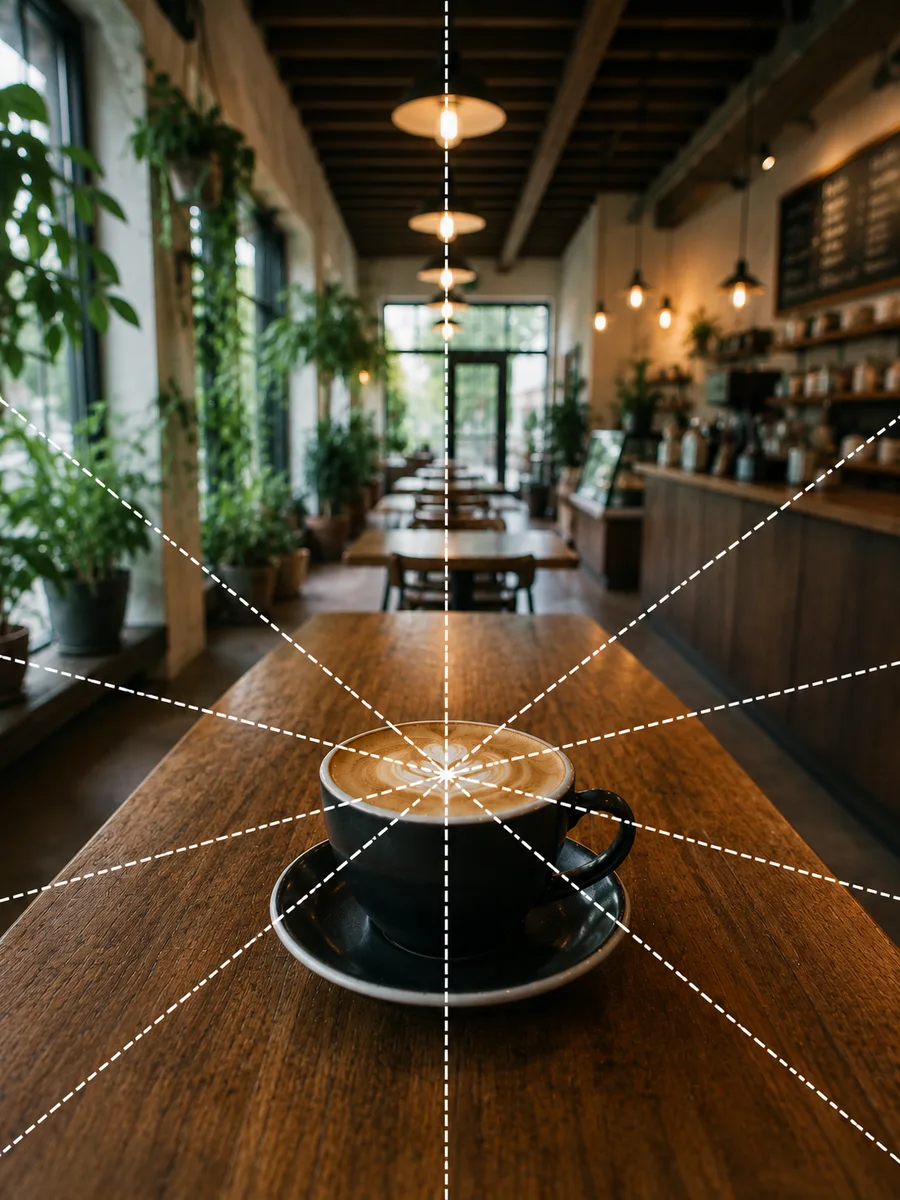
What Is a Radial Composition? Lines Fanning From a Point for Depth
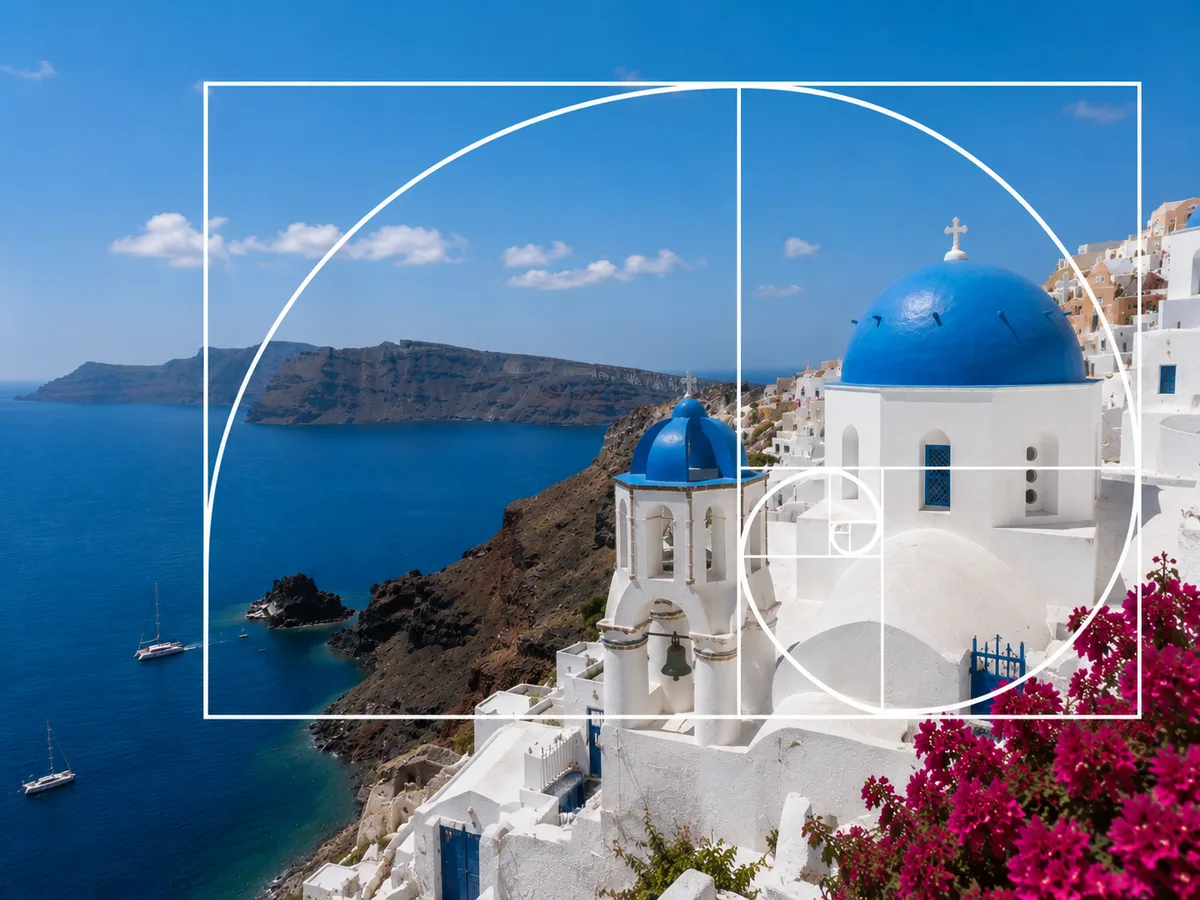
What Is the Golden Ratio? The "Beautiful Proportion" Beyond the Rule of Thirds
Related subject guides
Composing a Polished Social Media Icon — Making a Good Impression
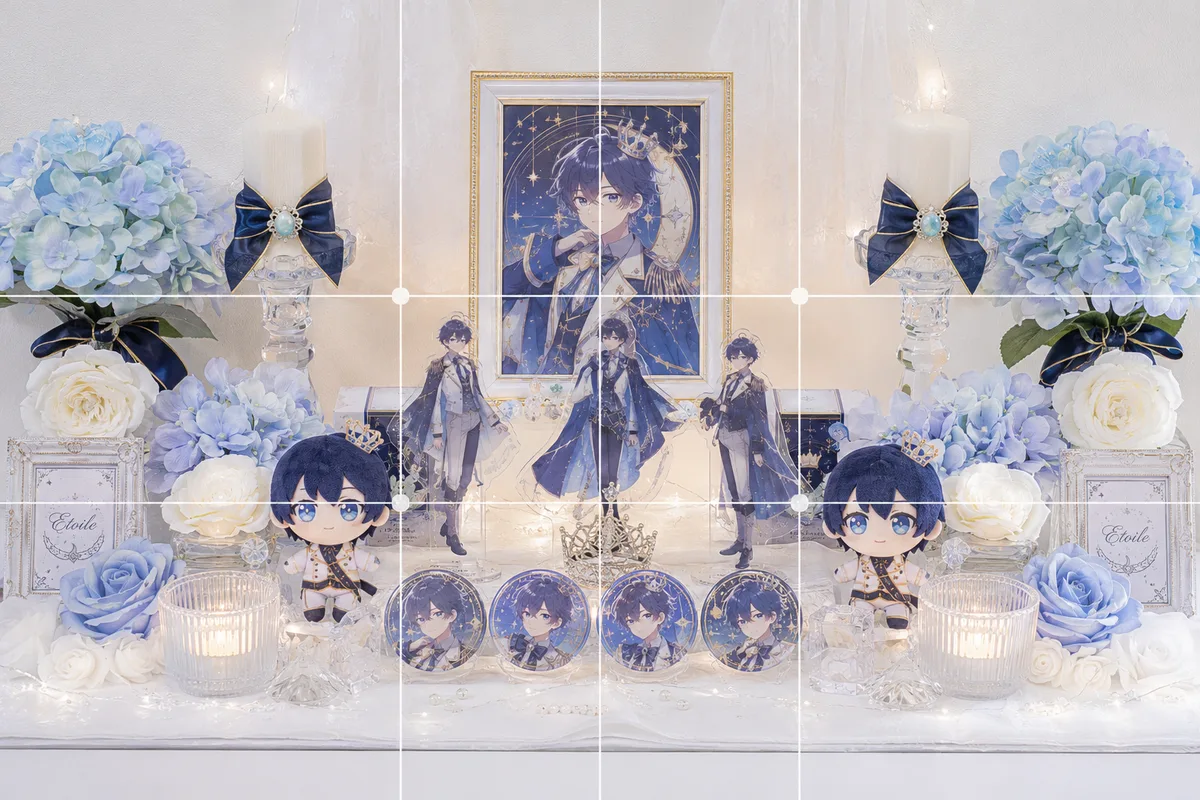
How to Photograph an Oshi Shrine Cleanly — Clutter, Darkness and Tilt
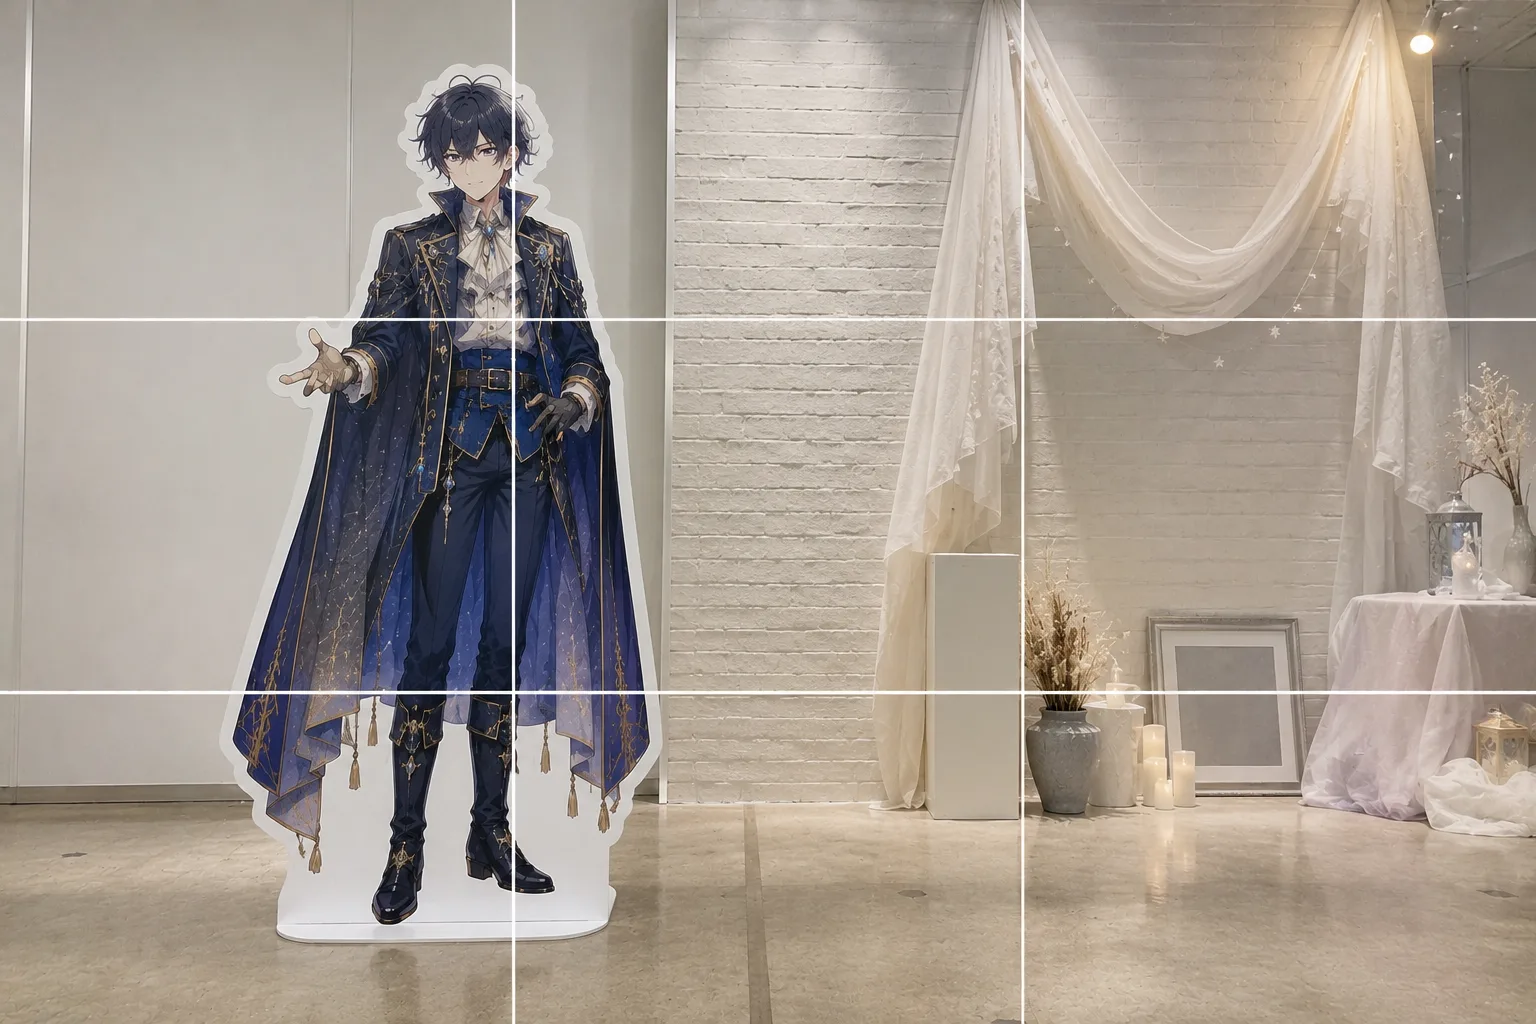
How to Pose With a Life-Size Standee — Tilt and Awkward Scale, Fixed

How to Make Food Look Delicious — Why It Looks Bland and How to Fix It

Composing Marketplace Listing Photos That Sell — Clearing the Background

Shooting Faces and Food Bright Even in Backlight — Why It Goes Dark and the Fix
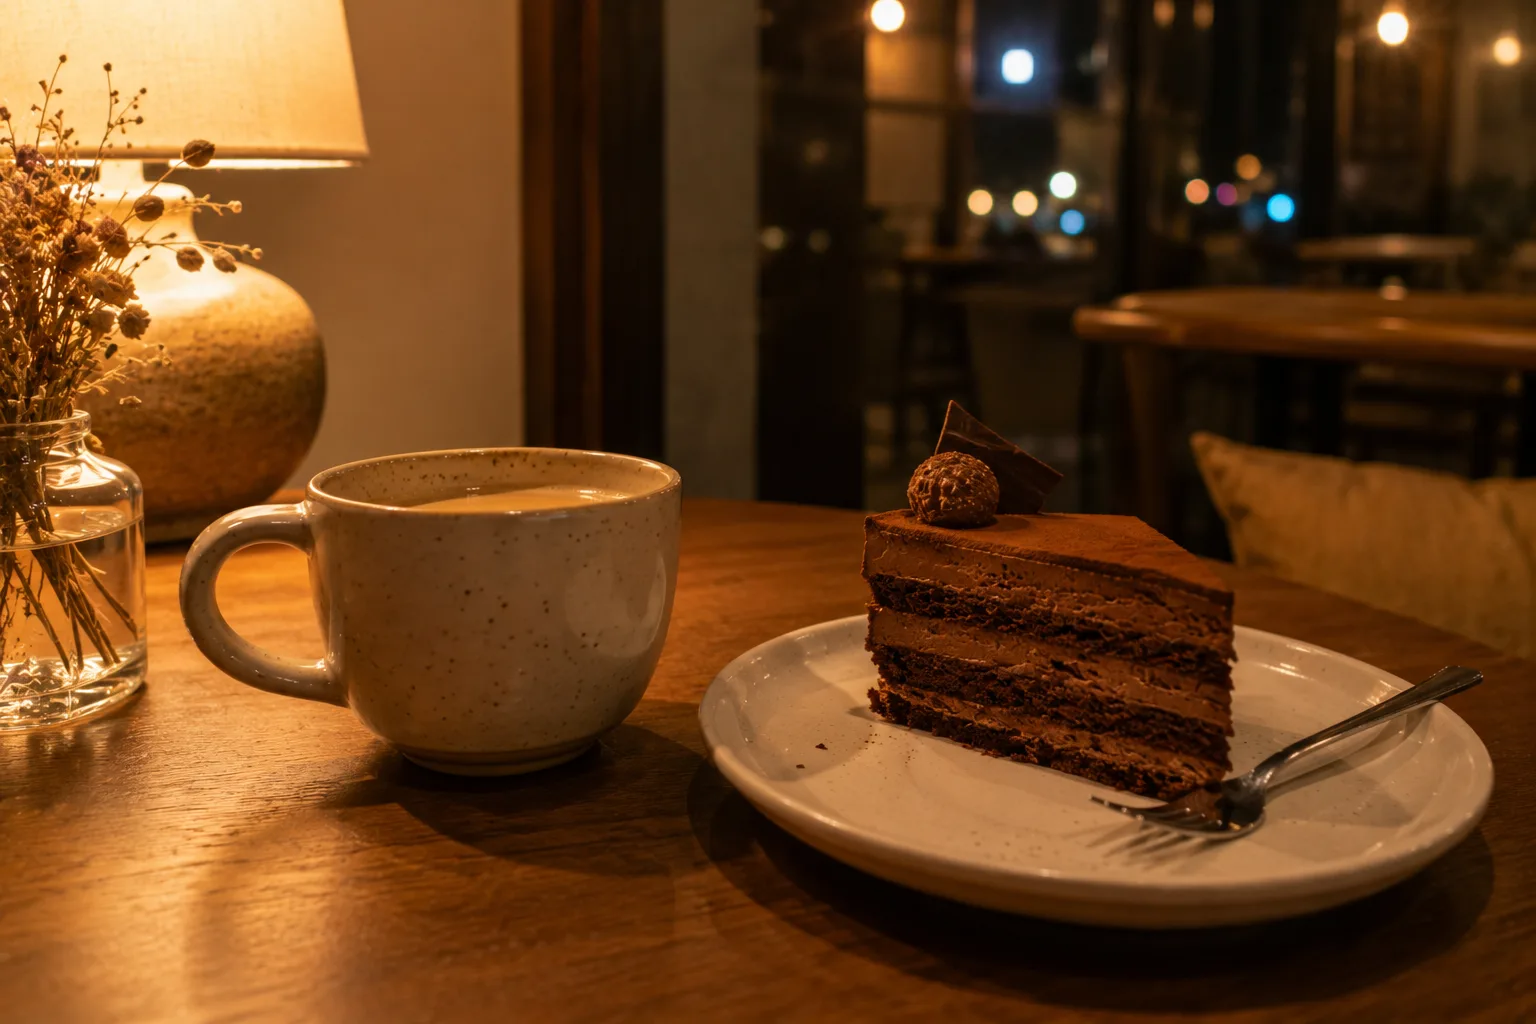
Shooting Cleanly in a Dark Room — Why It Blurs and Goes Dark, and the Fix

Composing Sweets and Parfaits That Pop — Showing Height and Gloss
Shooting Clothing That Sells on Poshmark and Depop — Presentation and Background

Capturing Dogs' and Cats' Expressions — Fixing Motion, Darkness and Blur

Shooting Vivid Autumn Leaves — Why They Look Flat, and Adding Dimension
Shooting Cherry Blossoms Strikingly — Why They Wash Out, and Using Color and Sky

Capturing Kids' Natural Expressions — Fixing Blur and Darkness

Fitting Everyone in a Group Photo — Fixing Tilt, Darkness and Framing
How to Keep Photos Level — Why They Tilt and How to Fix It
Reselling Photos of Shoes and Bags — Showing Dimension and Texture on a Phone

Composing Small Items and Accessories — Why They Look Dull and How to Fix It

Shooting Landscapes With Depth — Why They Look Flat and How to Level

How to Photograph Bento to Look Delicious — Color and the Overhead Shot
Fix the "Almost There" in Phone Photos With Composition — Using SmaPhoto Tips

Composing Stylish Café Photos — Why They Don't Pop and How to Fix It
Shooting Fresh, Dewy Summer Vegetables — Why They Look Dull and How to Fix It
Shooting Fresh, Dewy Hydrangeas — Why They Look Hazy, and Bringing Out Color
Shooting Sunflowers Full of Energy — Why They Look Plain, and Using Blue Sky
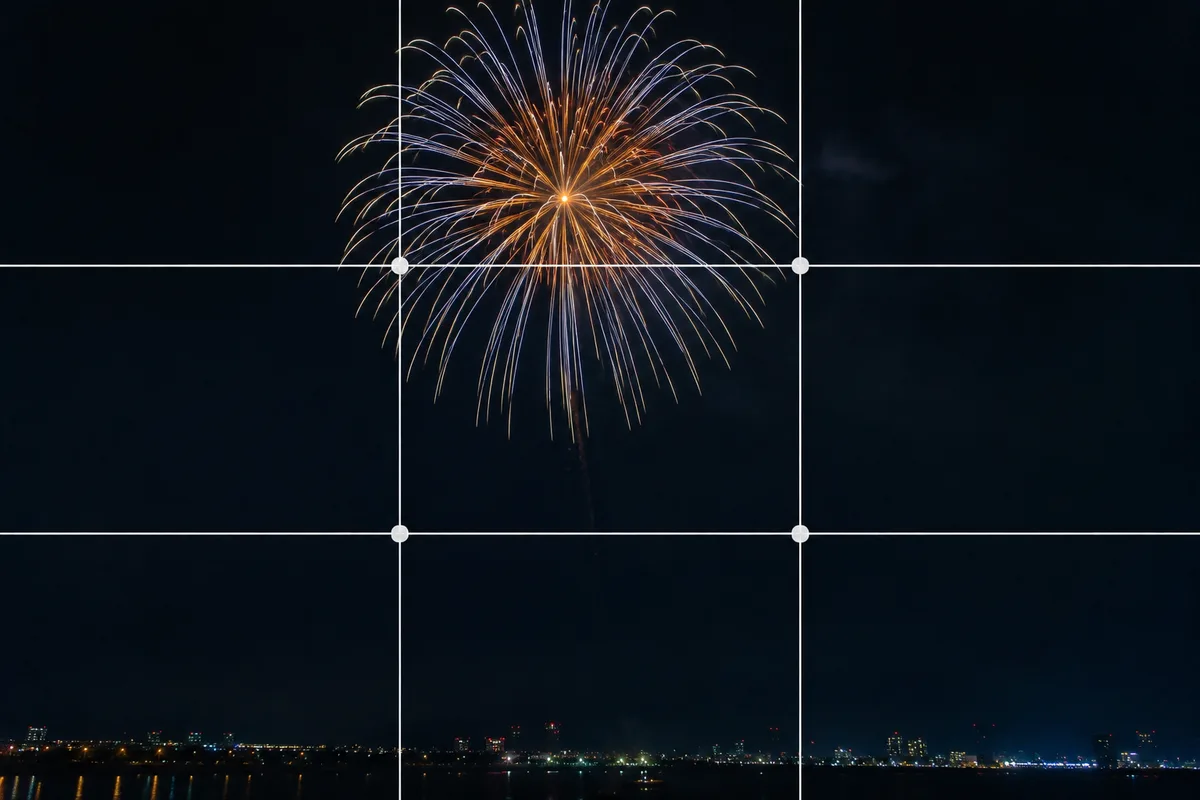
Shooting Fireworks Big and Crisp — Fixing Blur and Timing
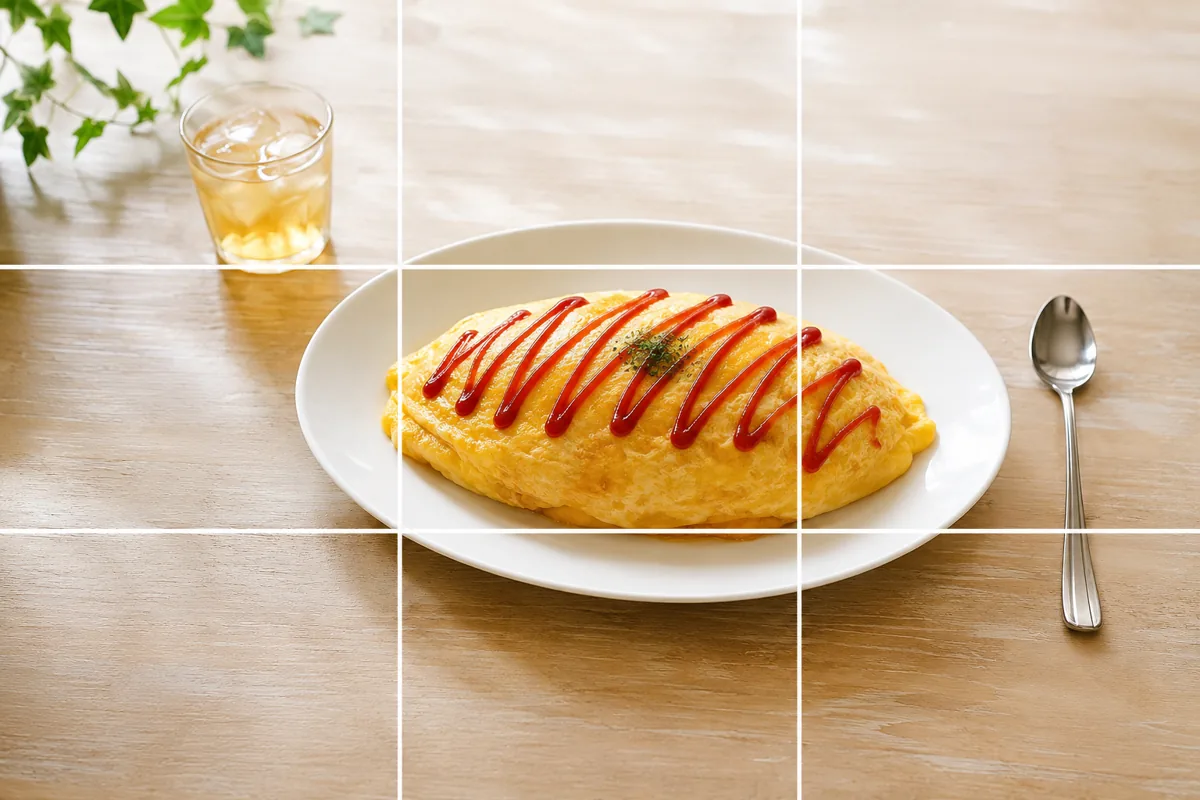
Food Photos Look Tastier with the Rule of Thirds — Placing the Subject
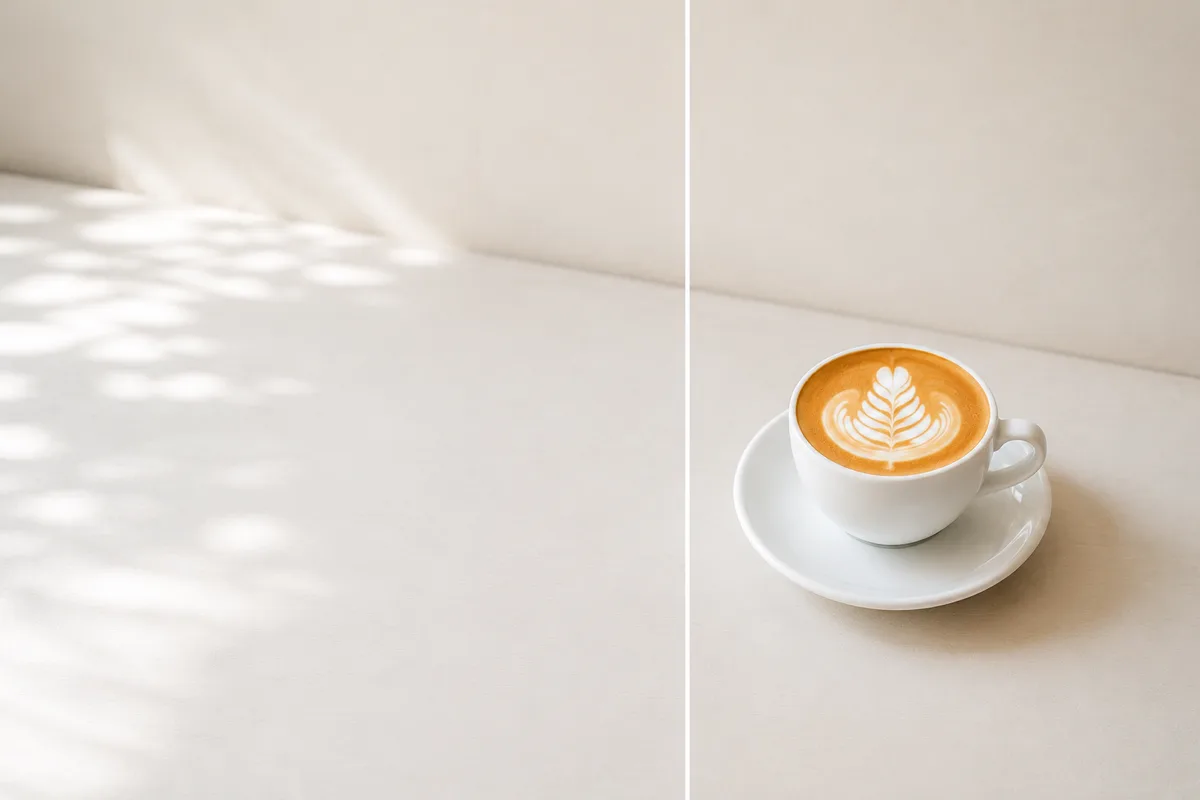
Café Photos Look Stylish with Negative Space — Clearing the Clutter
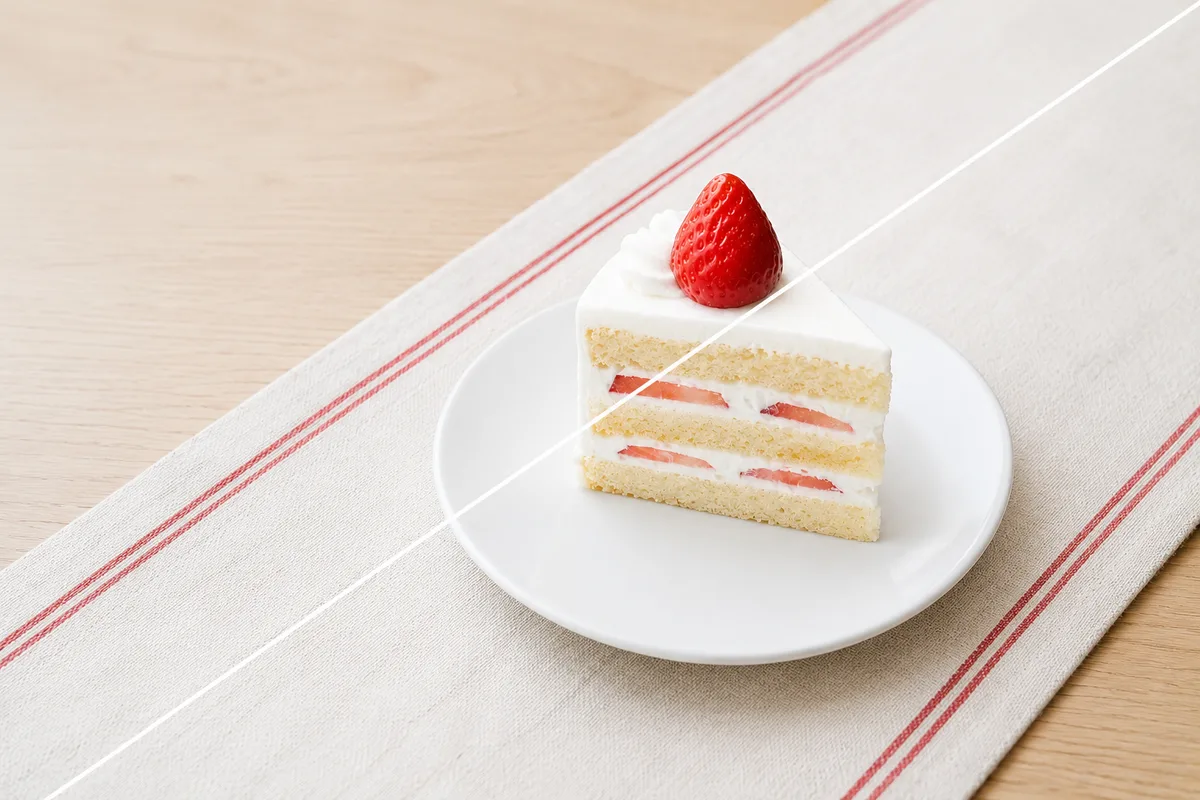
Sweets Photos Gain Movement with a Diagonal — Using the Slant
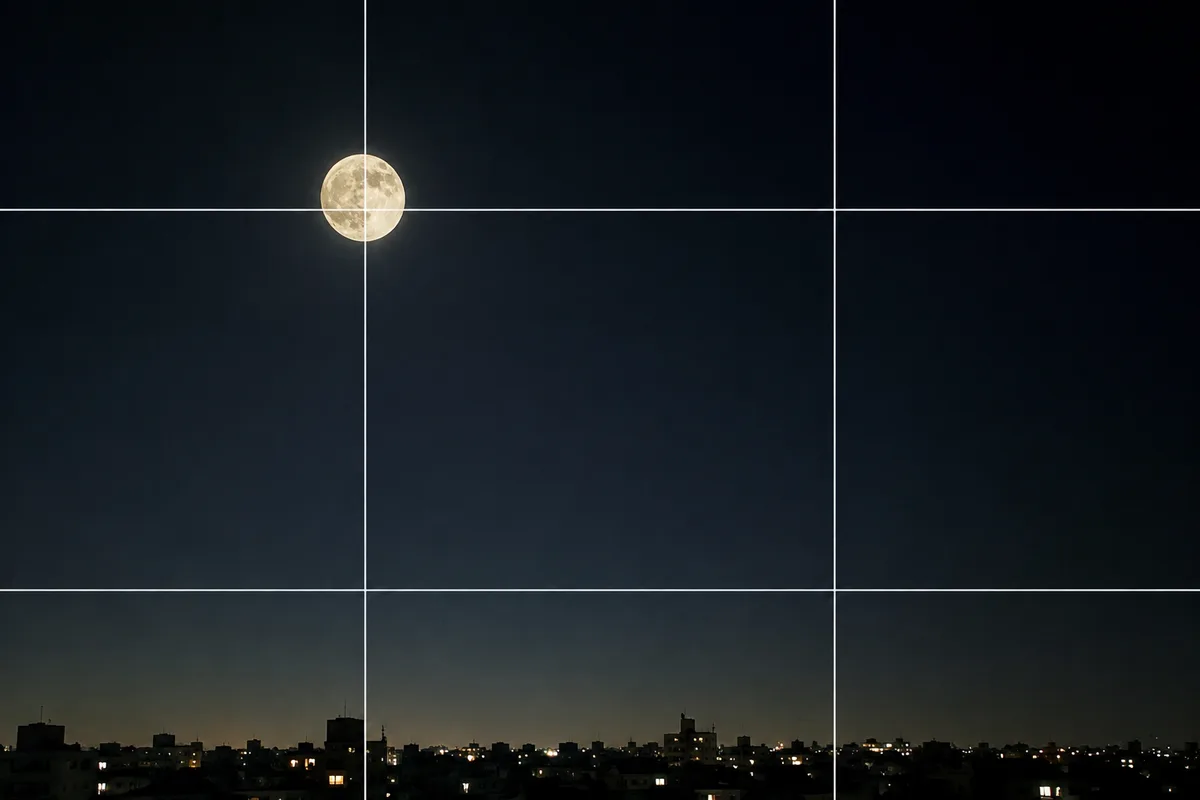
Shooting the Moon Clearly — Why It Becomes a White Dot, and What a Phone Can Do
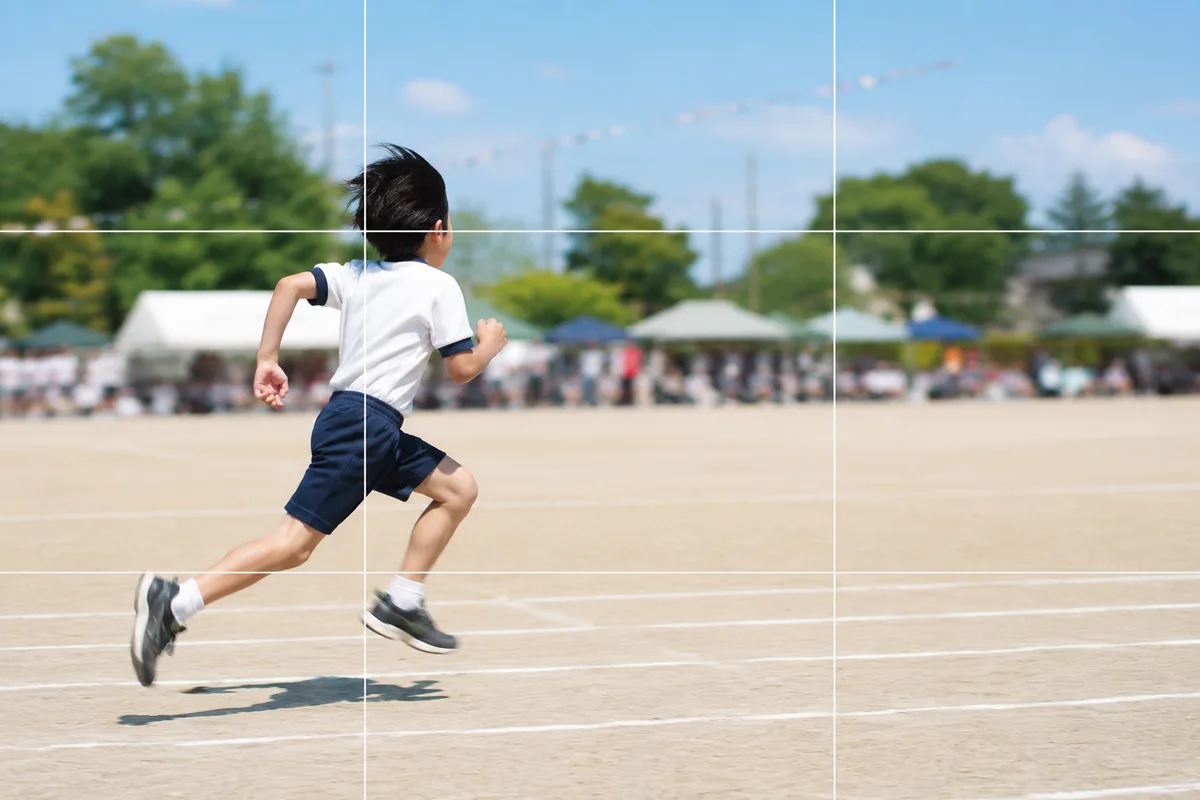
Shooting Kids Sharp at Sports Day — Fixing Blur, Distance and Backlight
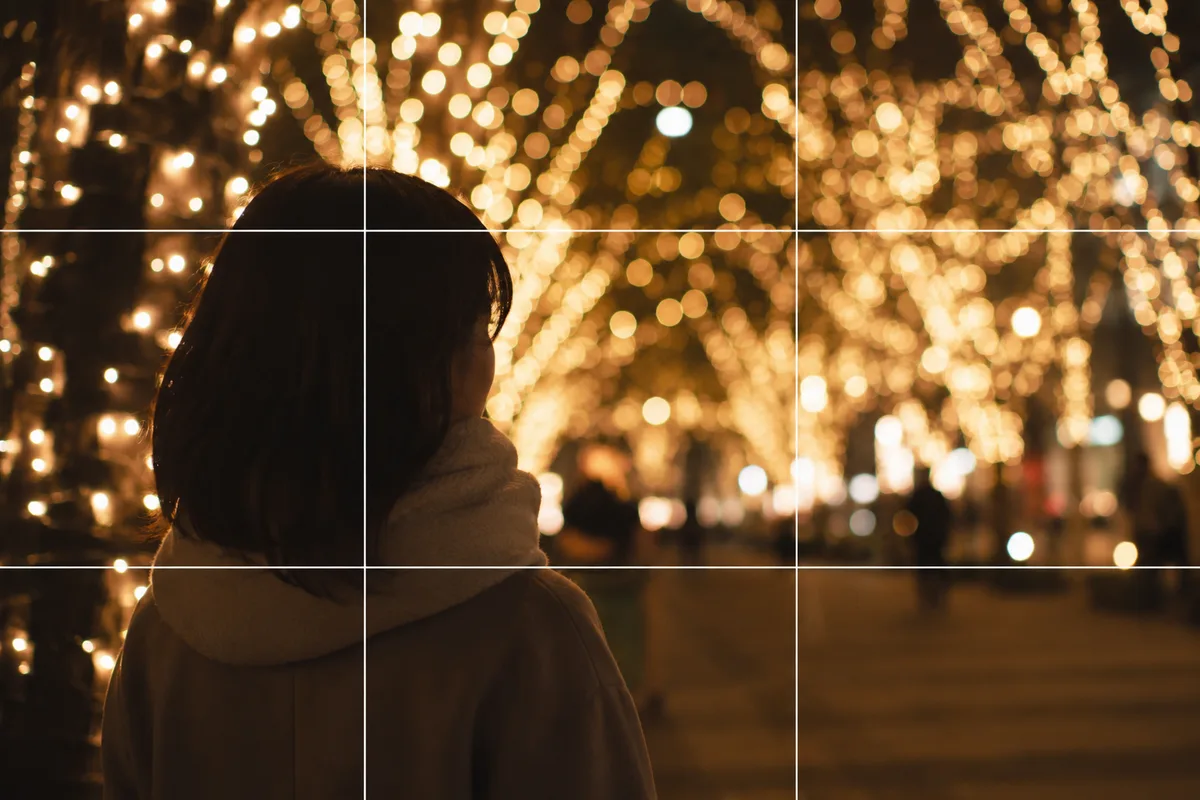
Shooting People with Holiday Lights — Fixing Dark Faces and Vanished Lights
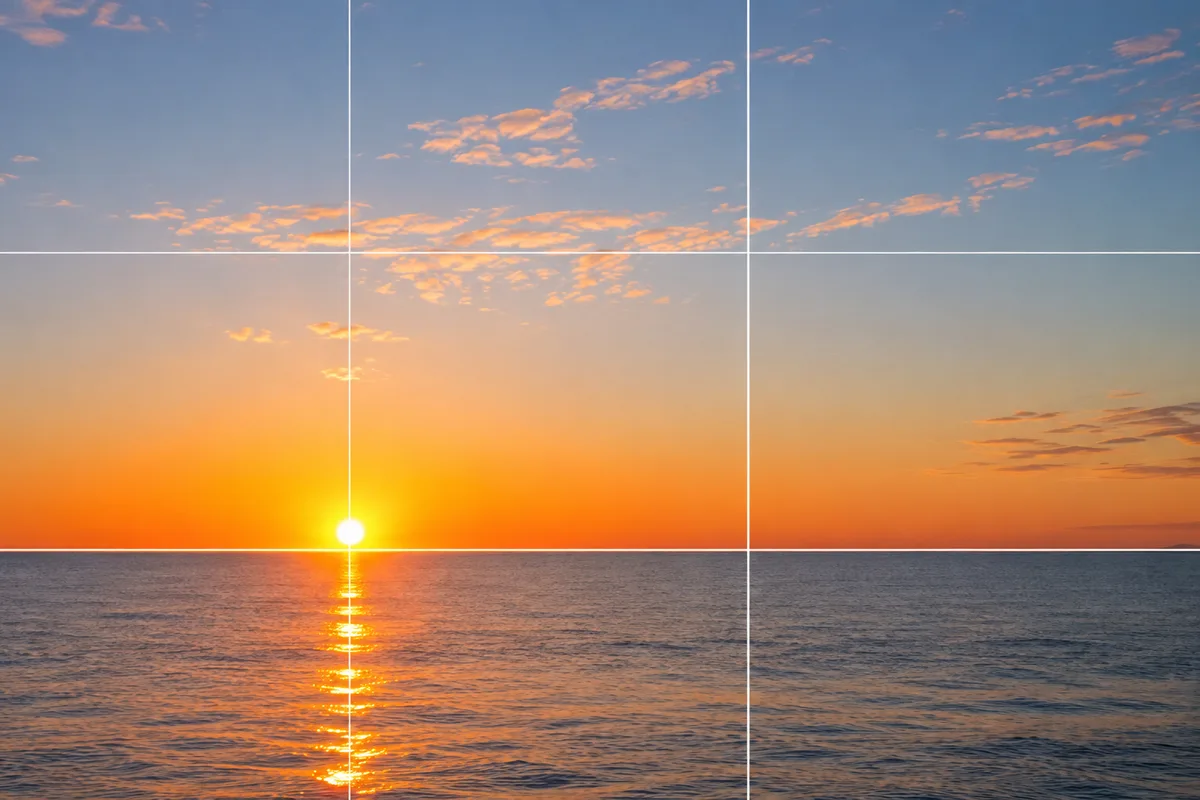
Shooting the New Year's First Sunrise — Fixing the Blown-Out Sun and Tiny Sun
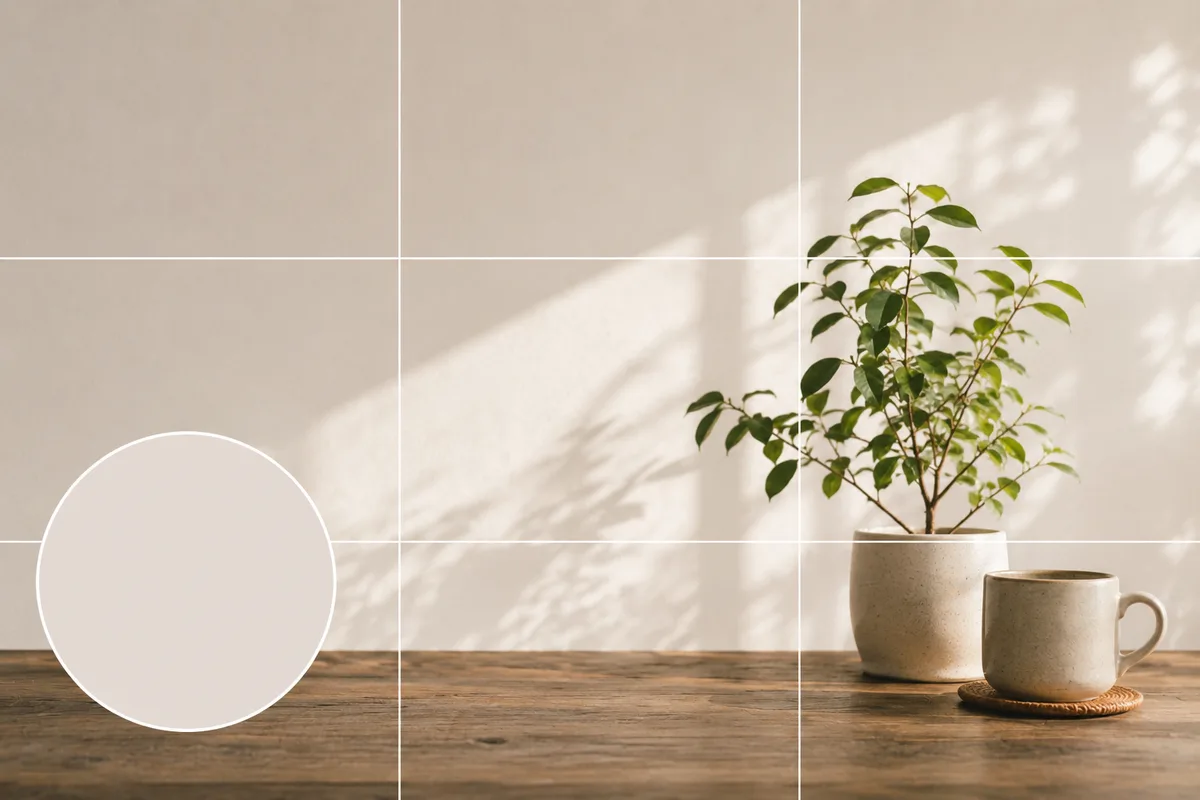
Shooting and Choosing an X Header Photo — Beat the Crop and the Icon Overlap
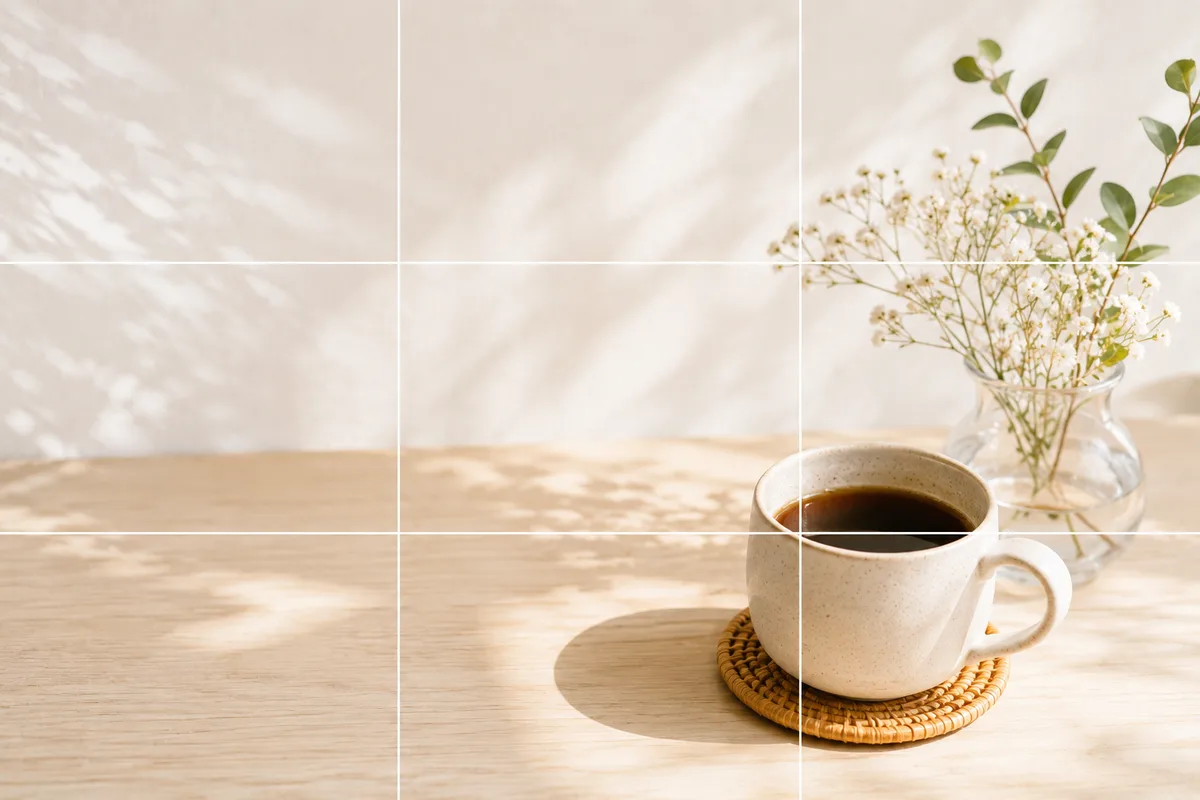
Shooting Photos for a note Eyecatch — Leave Room for the Title Text
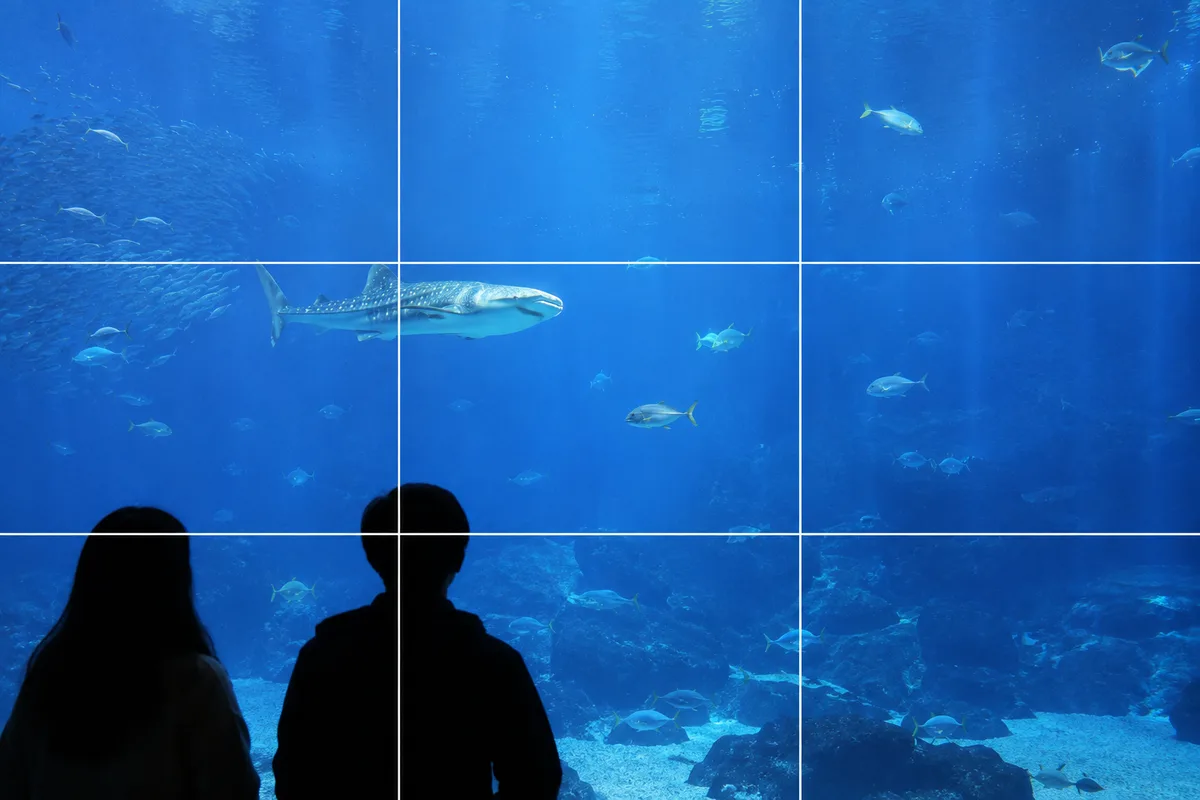
Shooting at Aquariums and Zoos — Fixing Glass Reflections and the Dark Indoors

Shooting at Photo-OK Concerts — Fixing Black Frames, Blur, and the Tiny Stage
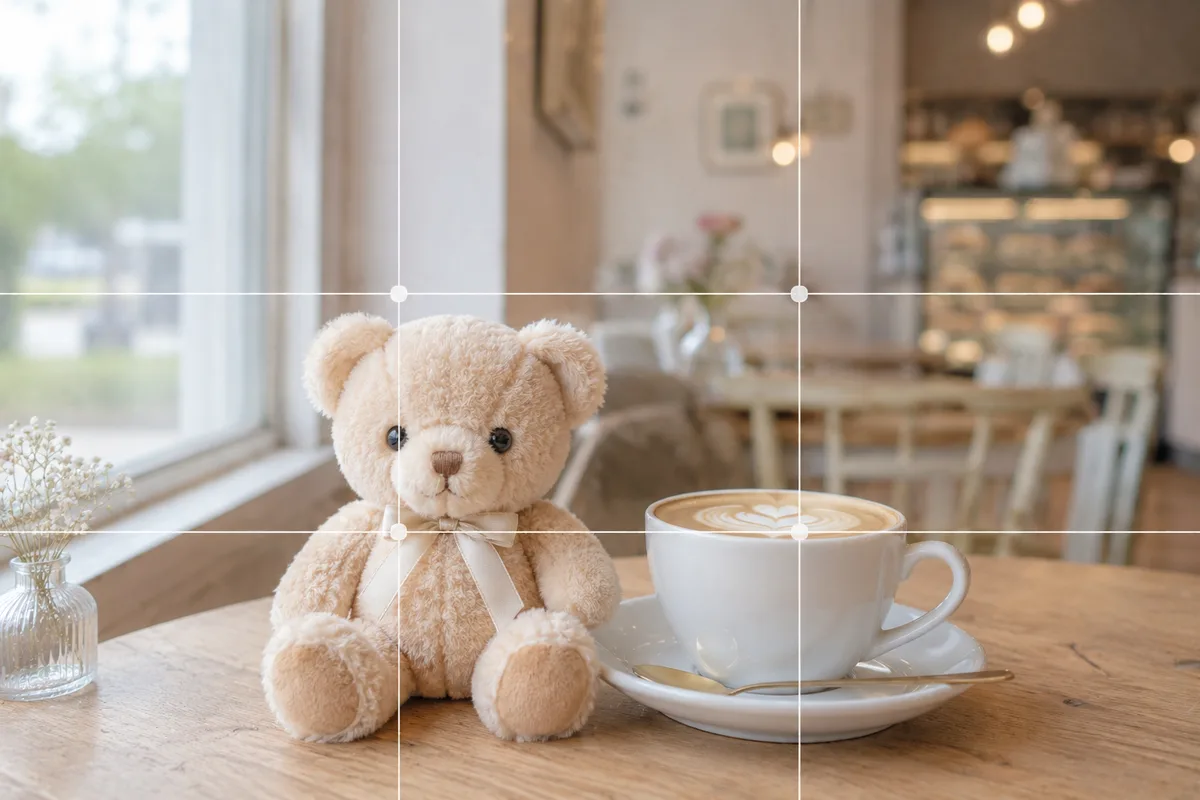
How to Make Your Plushie Pop at a Café — Busy Backgrounds and Lost Subjects
Photographing Plushies With Seasonal Flowers — When the Plush Gets Buried

How to Photograph Plushies as the Star — Fixing Tiny, Blurry, Busy Shots
Plushie Photos While Traveling — When the Plush Loses to the Scenery or Tilts
Acrylic Stand Photos With the Scenery — Focus Misses and Melting Edges, Fixed
Selfies With a Life-Size Standee — Big Face and Cut-Off Panel, Fixed
Collab Cafe Photos — Dim Light, No Time, Cluttered Table, Fixed
Shooting Sunsets — Why Sky-Only Shots Fall Flat and How to Catch the Magic Hour
Photographing Rainy Days — Why They Look Gloomy, and Droplets as the Subject
Kids and Pets in Motion — Why They Blur and How Burst Mode Fixes It
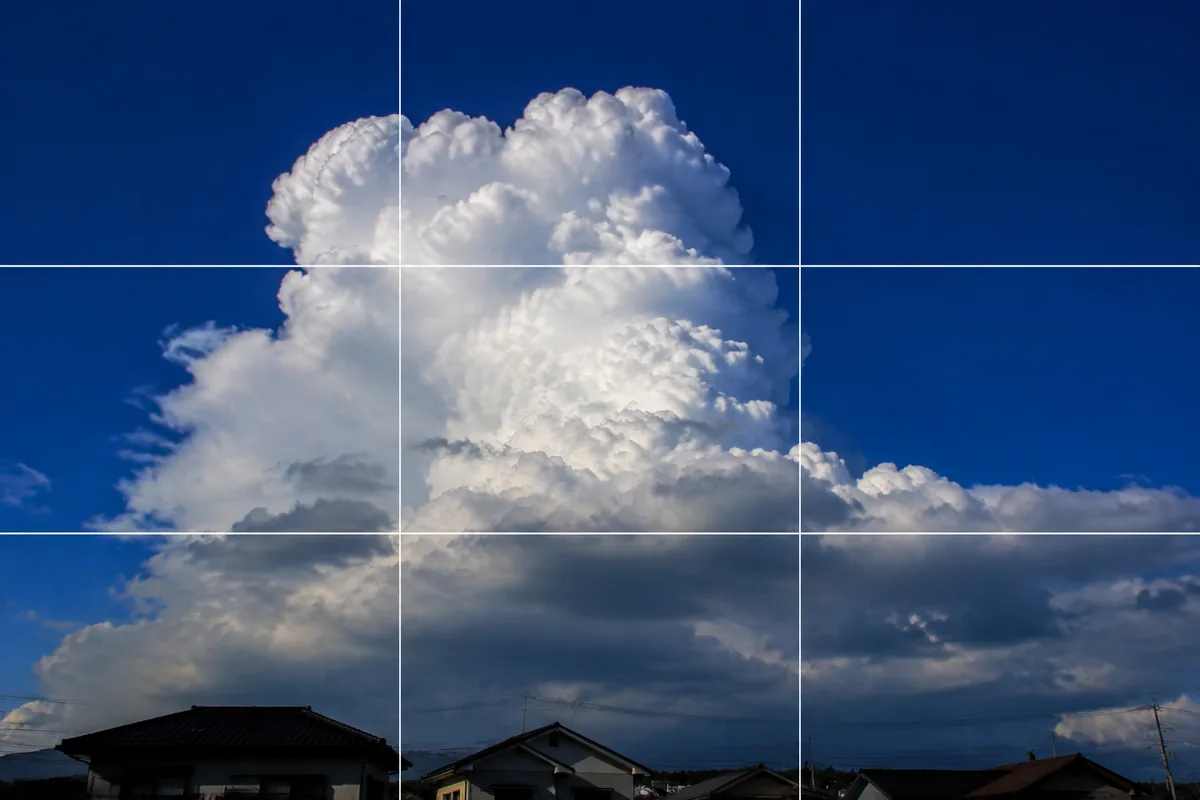
Summer Skies and Towering Clouds — Why They Shrink in the Frame
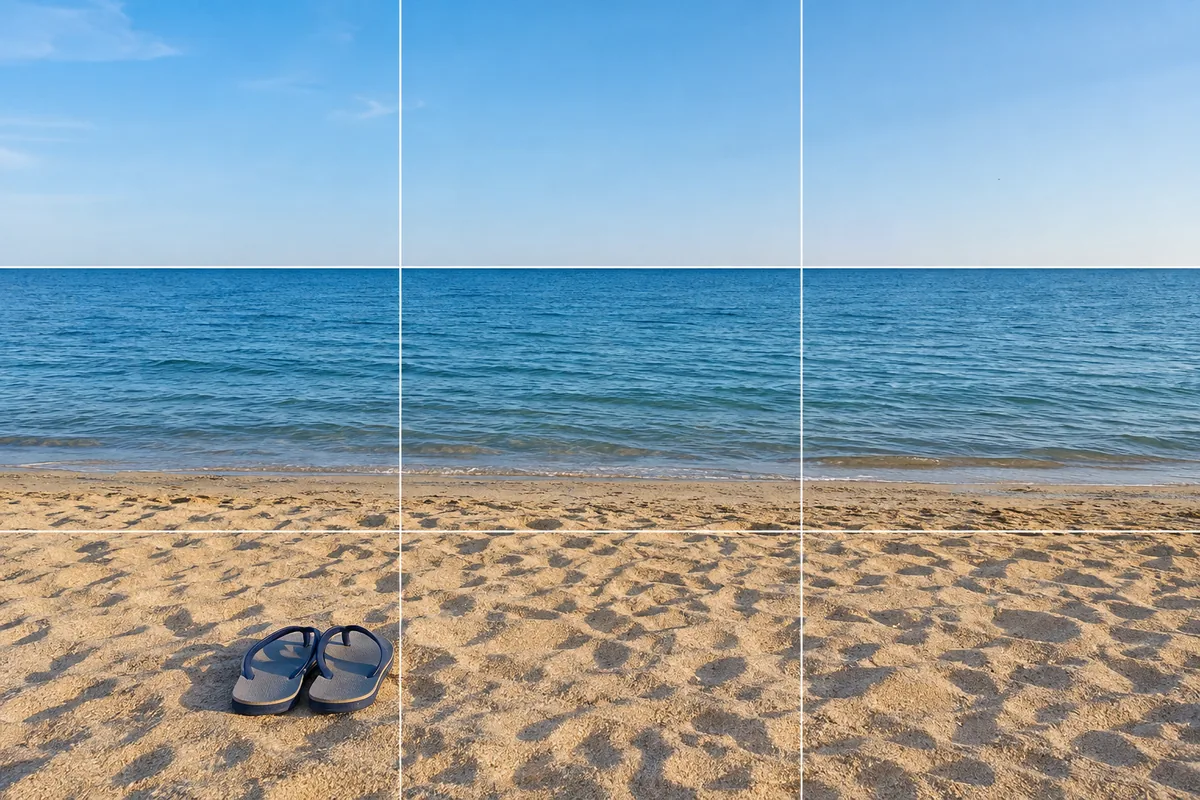
At the Beach — Why It Blows Out, and Fixing Level and Backlight
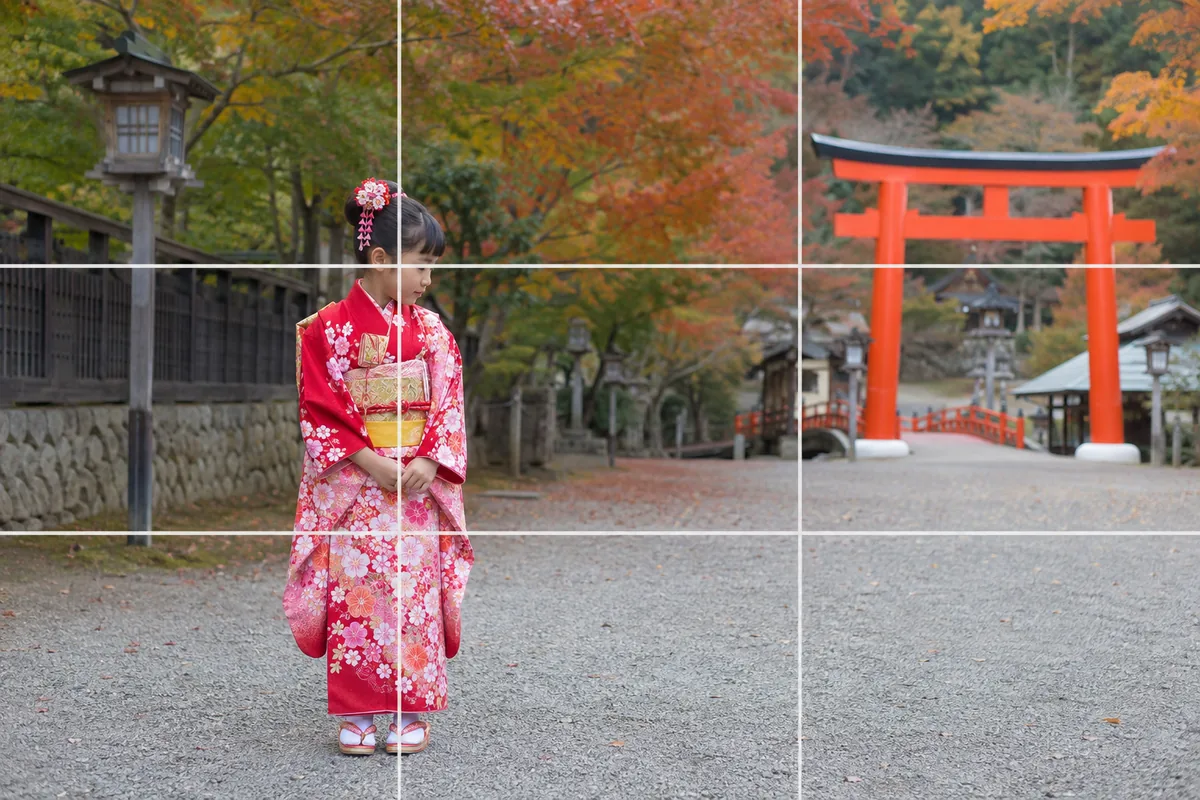
Photographing Shichi-Go-San — Why Faces Go Dark and How to Show the Kimono
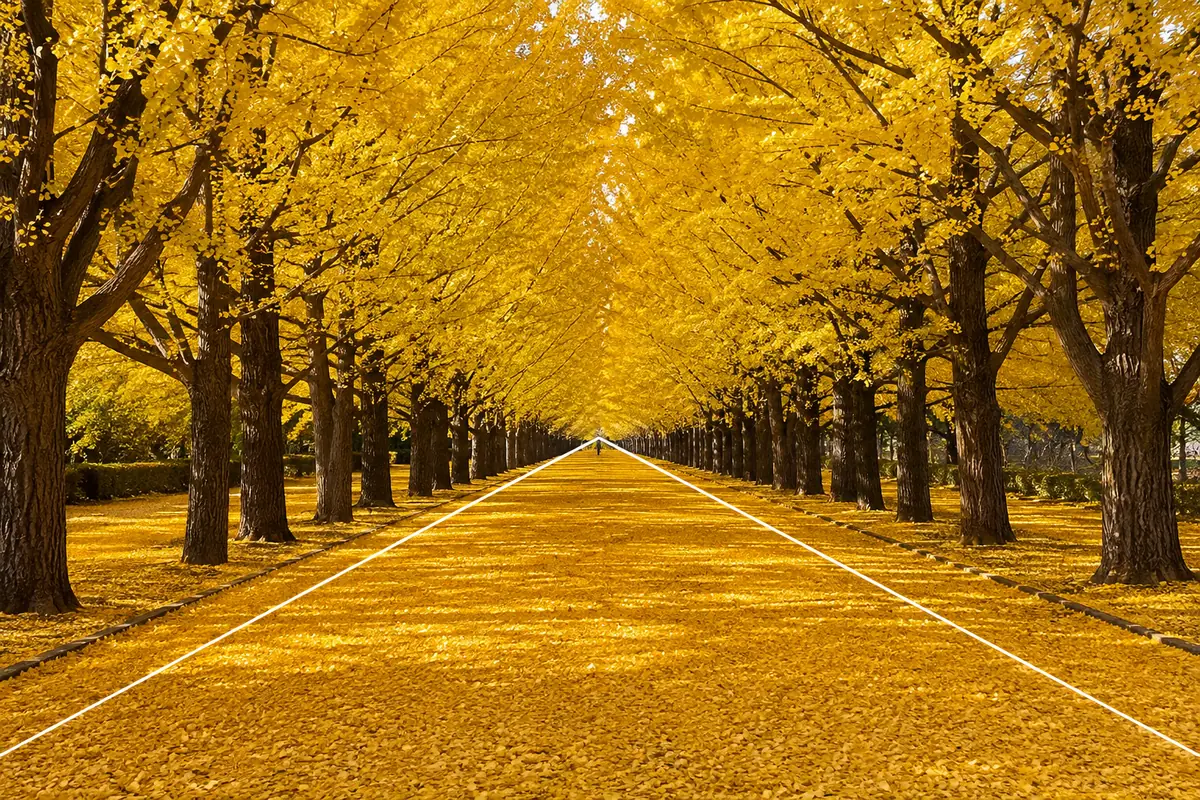
Photographing Ginkgo Avenues — Why They Look Flat and How to Use the Rows
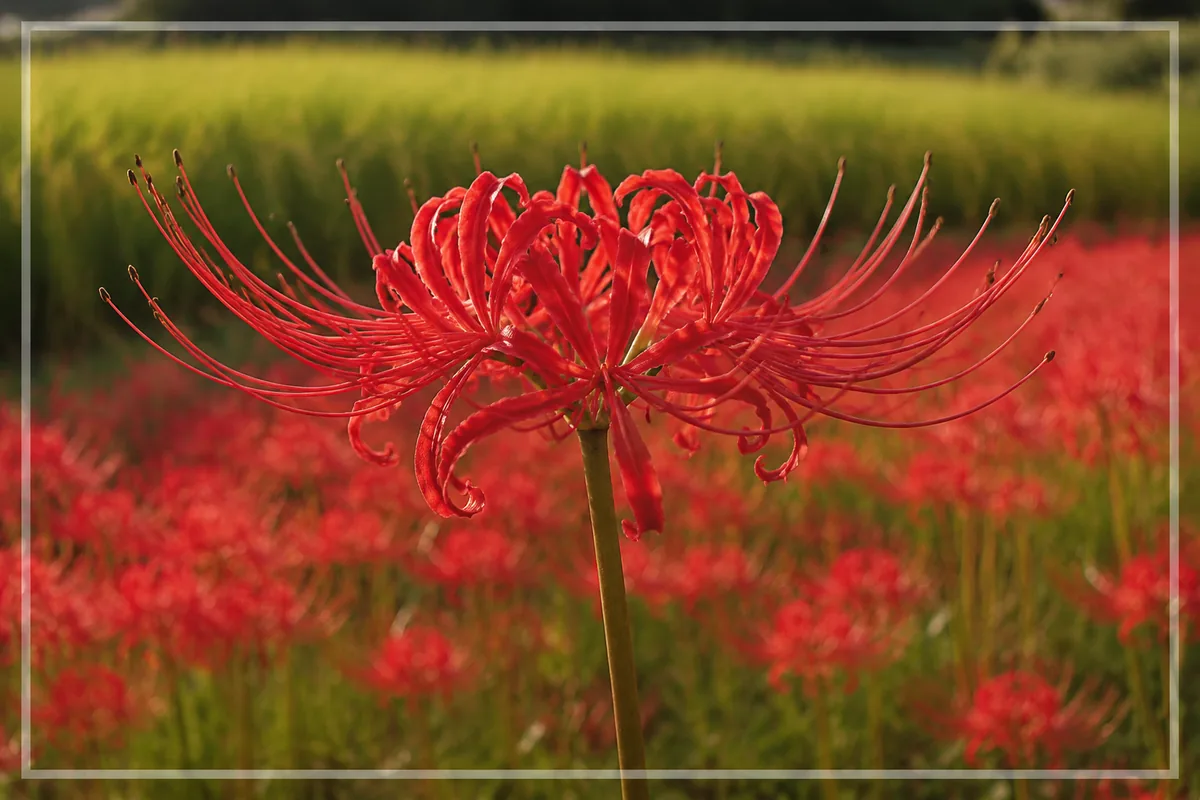
Photographing Red Spider Lilies — Why the Red Blocks Up and How to Shoot Drifts

Three-Generation Family Photos — Why Everyone Stiffens and How to Arrange Them