Shooting Vivid Autumn Leaves — Why They Look Flat, and Adding Dimension
Published Jun 27, 2026
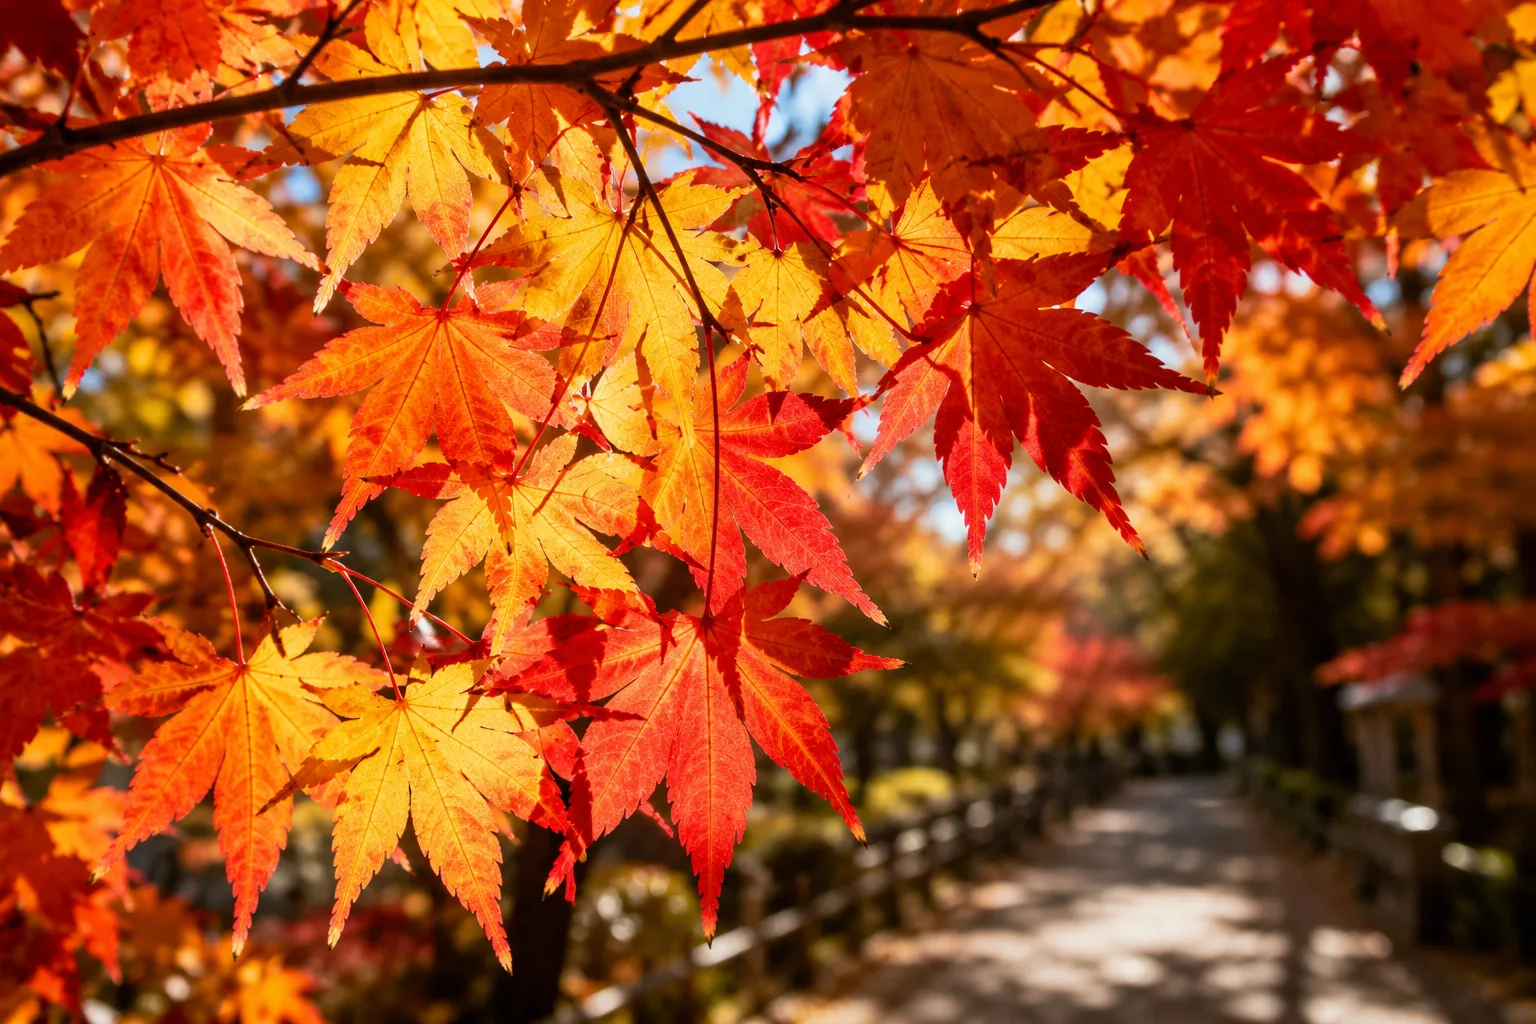
Fall foliage is all about color, but it tends to come out “duller than reality” or “wide but flat.” The causes are light direction, not moving in, and a blown-out sky. Even on a phone, being mindful of light and composition brings out vividness and depth.
Seasonal subject. Foliage turns at different times by region and hemisphere, so use this when the color is in season near you.
Catch the light through the leaves
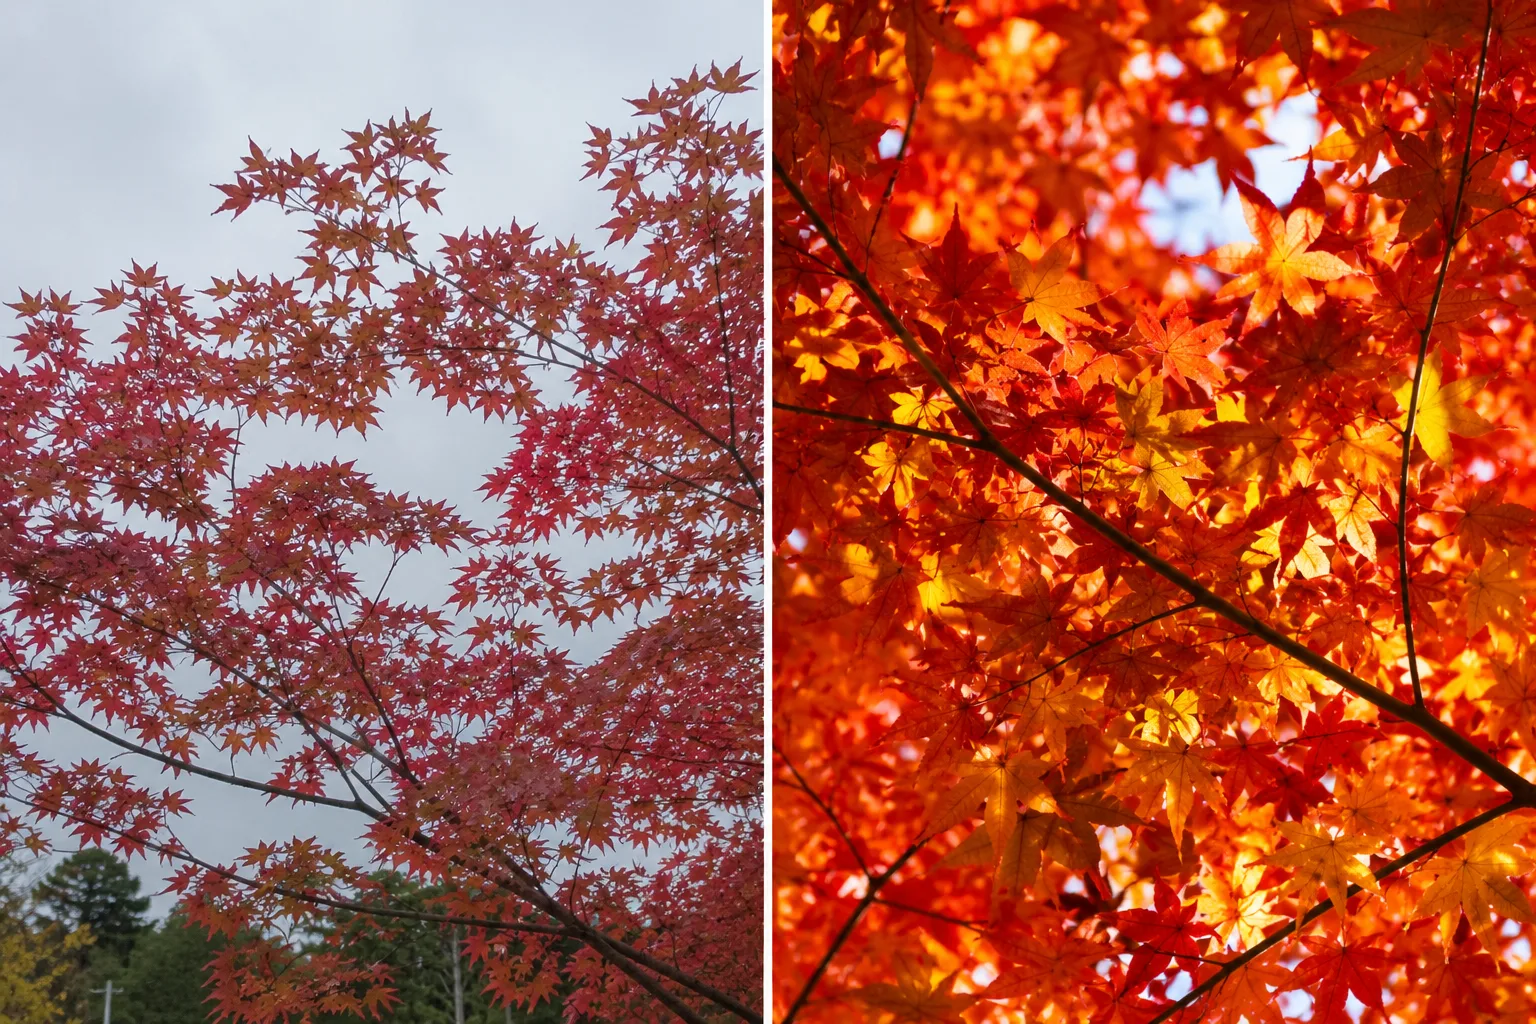
In front light, foliage looks flat and dull. Aim for “transmitted light” coming through the back of the leaves to make reds and yellows glow from within. Find a slightly backlit position and adjust the brightness (→ Making the most of backlight).
Take a step in for foreground and depth
Fit the whole scene in and the color scatters and weakens. Moving in on a richly colored branch or a single tree conveys the foliage’s density and texture. Putting a foreground in front — a branch, stone paving, a lantern — creates depth.
Don’t over-include the sky; hold the brightness down
A lot of cloudy or bright sky pulls the exposure and sinks the foliage into darkness. Keep the sky small and make the foliage the subject, so the color stays rich. Placing the subject on an intersection steadies it (→ Rule of thirds).
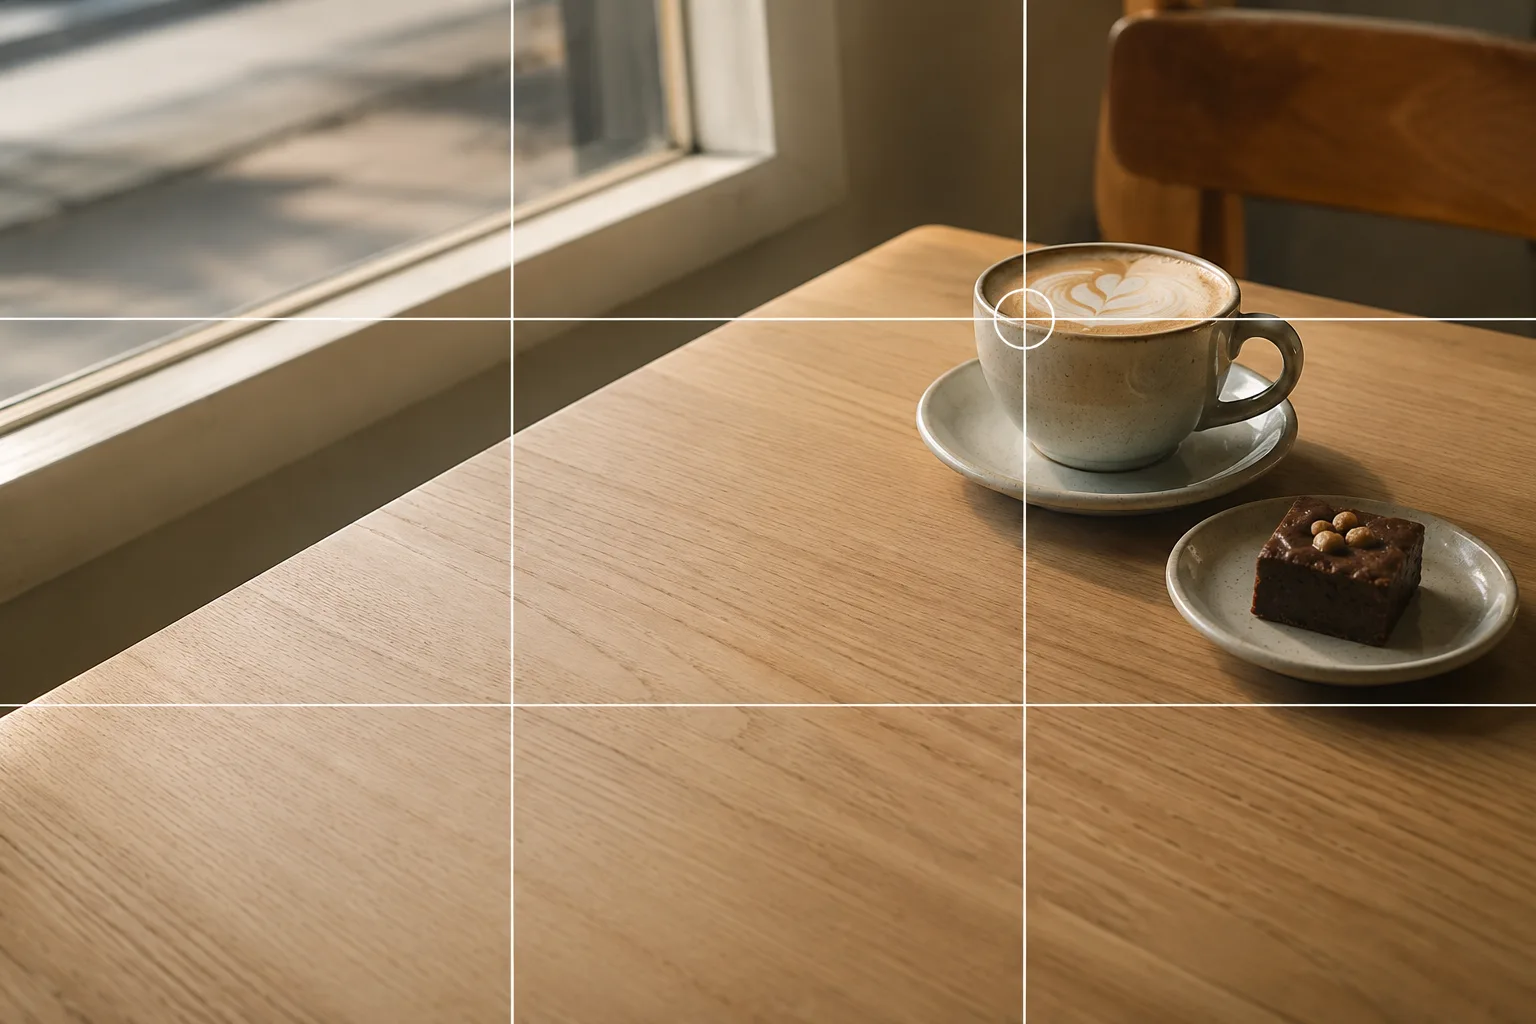 Composition guideRule of thirdsSee the full guide for this composition →
Composition tips
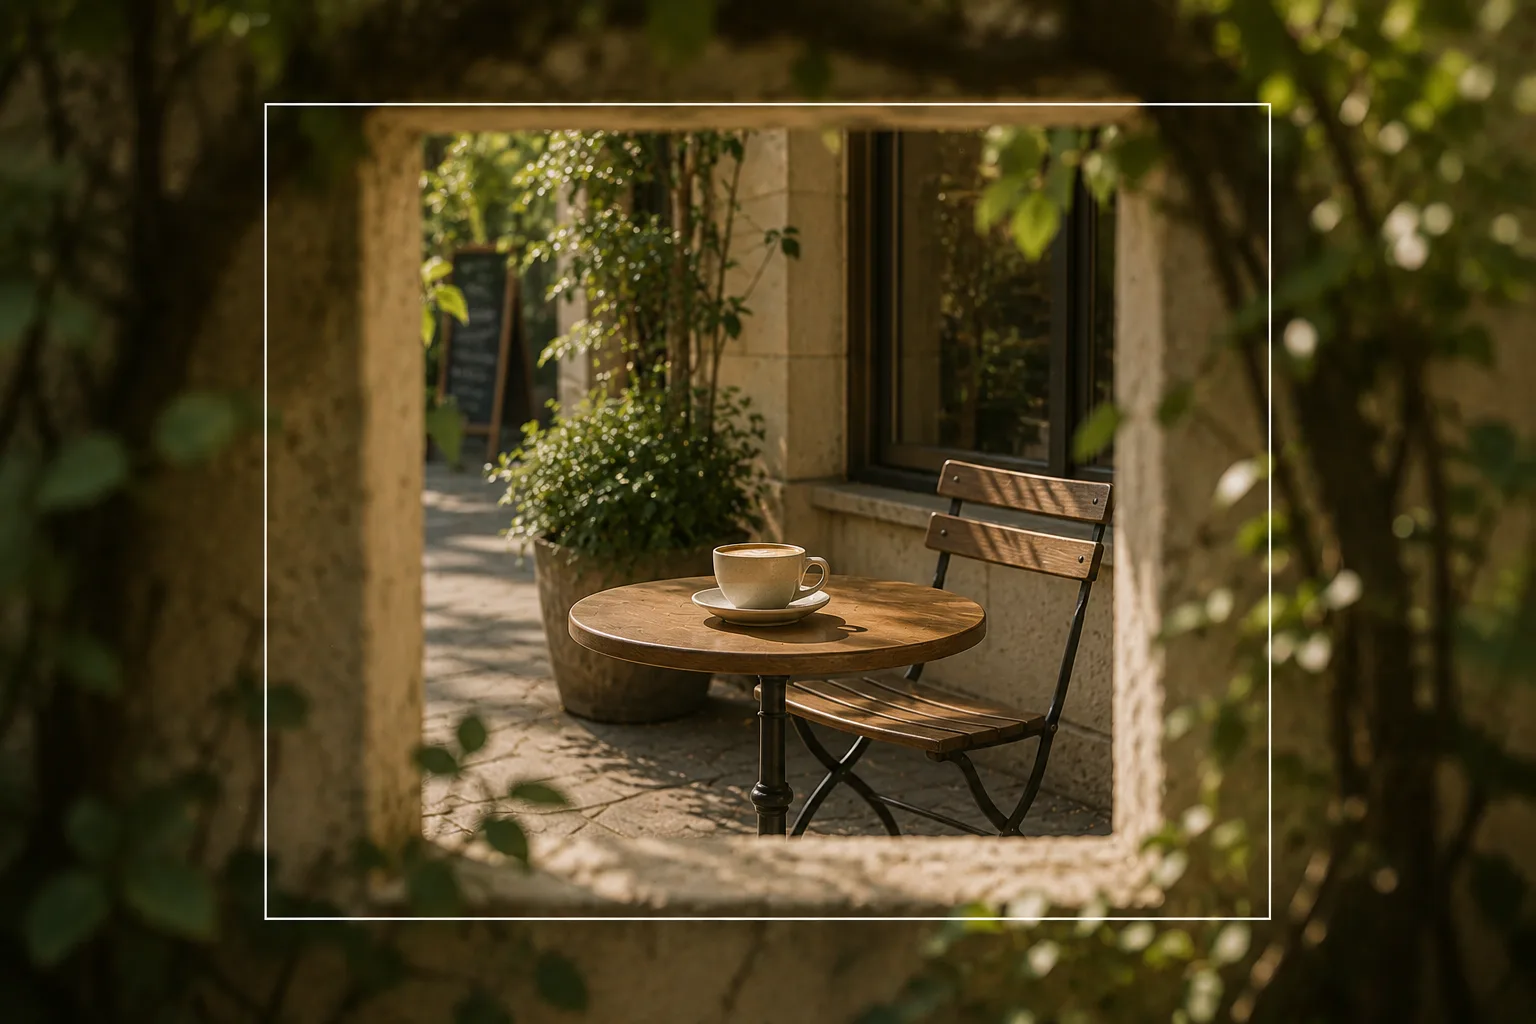
Including a path or a row of branches running into the distance — an avenue, a temple approach — leads the eye inward for dimension (→ Leading lines). Cropping the foliage through a gate, a window or foreground branches lifts the subject like a picture frame (→ Framing). Tying in water or illuminations lets you enjoy night sparkle with the foliage together (→ Night views and illuminations). Where the trees themselves form a row, as with ginkgo, using the avenue as a line suits better (→ Photographing ginkgo avenues).
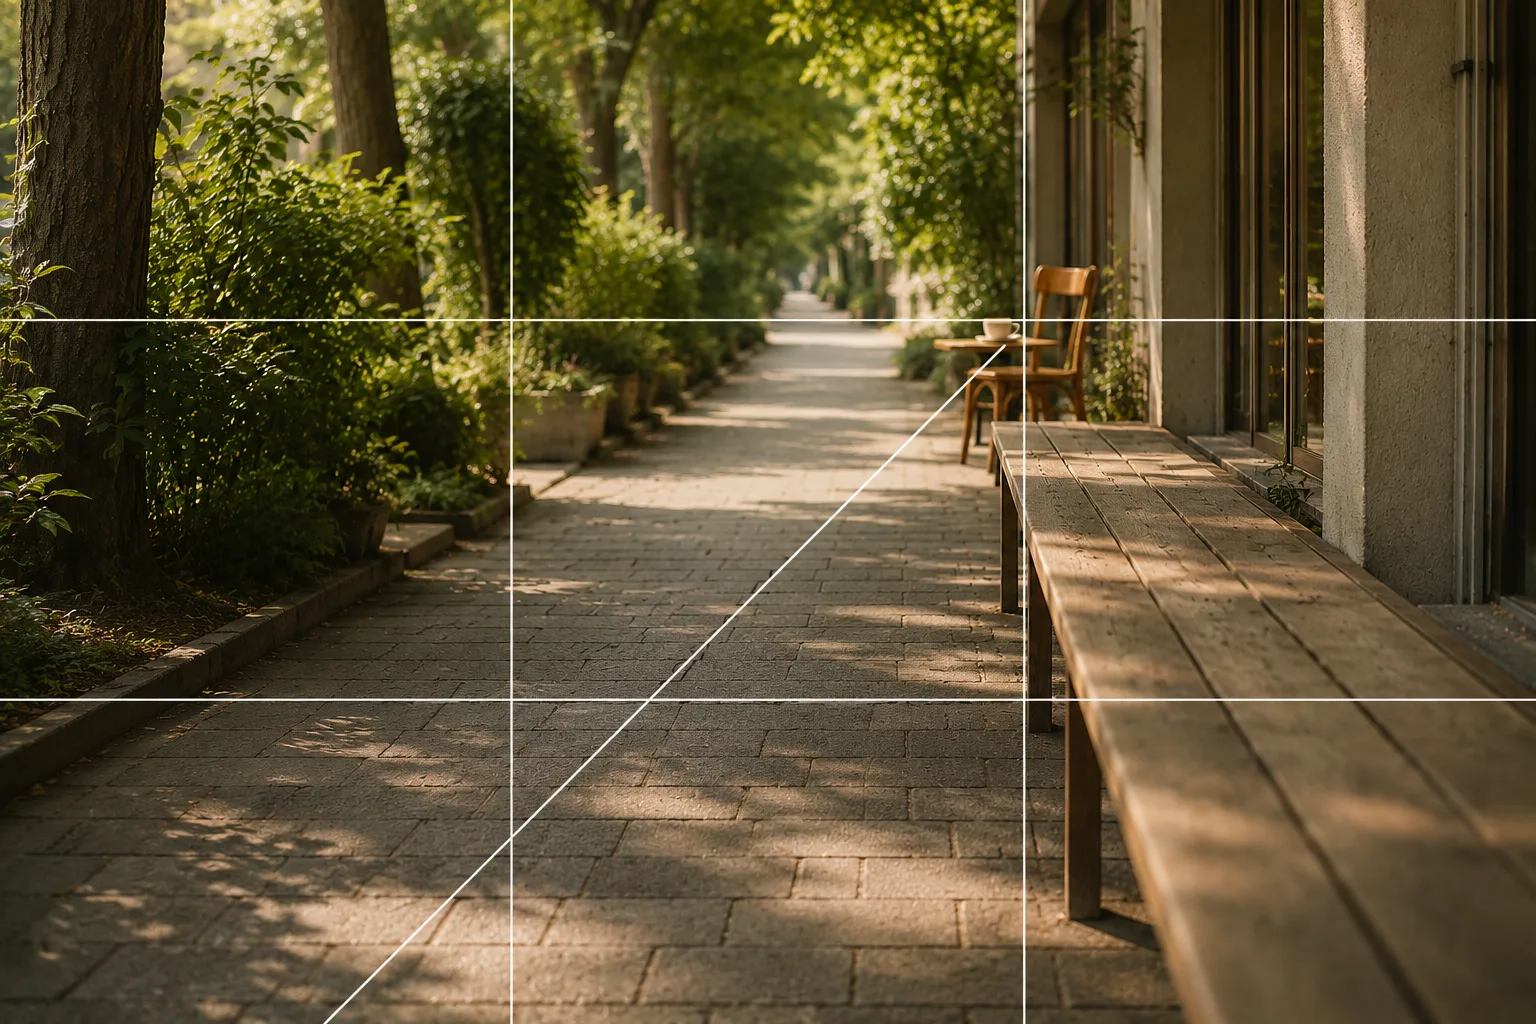 Composition guideLeading linesSee the full guide for this composition →
Start with just this
Find a position where light comes through the back of the leaves, move in on a richly colored part, and don’t include too much sky. Make depth with a foreground and a line into the distance. That cuts down a lot of “dull and flat” in fall foliage.
FAQ
The reds in my fall foliage look dull.
Aim for "transmitted light" — light coming through the back of the leaves — to render reds and yellows vivid. Find a slightly backlit position rather than front light, and don't include too much sky, so the color stays rich.
My wide foliage shots look flat.
Put a foreground — a branch, stone paving — in front, and compose so the eye flows into the distance, for depth. Moving in on a richly colored part often conveys more than the whole.
Related reading
Compositions used
Related subject guides
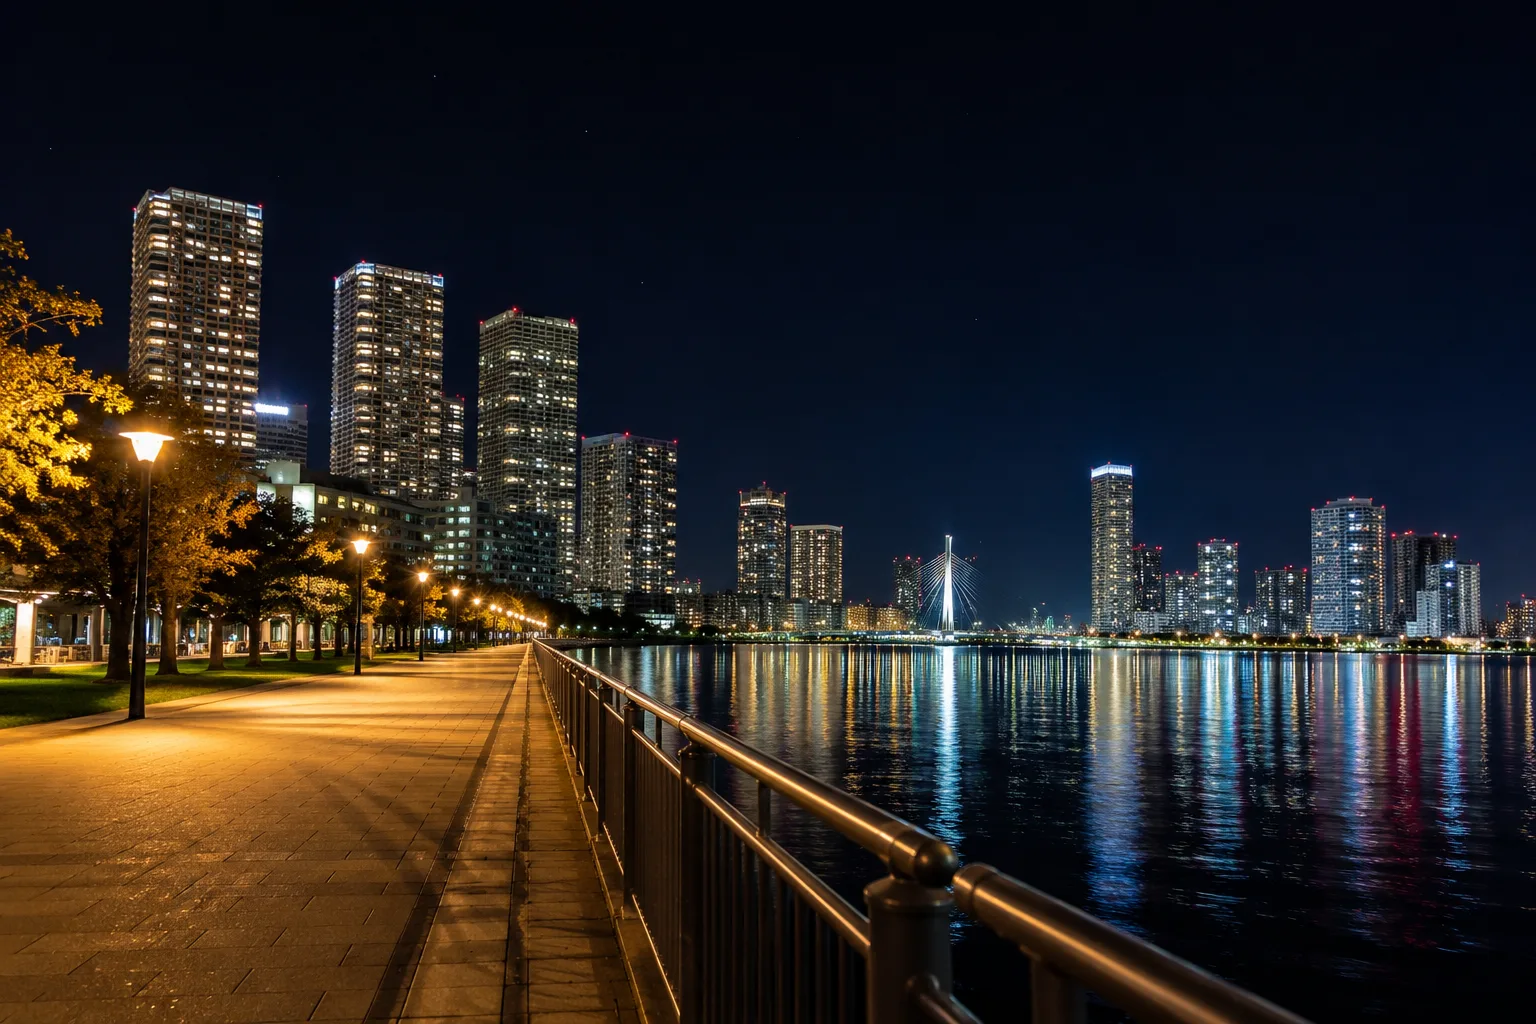
Shooting Night Views and Illuminations Crisp — Why They Blur, and Night Mode

Shooting Faces and Food Bright Even in Backlight — Why It Goes Dark and the Fix
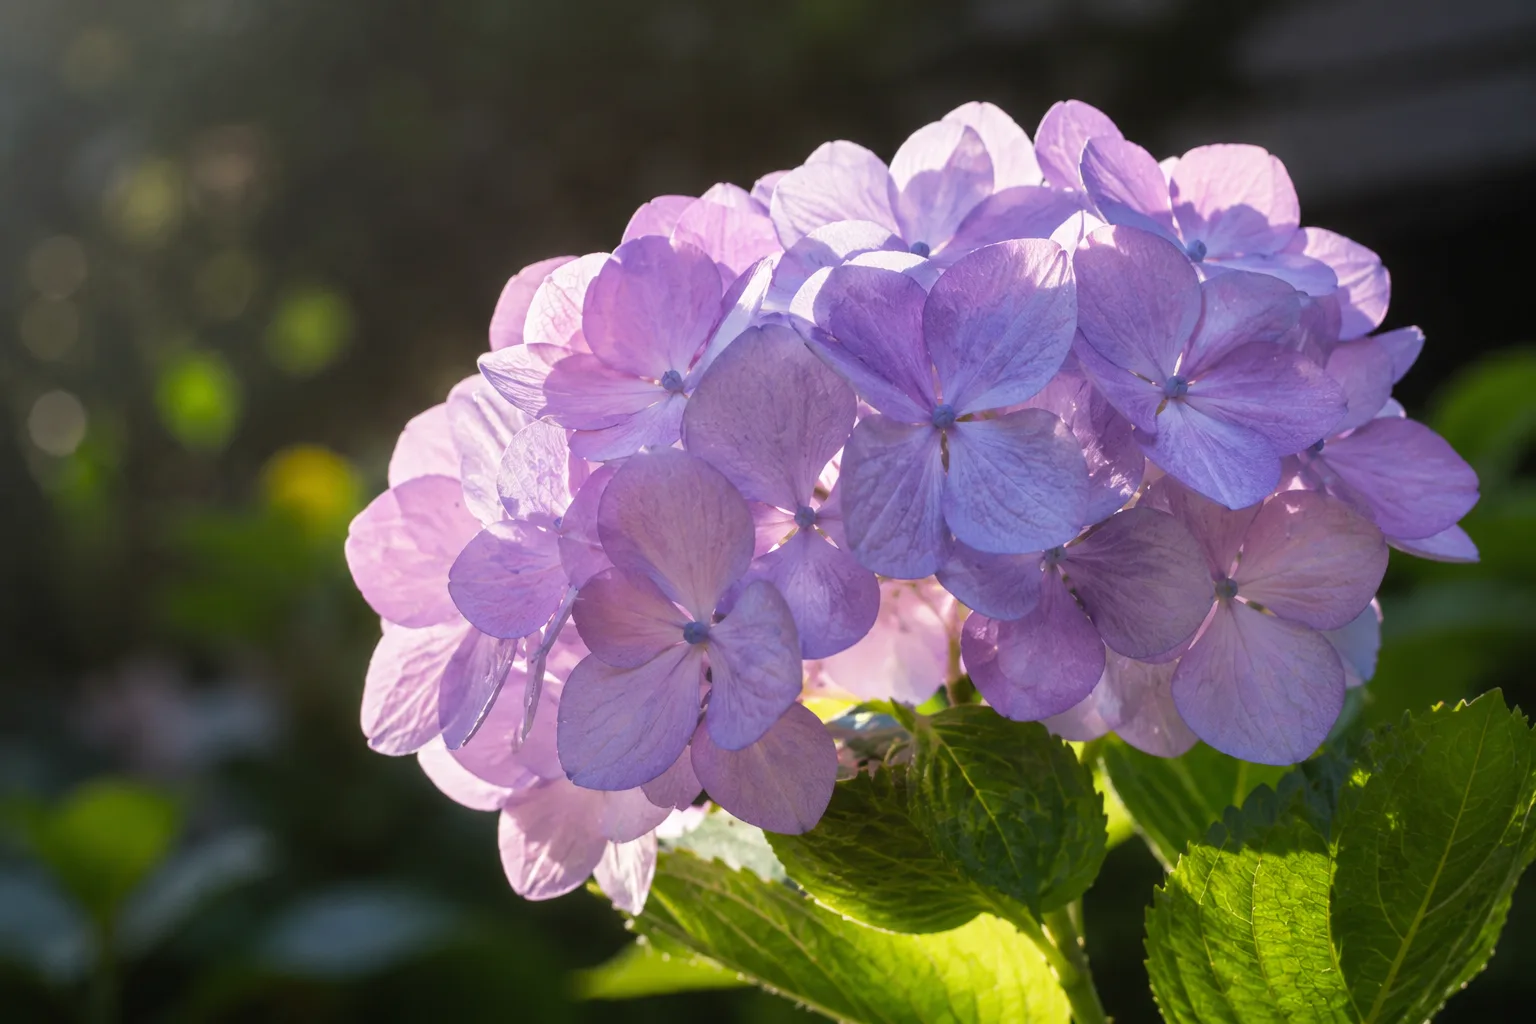
Composing Flowers That Stand Out — Closeness, Light and Background
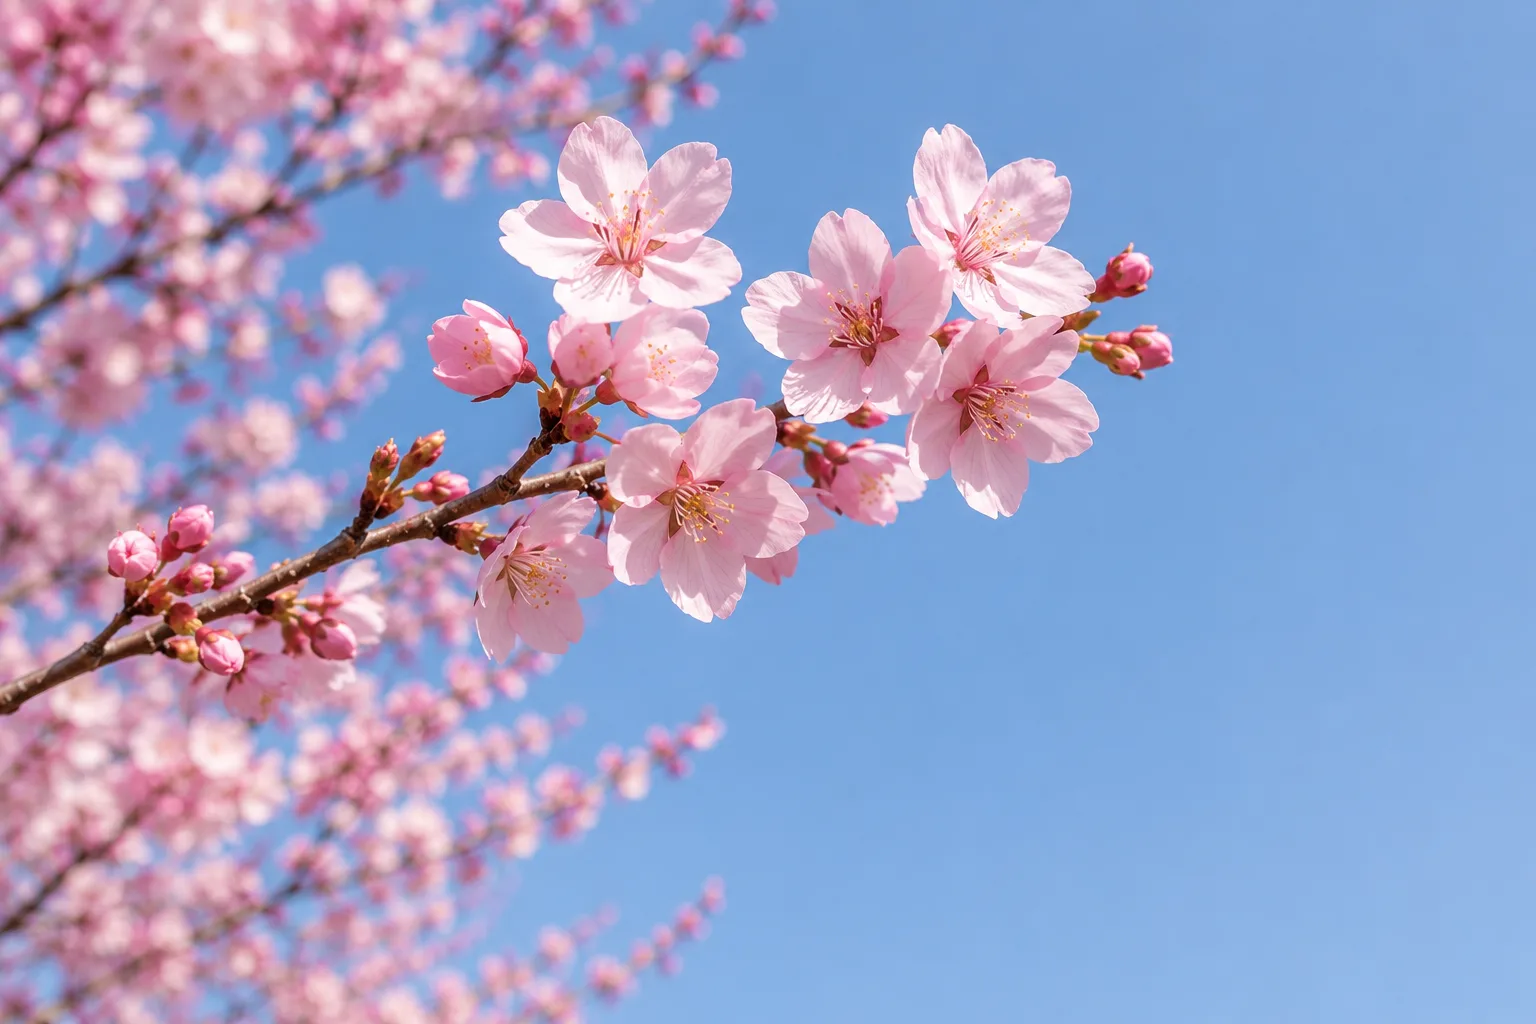
Shooting Cherry Blossoms Strikingly — Why They Wash Out, and Using Color and Sky
Shooting Fresh, Dewy Hydrangeas — Why They Look Hazy, and Bringing Out Color
Photographing Ginkgo Avenues — Why They Look Flat and How to Use the Rows
Photographing Red Spider Lilies — Why the Red Blocks Up and How to Shoot Drifts