Food Photos Look Tastier with the Rule of Thirds — Placing the Subject
Published Jul 3, 2026
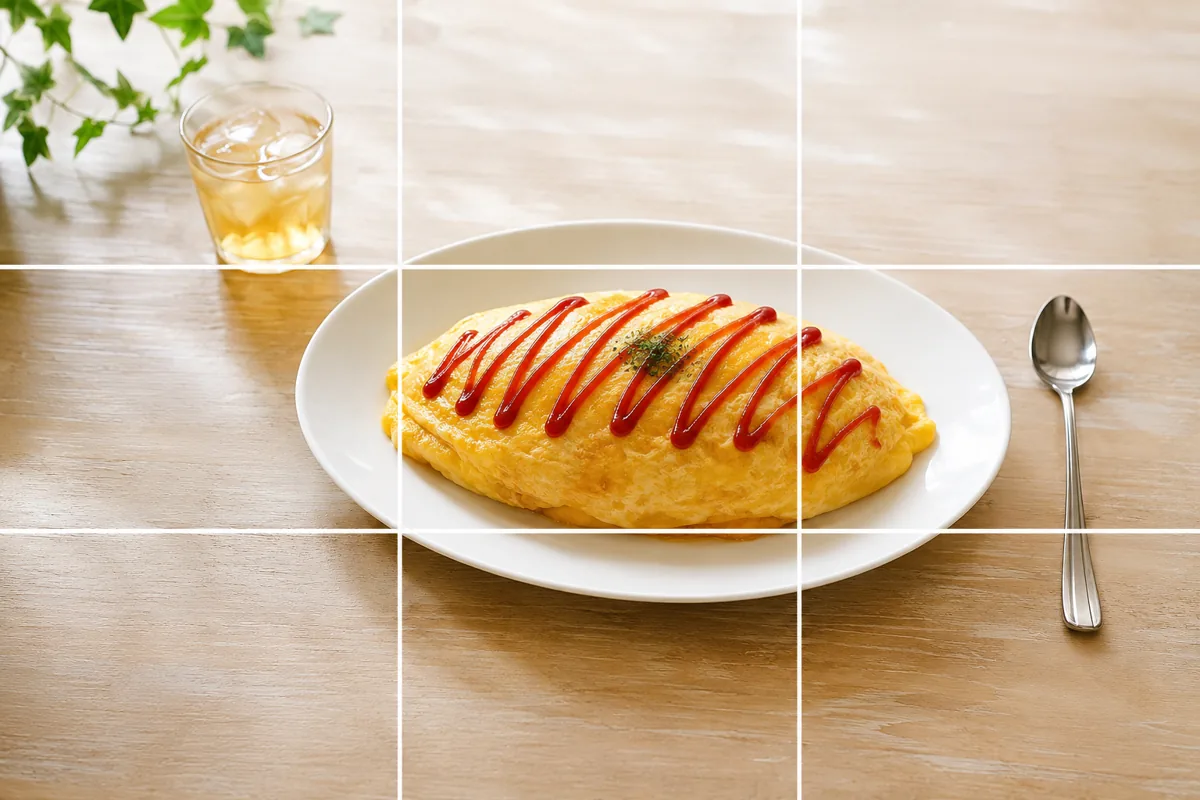
You shot the meal, but it looks “kind of bland” or “amateurish” — and the cause is often the placement, not the food itself. The most common culprit is planting the plate dead center. Here we use the most beginner-friendly composition, the rule of thirds, to make food look tastier.
Why the rule of thirds works for food
The rule of thirds divides the frame into thirds horizontally and vertically and places the subject on an intersection of those lines. Dead-center placement makes the composition stiff, so food ends up looking like an ID photo; shifting it to an intersection creates a natural flow for the eye and leaves room to add space or a drink on the open side. The same dish starts to look like a plate at a restaurant (→ What is the rule of thirds?).
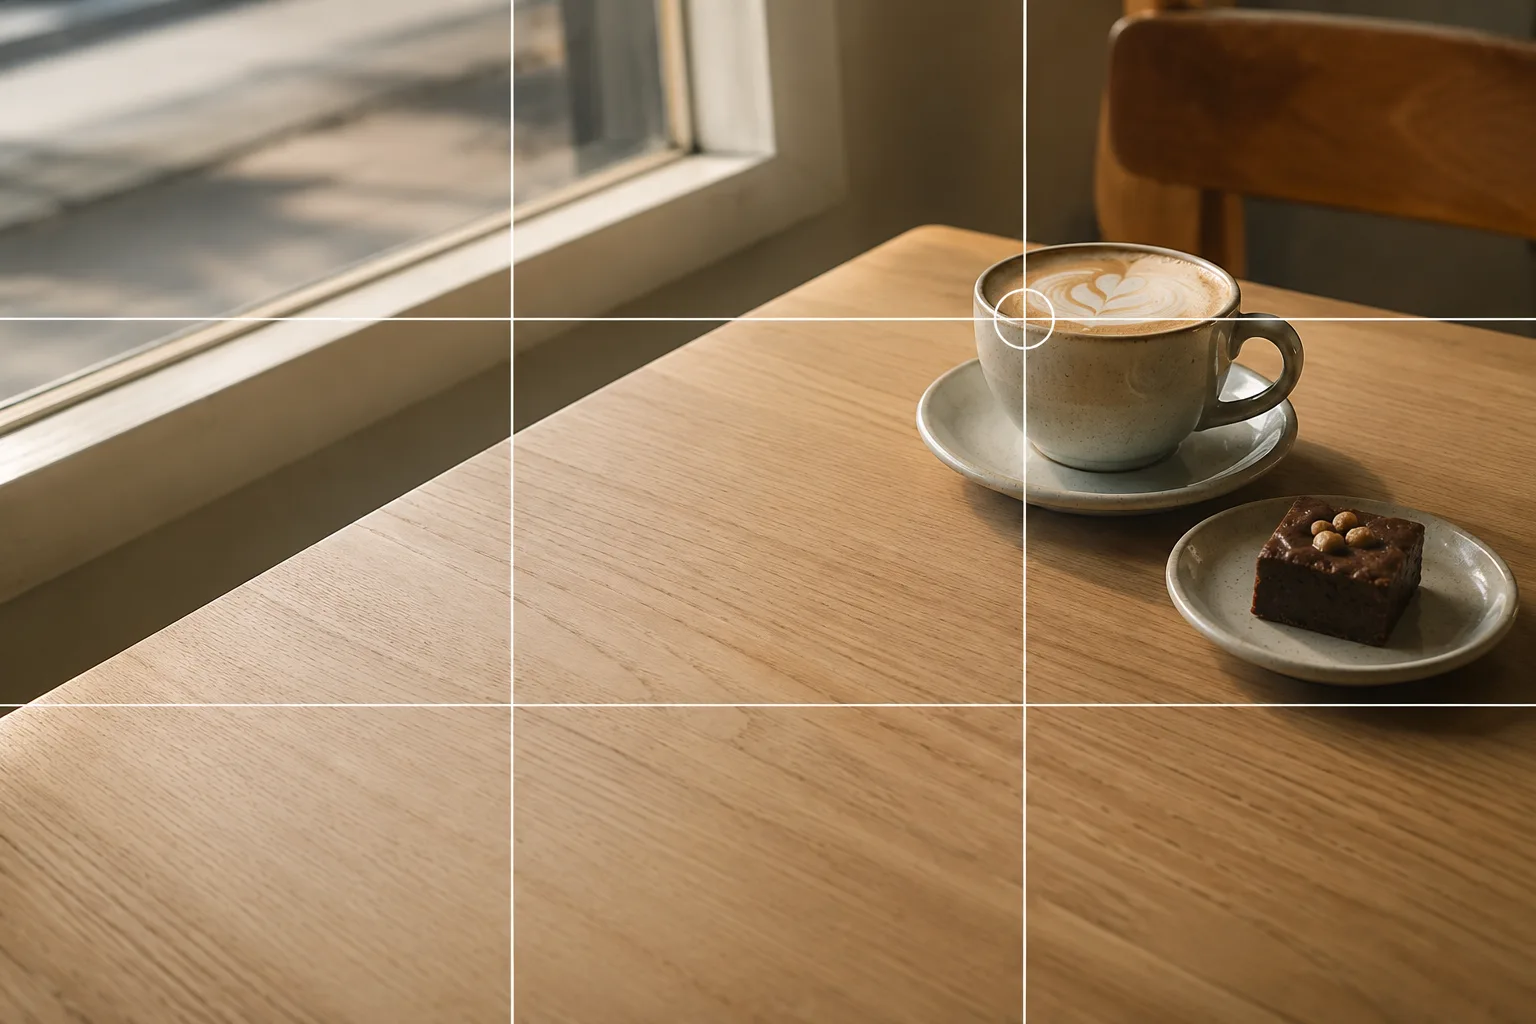 Composition guideRule of thirdsSee the full guide for this composition →
The steps on your phone (3 steps)
First, turn on the grid. When the nine-cell lines appear, line up the part you most want to show (the ketchup on an omurice, the peak of toppings on a bowl) with one intersection. Next, pull back a little to open space on the opposite corner and add a drink or cutlery there as a supporting element. Finally, set focus on the subject and adjust the brightness.
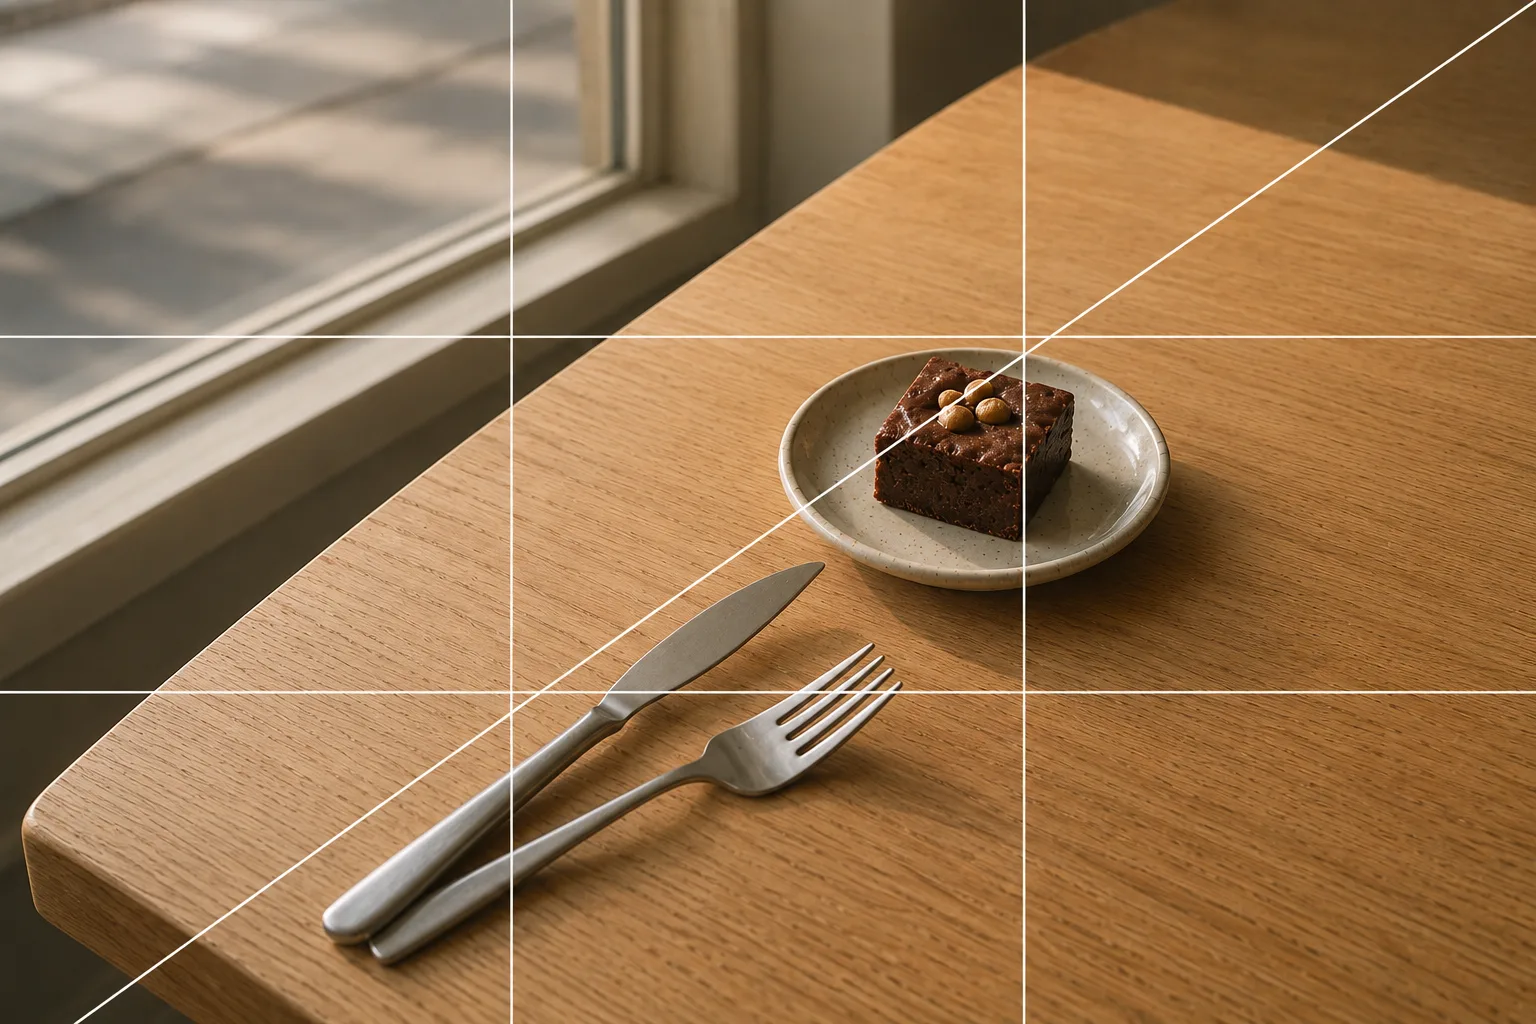
Tall dishes at 45°, flat dishes from overhead — at either angle, the pattern “subject to an intersection, supports or space on the diagonal” works the same way.
Turning on the grid on iPhone and Android
The rule of thirds starts with the grid, and turning it on differs a little by phone. On iPhone, go to Settings → Camera → Grid and switch it on; the nine-cell lines then stay on in the camera. There’s no switch inside the camera app, so turn it on in Settings first. On Android (Pixel, Galaxy, Xperia, AQUOS and others), open the camera and turn on “Grid” or “Grid lines” from the settings (gear) or “More” menu. Some phones let you pick a type such as “3x3” or a fine mesh — choose the 3×3 grid for the rule of thirds (→ Turning on the grid).
Common mistakes and fixes
Sliding the subject back to center is the first stumble; even with the grid up, you’ll want to line it up in the middle, so commit to shifting it all the way to an intersection. Too many supporting elements and it’s unclear what the star is — keep drinks and side dishes to “one or two, small, slightly blurred.” A tilted plate is a near-miss, so line a table edge up with a grid horizontal to level it. Zooming in until the intersection falls off-frame breaks the thirds, so pull back enough to fit the whole subject.
Compare across compositions
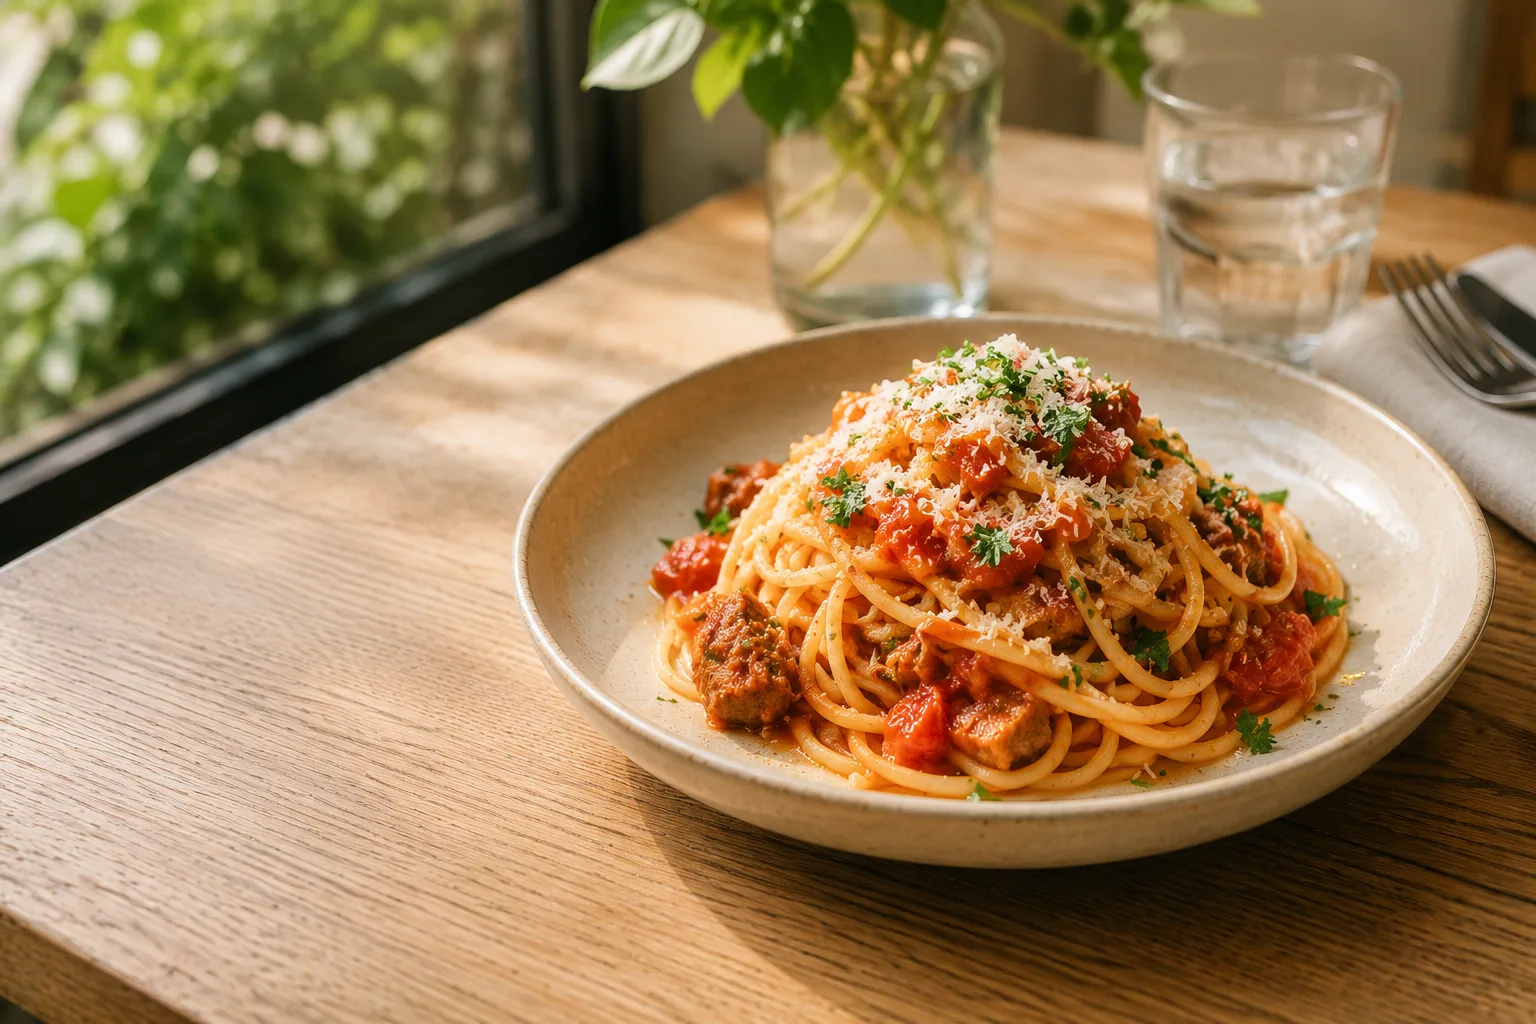
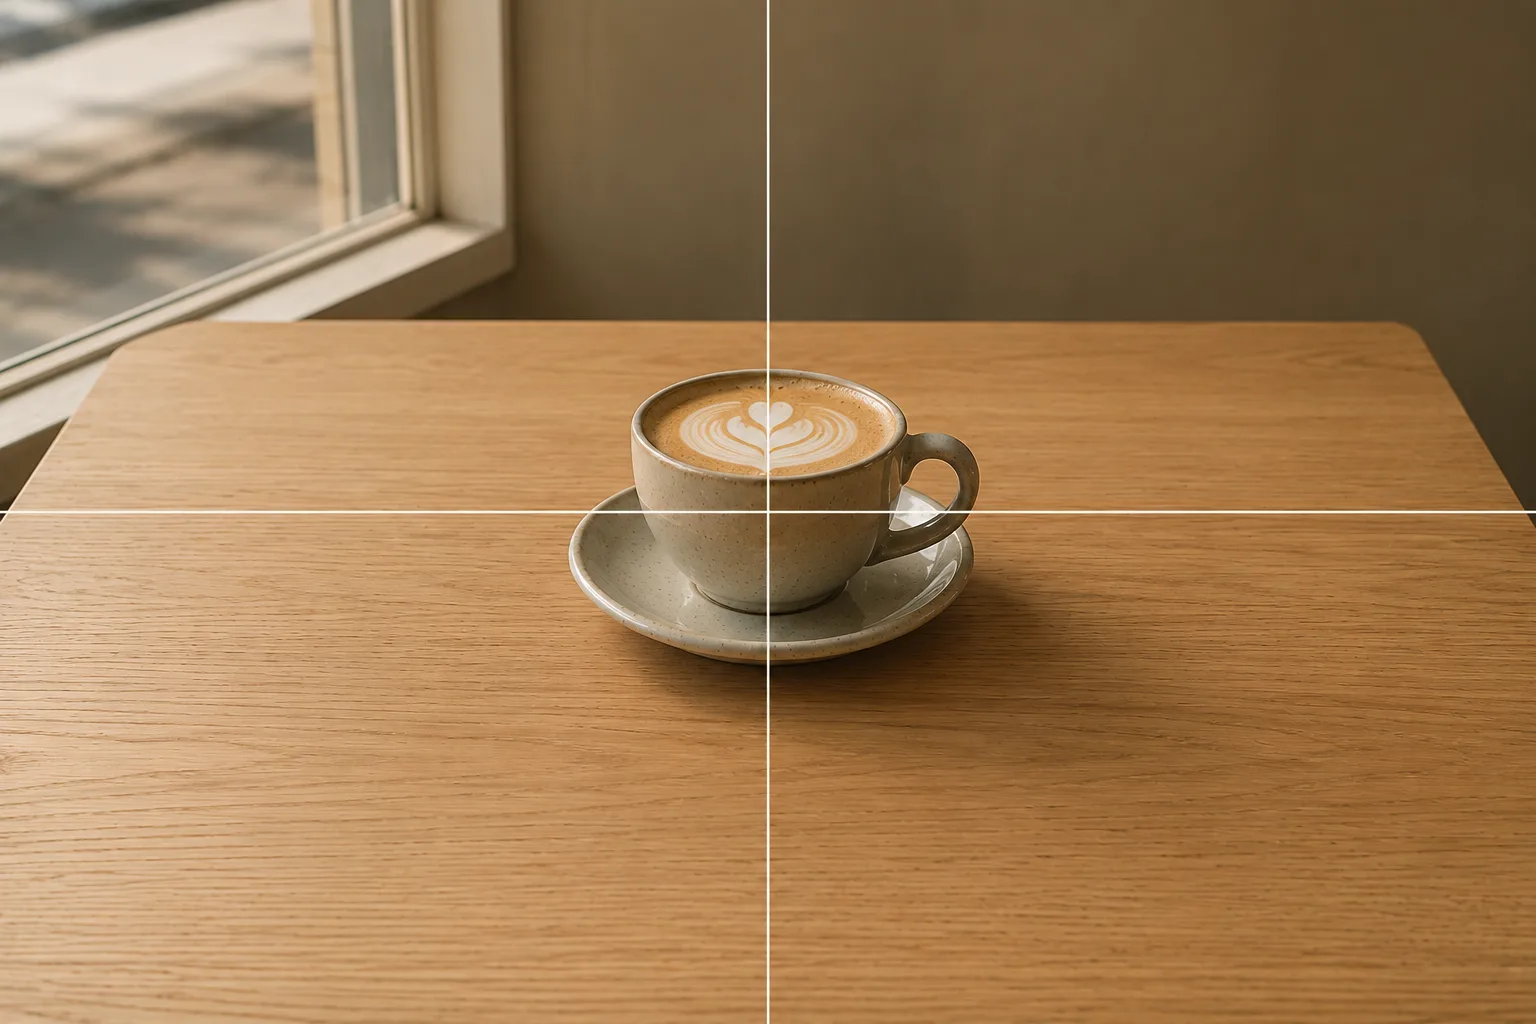
The same omurice reads differently across the rule of thirds, a dead-center composition, and a diagonal. Comparing them in the gallery below makes the “place it on an intersection” effect easy to see.
Overlay the thirds grid at /en/try
The feel for intersections comes fastest when you’re actually holding the camera. Open the thirds frame in the composition finder (/en/try?frame=rule-of-thirds) and a thirds grid overlays your camera. Shift the subject toward an intersection and check how the space on the diagonal looks.
Start with just this
Turn on the grid, line the part you most want to show up with an intersection, and add a drink or a little space on the diagonal. Level it by matching a table edge to a horizontal, and everyday food looks distinctly more appetizing.
FAQ
Should I shoot food from overhead or at an angle?
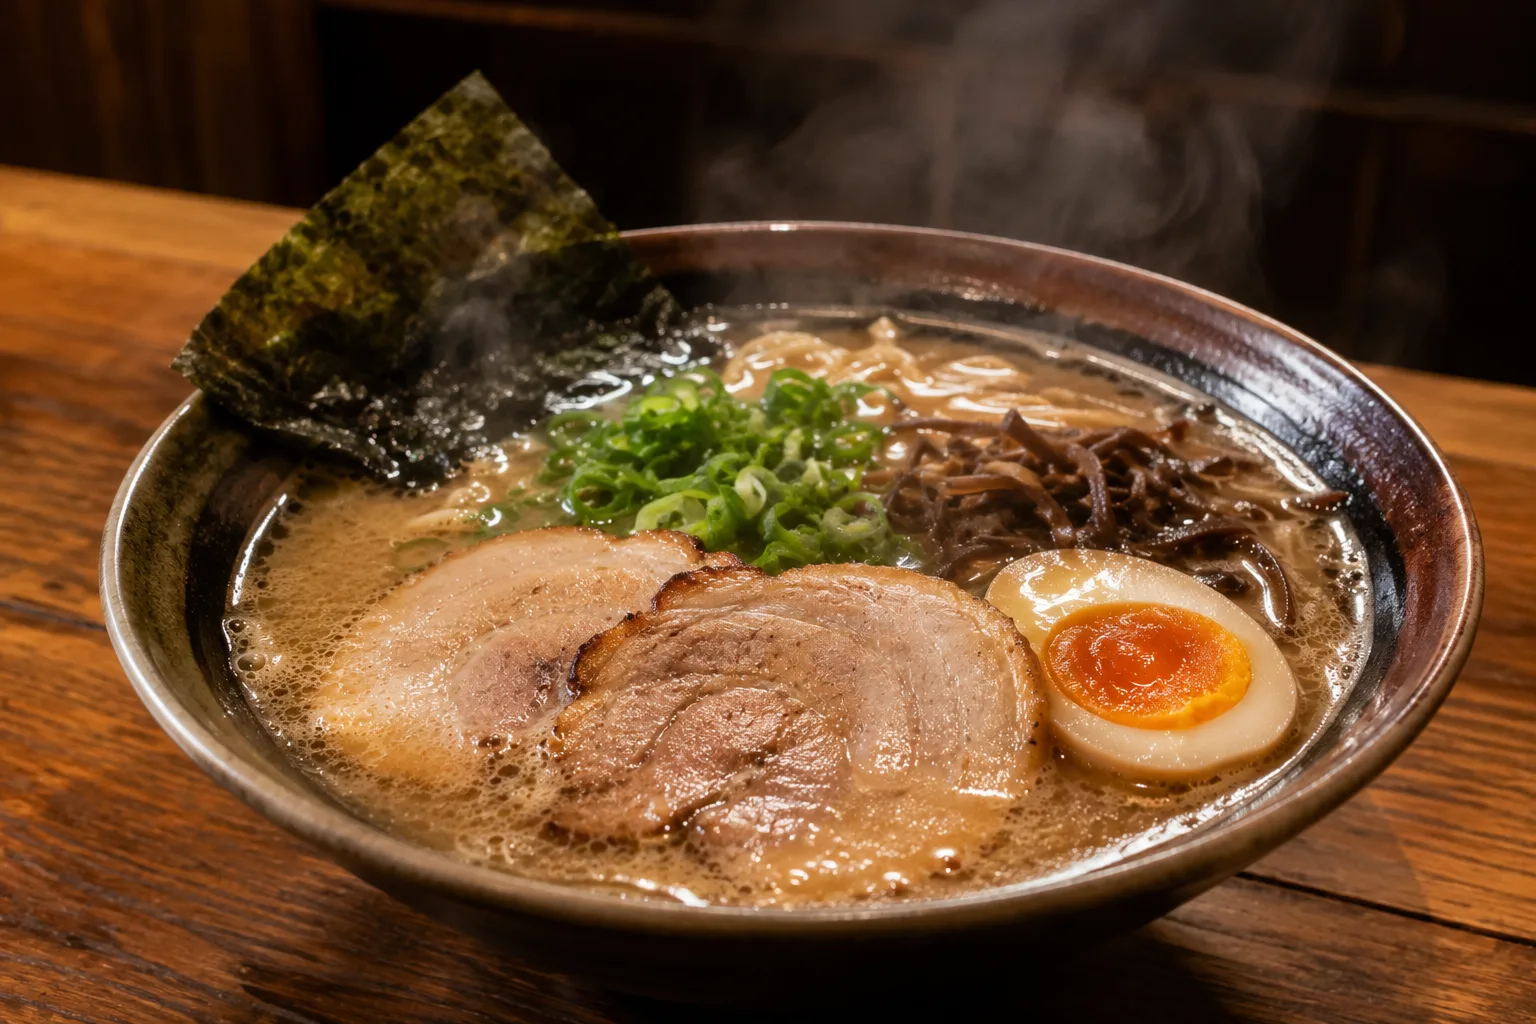
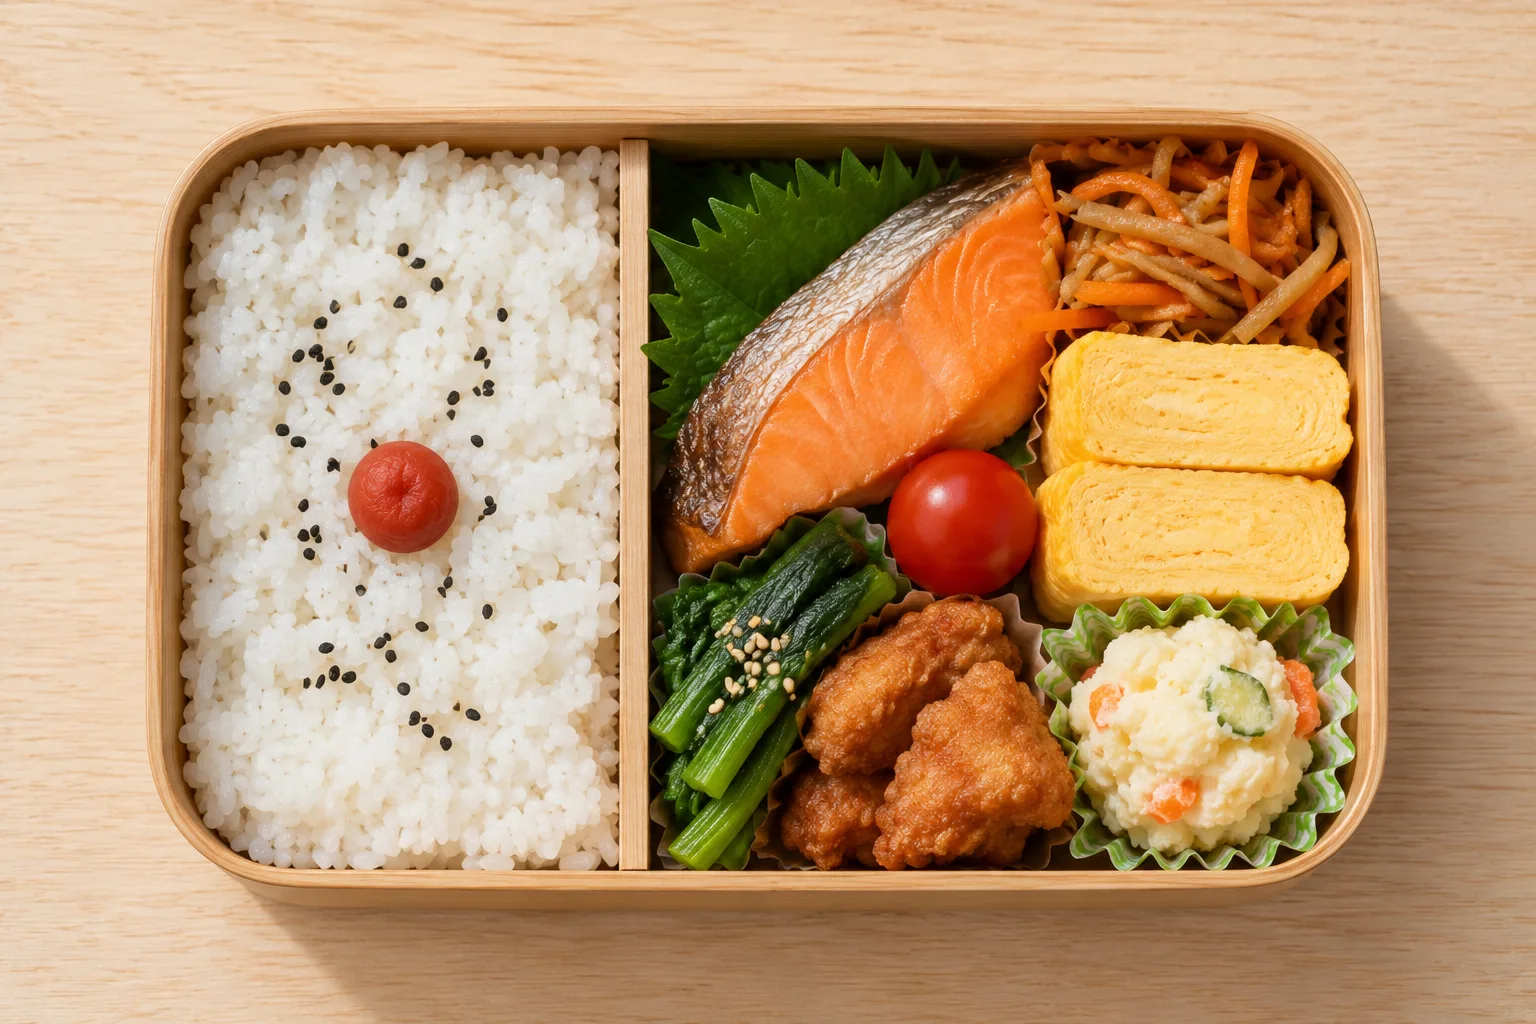
Flat dishes (pizza, a bento, a bowl where you want to show the plating) suit an overhead shot; tall dishes (a parfait, a burger, ramen) suit a 45° angle. At either angle, shifting the plate toward a grid intersection gives the same rule-of-thirds effect.
Won't the food end up pushed to the edge and looking lonely on an intersection?
Add a "supporting cast" on the open side — a drink, cutlery, a small side dish — just a little, and the loneliness turns into a story. Don't make every element star-sized; keep the supports blurred or small. Leaving steam or light in the gap helps too.
I can't decide which intersection to use.
Let the subject's "direction" decide. Place it on the intersection opposite the way it points — the tip of the omurice, the direction a spoon lies, the taller side of a bowl of ramen — so the space opens ahead of it. When in doubt, open up the side the light comes from and place the subject on the opposite intersection.
Example gallery
Related reading
Compositions used
Related subject guides