Shooting and Choosing an X Header Photo — Beat the Crop and the Icon Overlap
Published Jul 10, 2026
You set your favorite photo as your X header — and now the top of it is gone and the rest hides behind your icon. This happens all the time. There are three causes: the header is an extreme wide shape, the crop shifts by device, and your icon overlaps the lower left. Once you shoot and choose with these three in mind, the disappointment stops. Let’s go in order.
Know that the header is an extreme wide band
The header displays at roughly 3:1 — an unusual, very wide shape for a photo. Set a standard 4:3 phone photo and most of its top and bottom get sliced away. Even 16:9 isn’t wide enough. In other words, the header isn’t a place to display a whole photo; it’s a place that shows a narrow band cut out of one. Knowing just this changes how you choose.
Place the subject in the vertical middle, away from the lower left
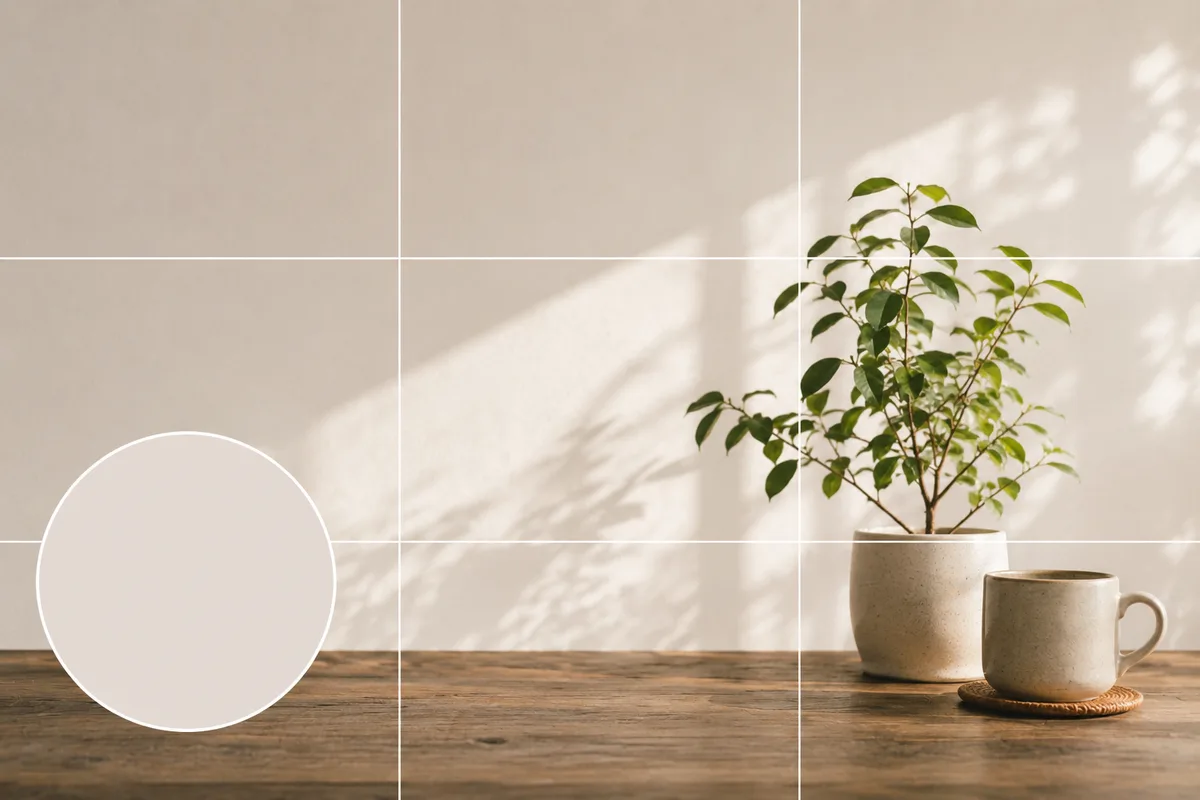
Because the crop shifts by device and screen width, keep your subject in the vertical middle, away from the top and bottom edges. And on the profile screen, your icon overlaps the lower left, so treat that corner as invisible from the start. Placing the subject slightly right of center, with calm surfaces like sky or a wall on the left, lets the photo coexist nicely with your icon and name (→ Negative space).
Shoot horizontal, imagining the band in advance
Shooting for a header? Hold the phone horizontal and imagine the usable band across the vertical middle of the frame. A horizon sits well on the lower third of that band (→ Rule of thirds). Landscapes are the header’s home turf, so the basics in Landscape photos help here. In a wide band, any tilt is glaring — take a second to get the horizon level (→ Fixing a tilted photo).
Finish by cropping to the wide band yourself
When choosing from existing photos, crop to a wide band yourself first and check where the subject lands — it prevents the “that’s not what I expected” moment in the settings screen. Cutting a 3:1 band from a 4:3 photo discards more than half of the area (about 56%), which is exactly why breathing room around the subject at capture time pays off (→ Fixing composition by cropping).
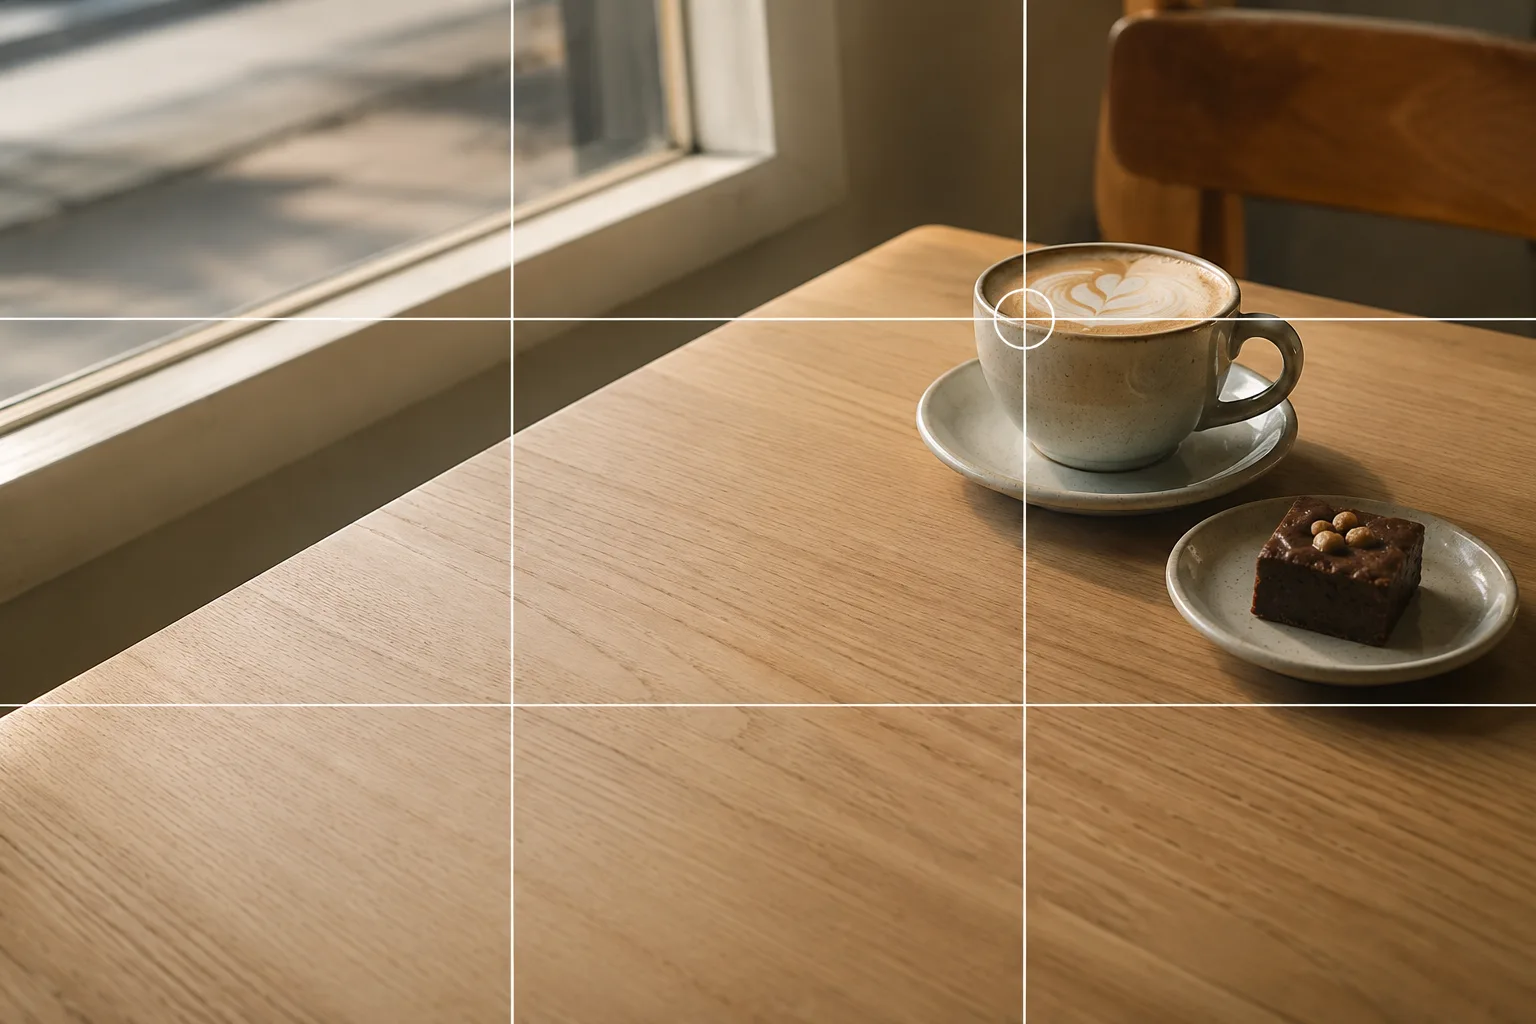 Composition guideRule of thirdsSee the full guide for this composition →
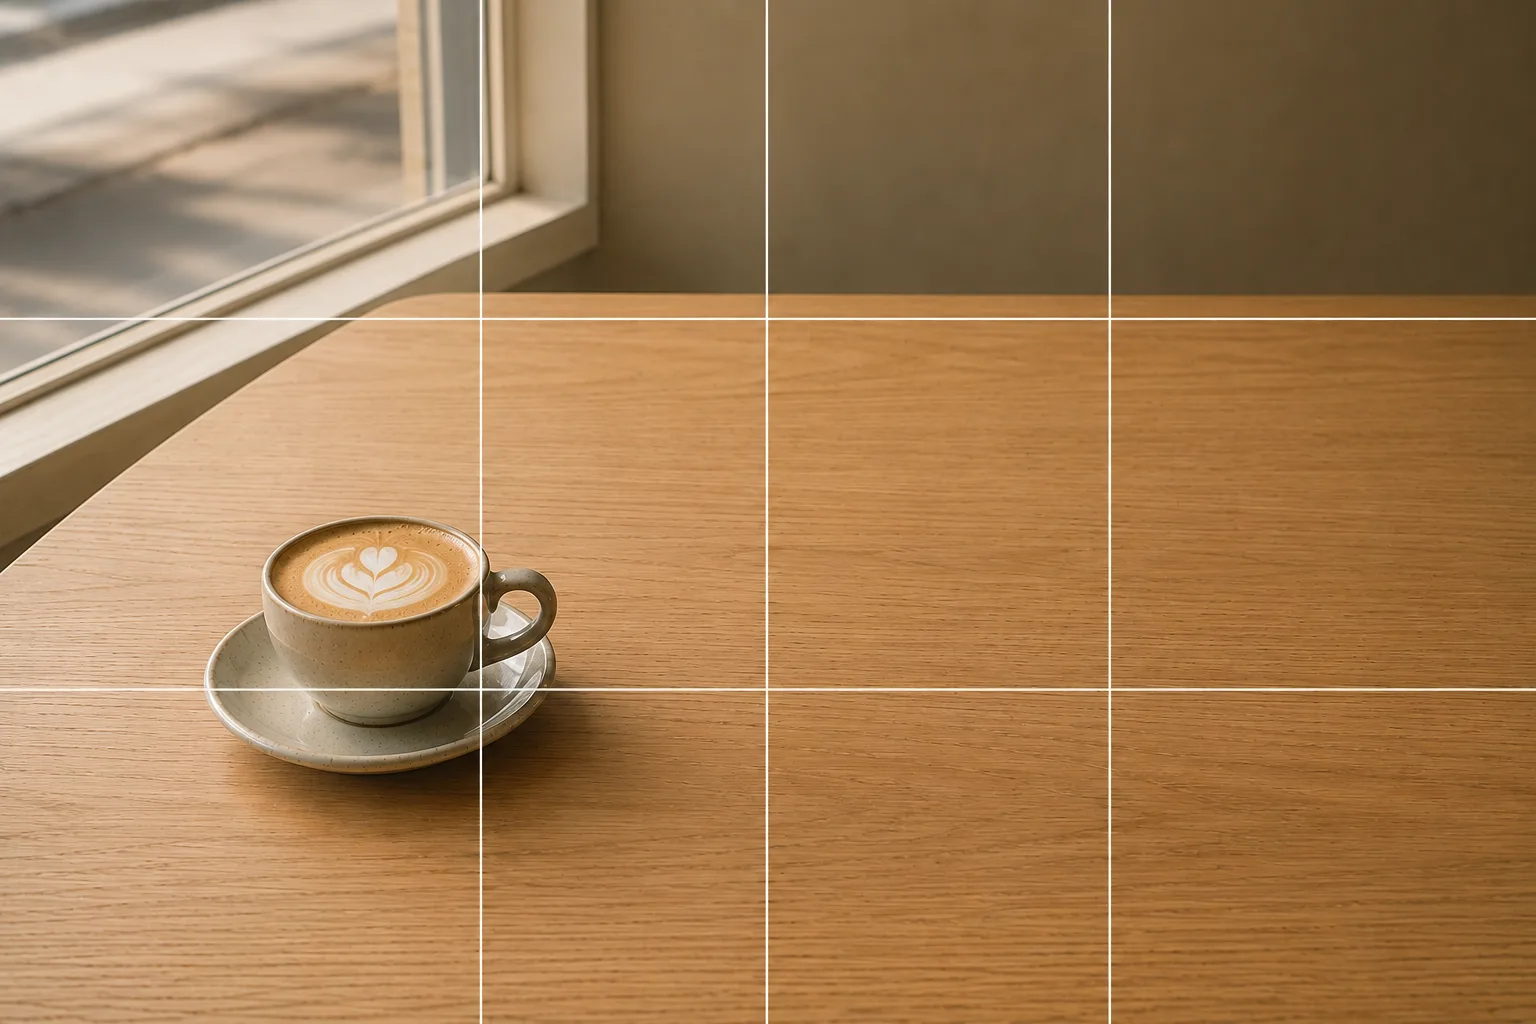 Composition guideNegative spaceSee the full guide for this composition →

Start with just this
The header is a narrow band of roughly 3:1. Put the subject in the vertical middle, slightly right, and leave the lower left for your icon. Shoot horizontal, level the horizon, and crop to a wide band before setting it. The idea of “learn the display shape first, then shoot for it” carries straight over to your Instagram grid and note eyecatch images.
FAQ
What's the recommended header size in pixels?
Exact numbers change with app updates, so it's safer to just remember "an extreme wide band, roughly 3:1." Assume the top and bottom of a normal photo will be cut away, and pick photos whose subject fits inside that narrow band.
Why does it look different on my phone and my computer?
Screen widths and display areas differ by device, so the vertical crop shifts slightly. The safe zone that works everywhere is the vertical middle — keep your subject away from the top and bottom edges, and treat anything near an edge as likely to be cut.
Is a plain photo header too boring without text or a collage?
A photo with well-organized negative space reads as calm and confident. Keep one subject, leave quiet surfaces like sky or a wall open, and your icon and display name stand out better. Think "a background that doesn't compete" rather than "more decoration."
Related reading
Compositions used