Fixing Composition After the Shot — Crop Your Way to Thirds and Negative Space
Published Jul 5, 2026
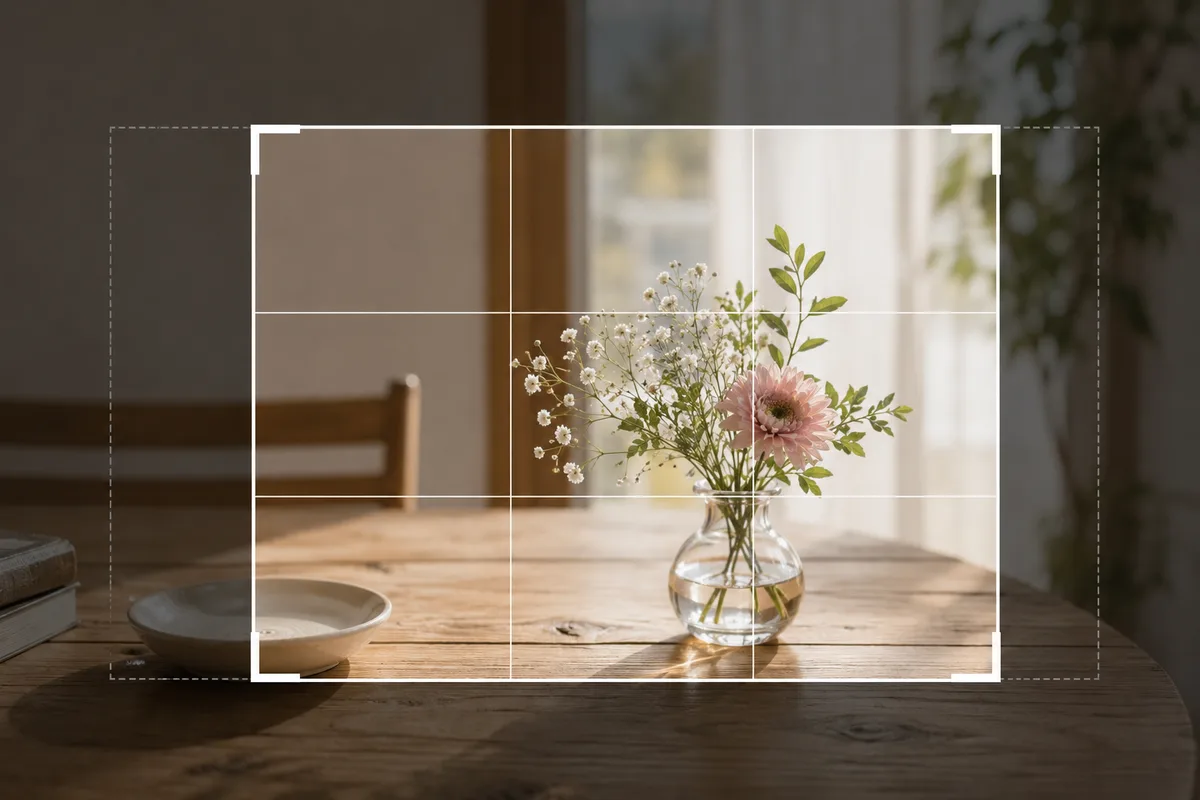
You didn’t notice while shooting, but looking back: the subject is dead center and cramped, or something stray sits at the edge. Here’s the good news — composition can largely be fixed after the fact, with a crop. This is how to use the composition dictionary on photos you’ve already taken.
Crop basics
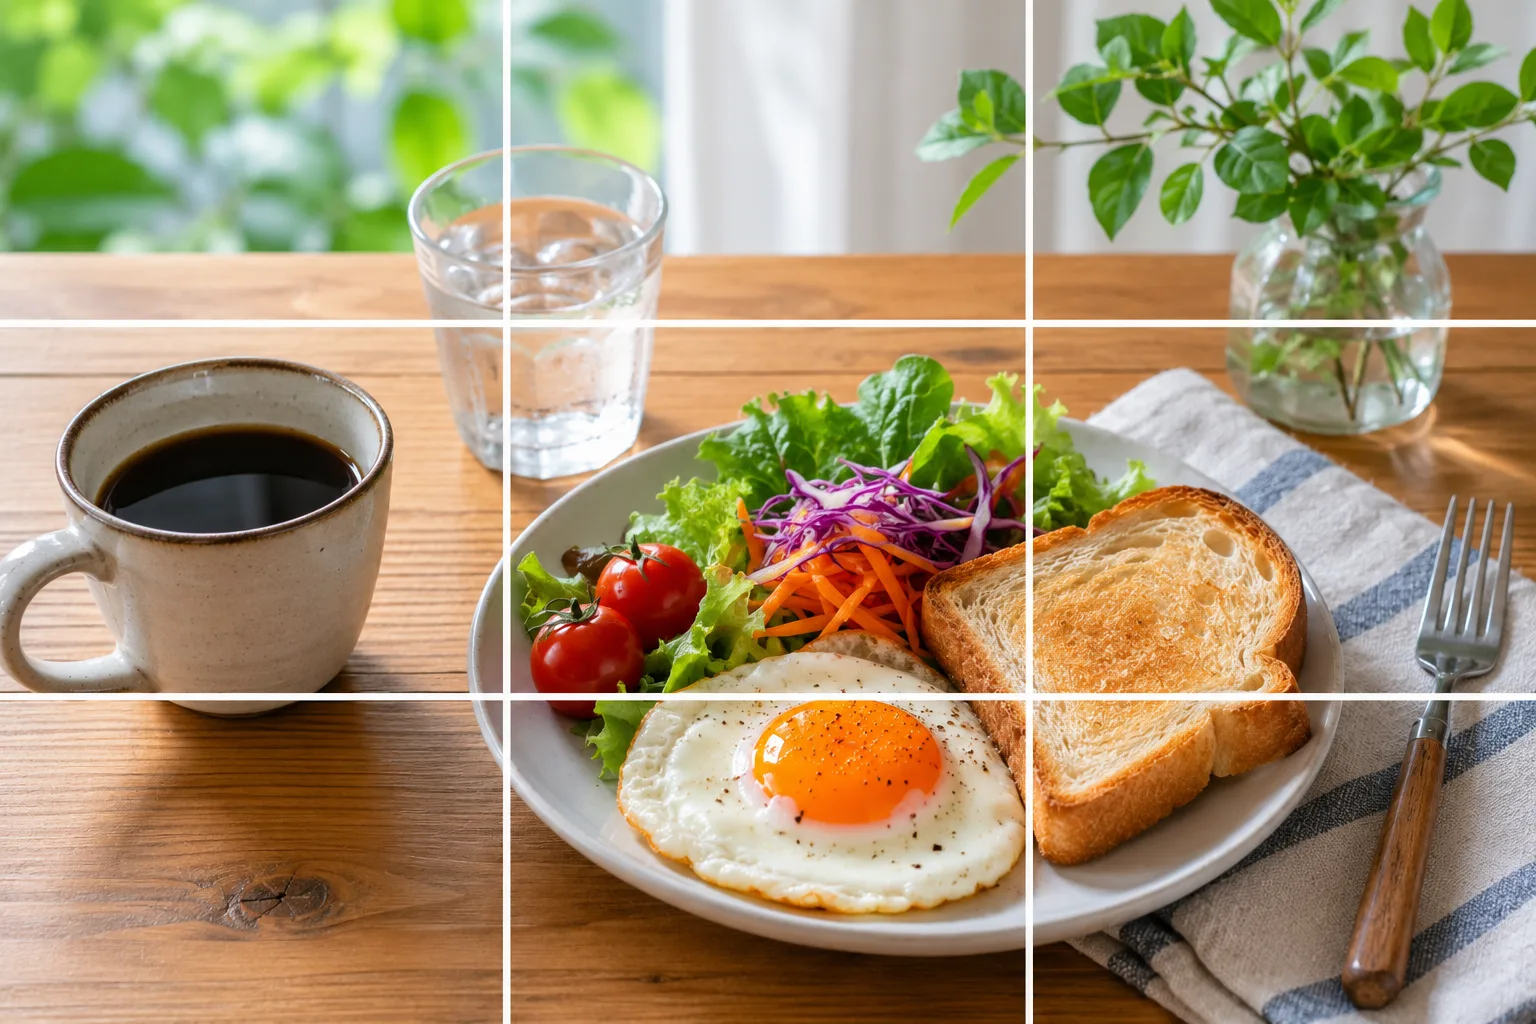
The standard photo app is all you need. On iPhone: open the photo, tap Edit, then the crop icon. On most Androids: Google Photos → Edit → Crop. Drag the corners and a 3×3 grid appears over the crop frame — that grid is your ruler for fixing composition afterward (how to read it → Using the camera grid).
Recreate the rule of thirds
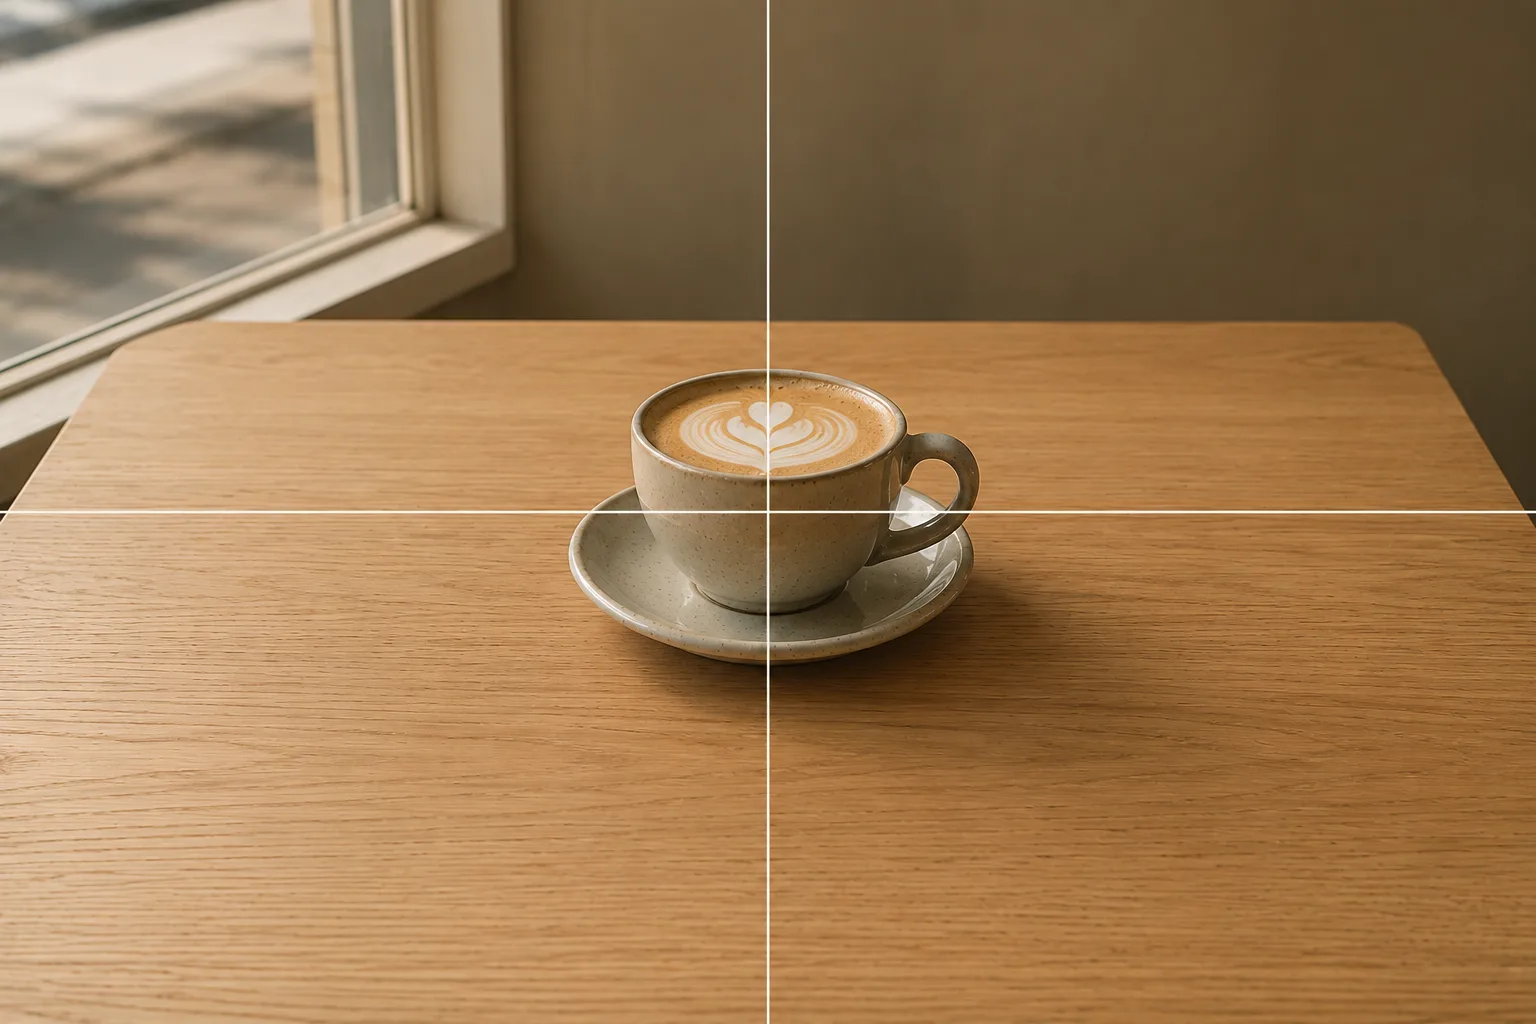
When the subject sits dead center and the frame feels cramped, shift the crop frame so the subject lands on a grid intersection — the photo is reborn as a rule-of-thirds composition. Or re-center the subject precisely for a strong center composition. Center or intersection depends on the subject and background — the same thinking you’d use before the shot applies to the crop frame.
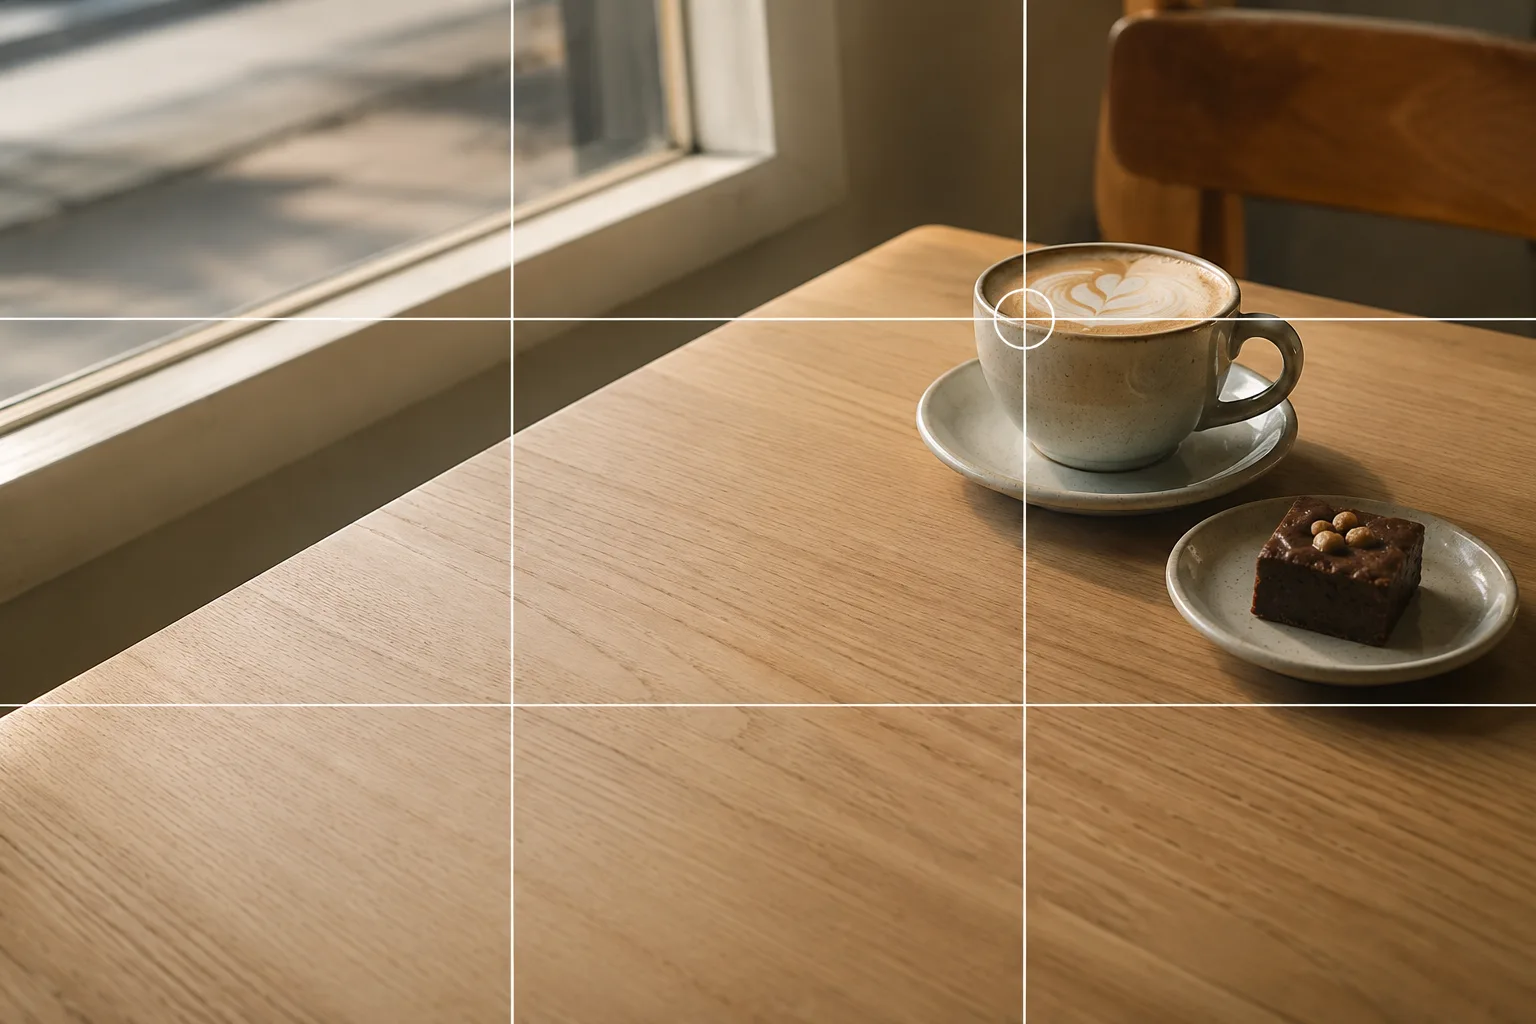 Composition guideRule of thirdsSee the full guide for this composition →
Tidy the space, cut the strays
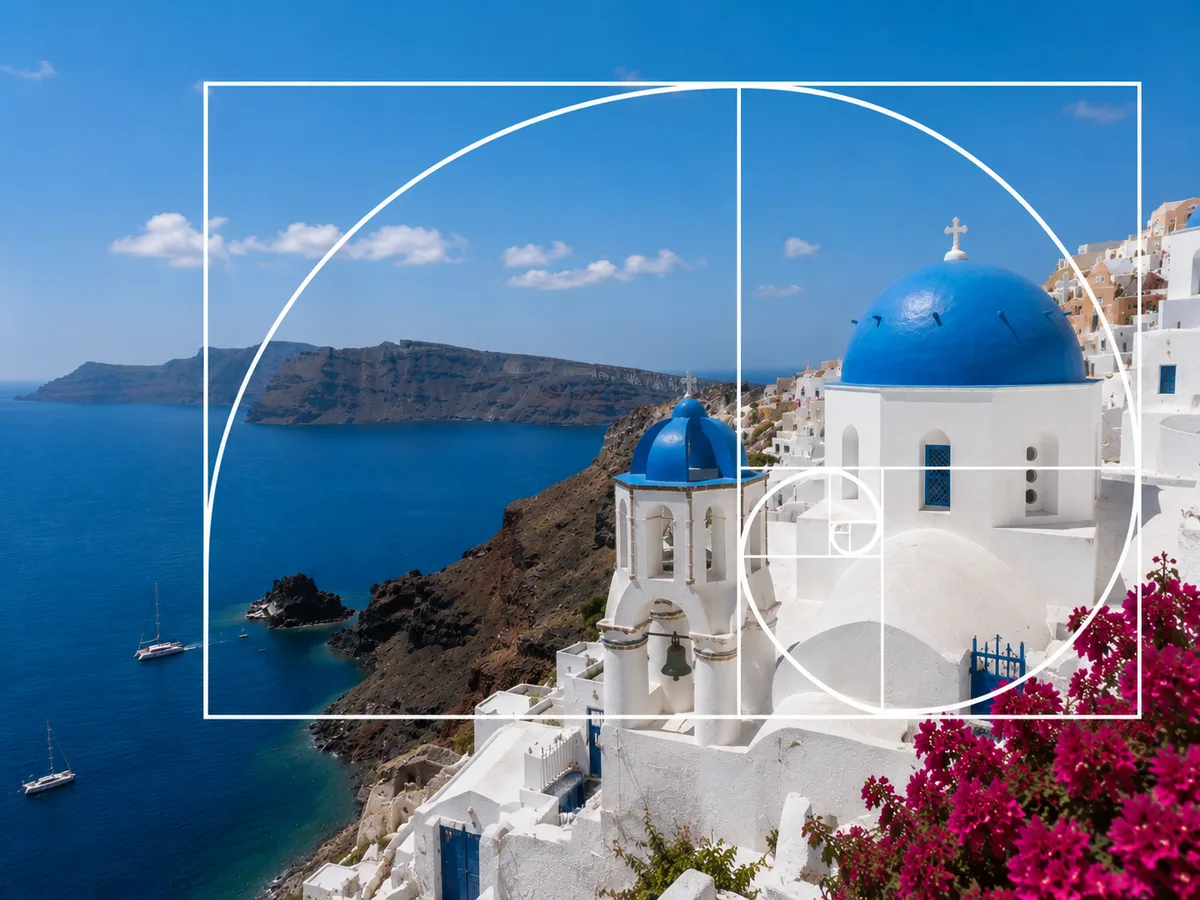
Passers-by and cables at the edge? Cropping them out is the simplest cleanup there is. Crop so open space gathers on one side of the subject and you get the breathing room of a negative-space composition. For a photo worth fussing over, nudging the proportions toward the golden ratio is a fun experiment. If a tilt bothers you, level it first with the angle tool in the same editor, then crop (→ Fixing tilted photos).
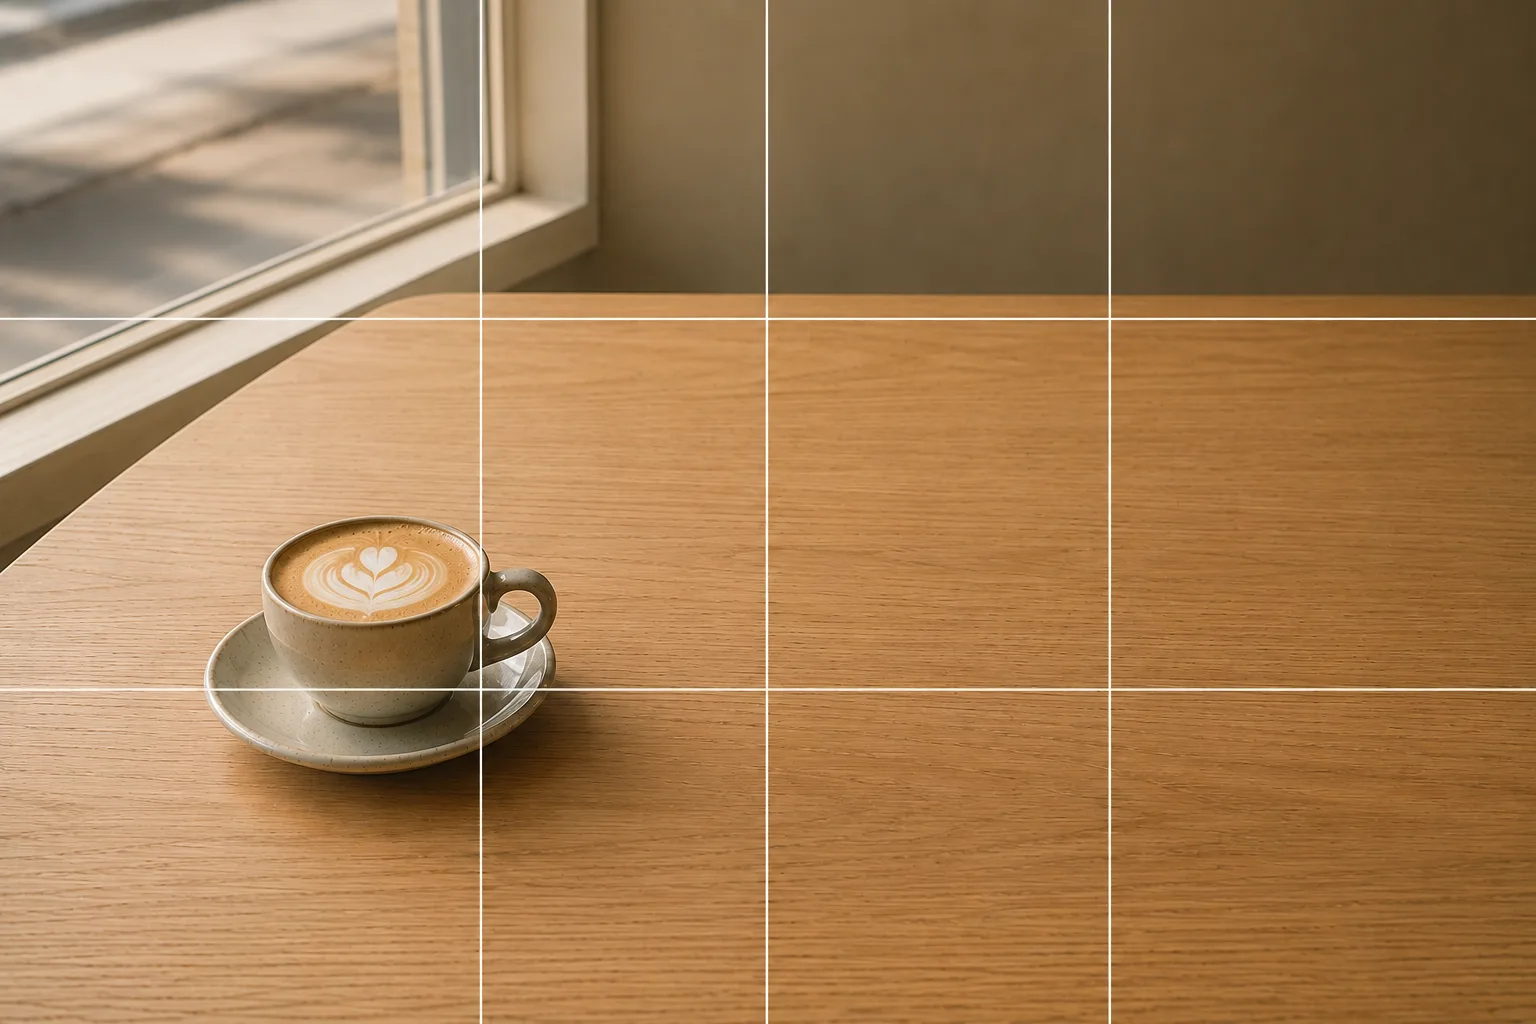 Composition guideNegative spaceSee the full guide for this composition →
Change the ratio for the destination
You can change the aspect ratio while you crop — square for an avatar, vertical for a post (→ Choosing an aspect ratio / Profile photos). For photos seen as square thumbnails, like a marketplace listing’s first shot, checking the balance in a 1:1 crop is worth the minute (→ Marketplace product photos).
Know the limit: the harder you crop, the grainier it gets
One honest caveat. Cropping throws away recorded pixels, so heavy crops get grainy. Enlarging a bean-sized sports-day child to fill the screen sadly won’t hold up (→ Sports day photos). Half the original is the practical limit. Which is exactly why leaving crop margin around your subject when shooting is the tip that ties shooting and cropping together.

Start with just this
Open crop in the photo app, use the grid as your ruler, place the subject on an intersection or the center. Strays go outside the frame. Crop to half at most, and leave margin when you shoot. That rescues most of the “not quite” already on your camera roll.
FAQ
Does cropping hurt image quality?
Cropping discards recorded pixels, so the harder you crop, the grainier it gets. As a rule of thumb, cropping down to about half of the original is barely noticeable on phones and social media. Avoid repeated heavy enlarging.
Which app should I use?
The phone's standard photo app is plenty. On iPhone, open the photo, tap Edit, then the crop icon; on most Androids, Google Photos' Edit then Crop. Drag the frame corners and use the grid lines to adjust.
Which matters more — composing when shooting, or cropping?
Composing at shooting time is the foundation. Cropping is insurance that tidies what you already captured — it can't add what isn't there. Leaving margin around your subject when you shoot widens your options later.
Related reading
Compositions used
Related subject guides
How to Keep Photos Level — Why They Tilt and How to Fix It
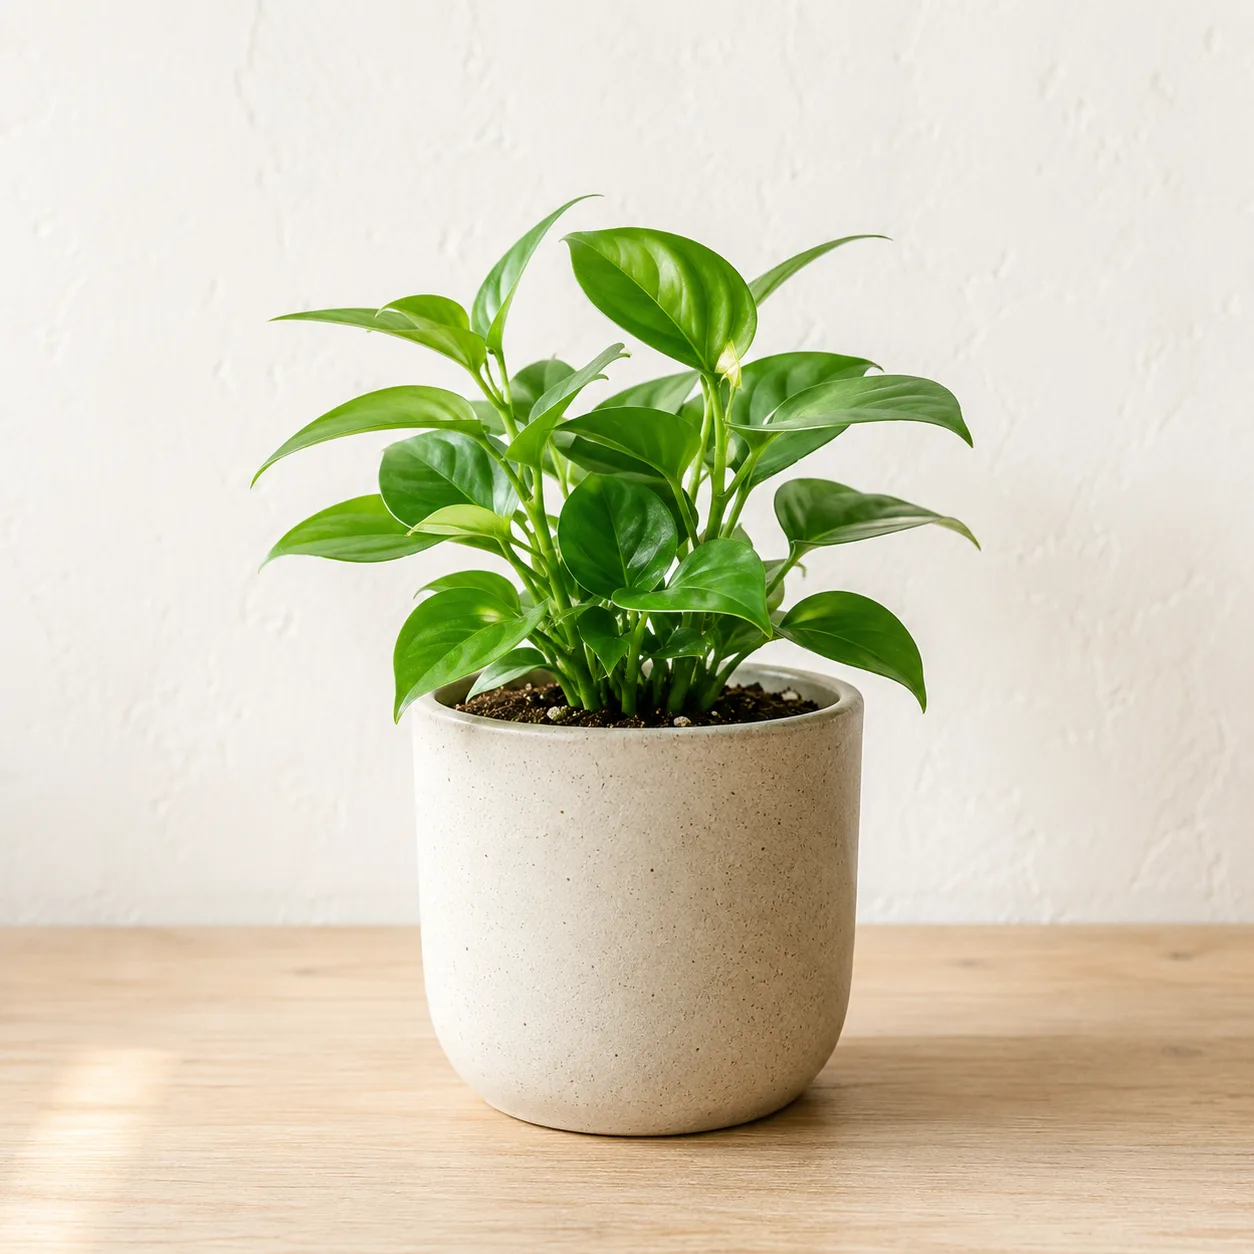
Composing a Polished Social Media Icon — Making a Good Impression
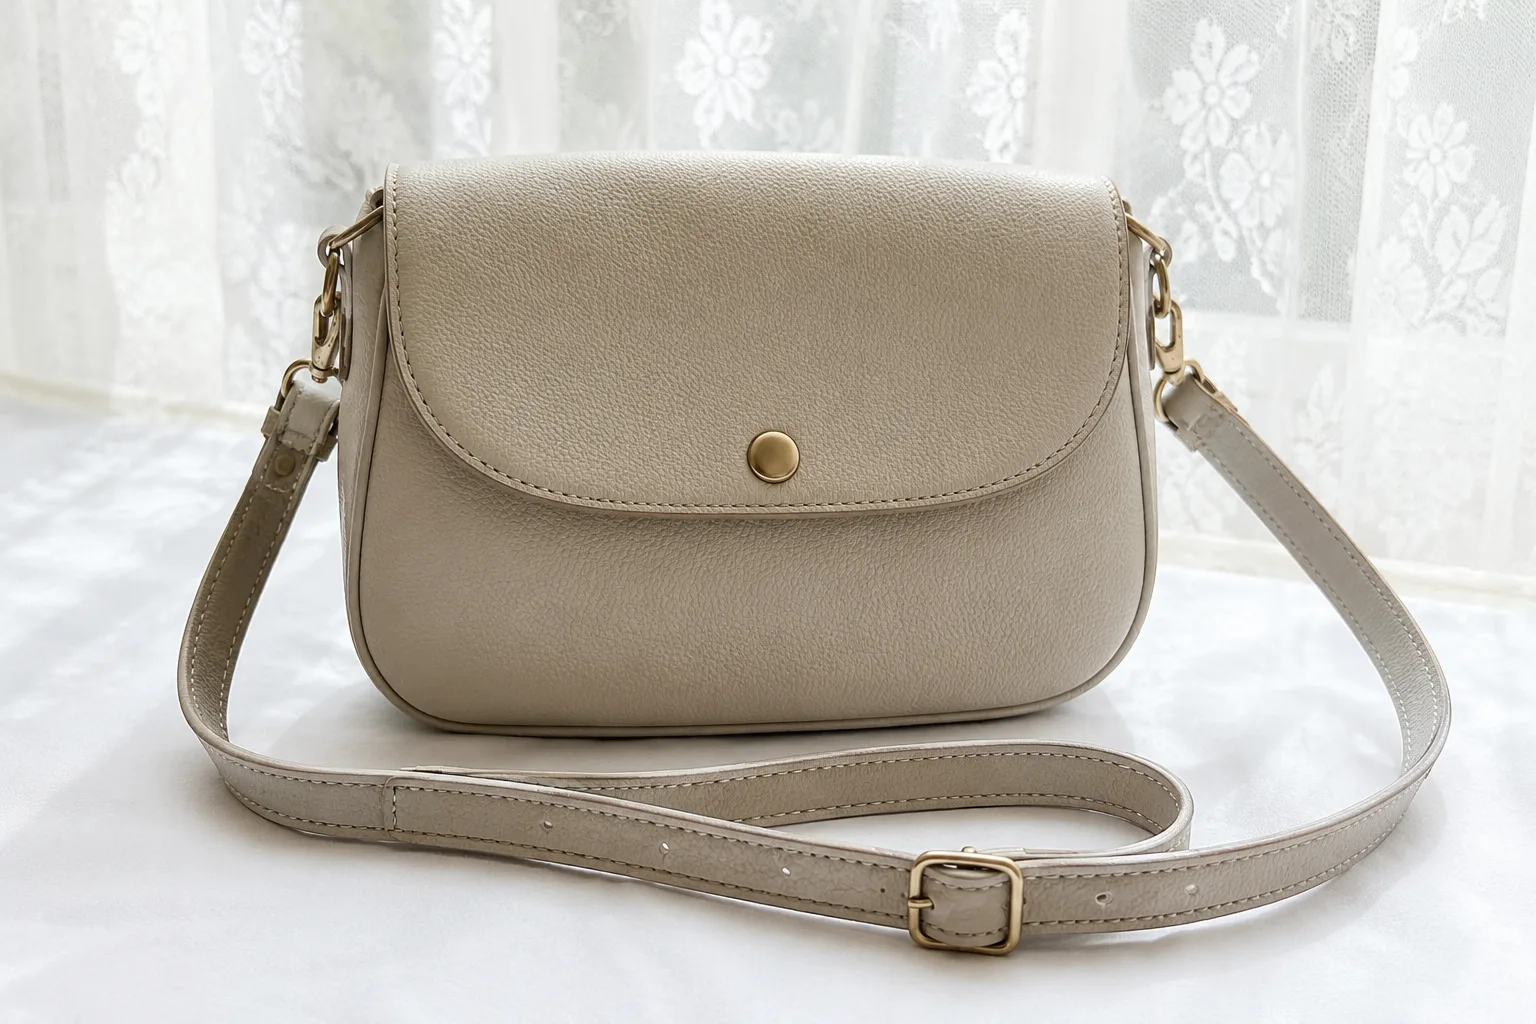
Composing Marketplace Listing Photos That Sell — Clearing the Background
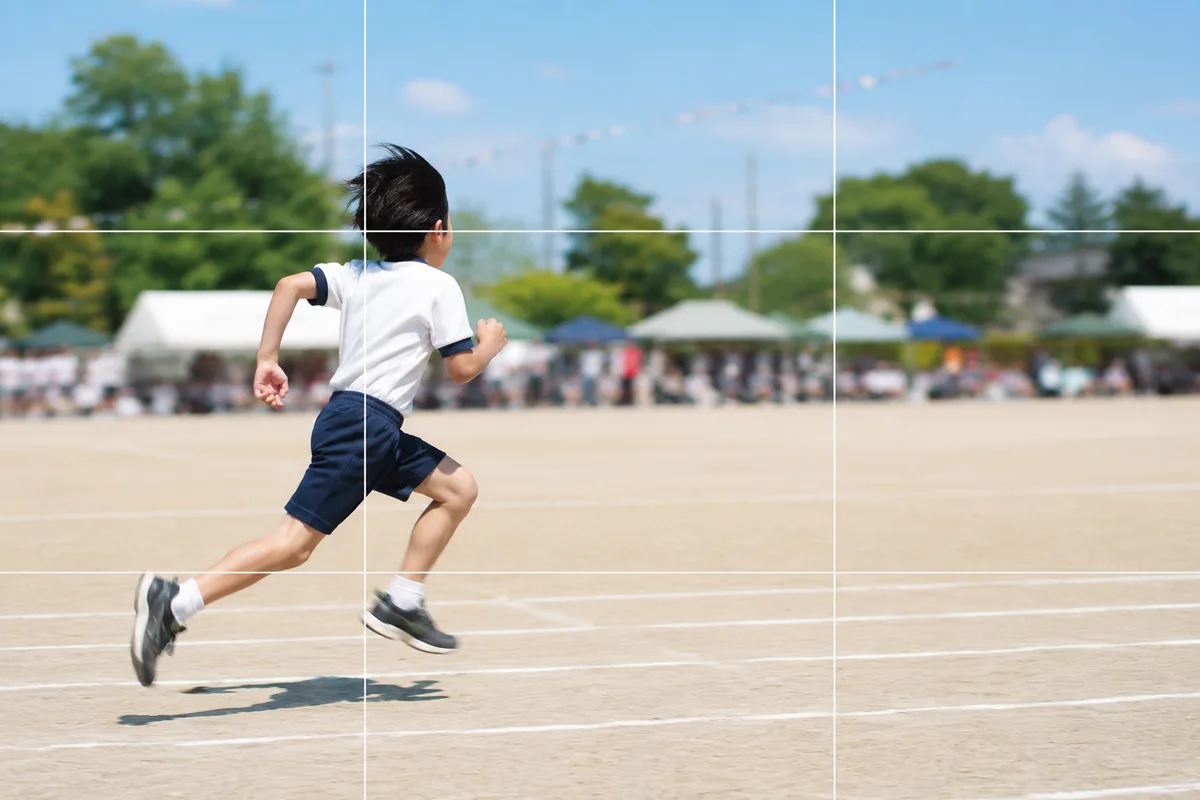
Shooting Kids Sharp at Sports Day — Fixing Blur, Distance and Backlight
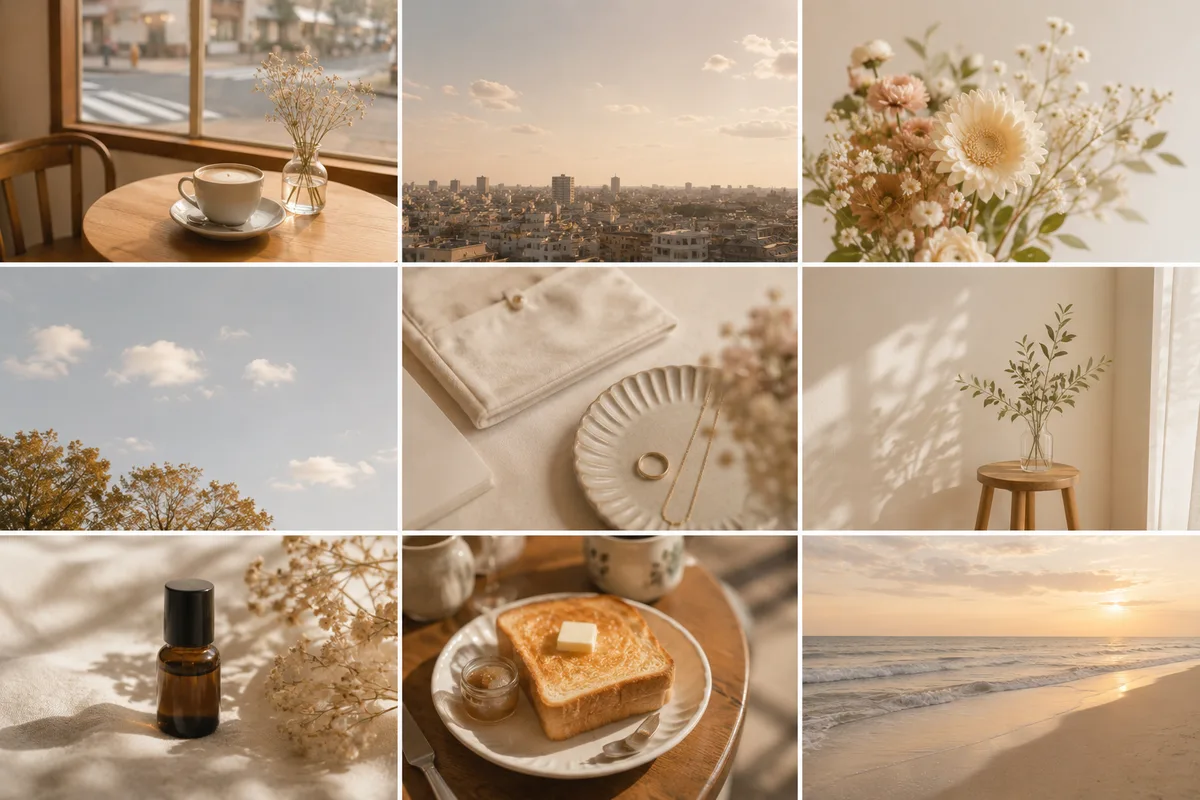
Shooting for a Beautiful Instagram Grid — Think in a "Nine-Photo Surface"
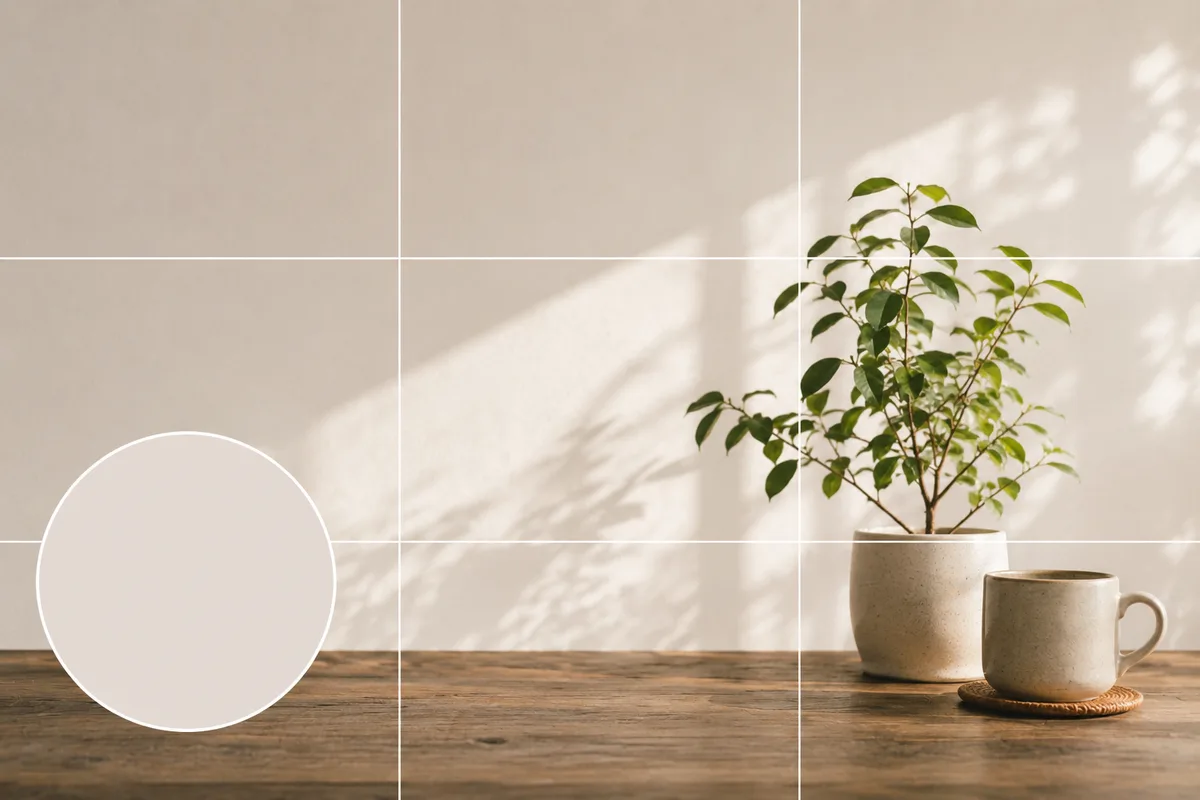
Shooting and Choosing an X Header Photo — Beat the Crop and the Icon Overlap
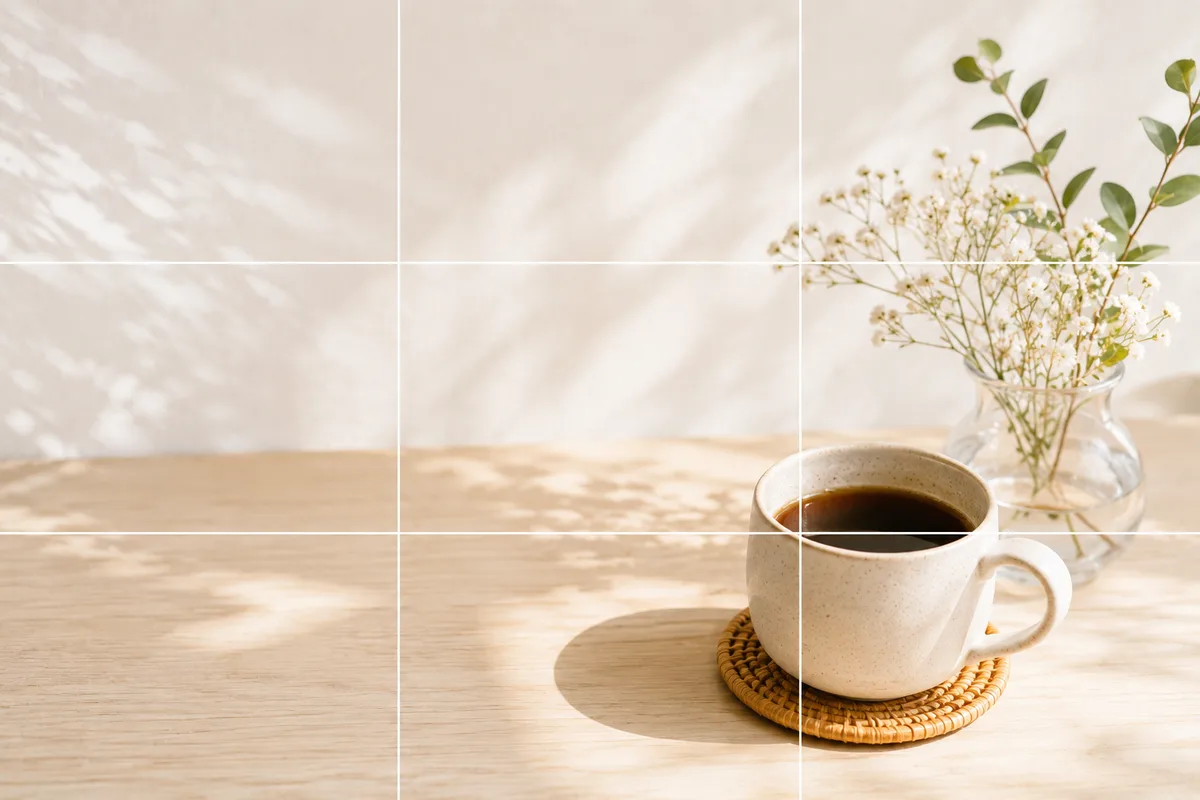
Shooting Photos for a note Eyecatch — Leave Room for the Title Text