Shooting for a Beautiful Instagram Grid — Think in a "Nine-Photo Surface"
Published Jul 10, 2026
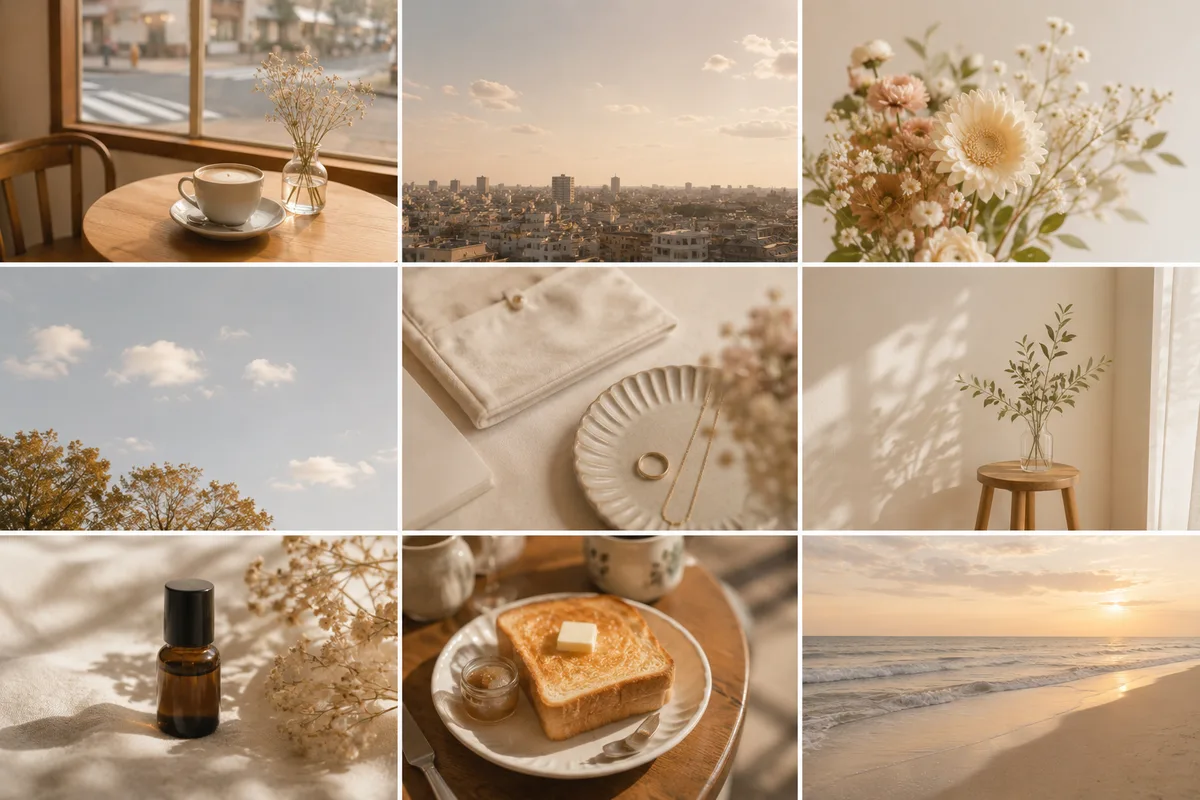
Each photo looks fine on its own — but open your profile, and the grid somehow looks messy. It’s one of the most common Instagram frustrations. The cause is simple: each photo was shot as a separate picture. What a visitor sees first isn’t one photo; it’s the surface of about nine photos in your grid. Here’s how to shoot for the surface, step by step.
Think of the grid as one nine-photo surface
When someone opens your profile, roughly the latest nine photos (three columns by three rows) fill the screen. Someone deciding whether to follow you judges the mood from this surface. So before the composition of any single shot, what matters is whether nine photos work together as one piece. Before you shoot, imagine: “where does this one land on that surface?” That alone sharpens your choices.
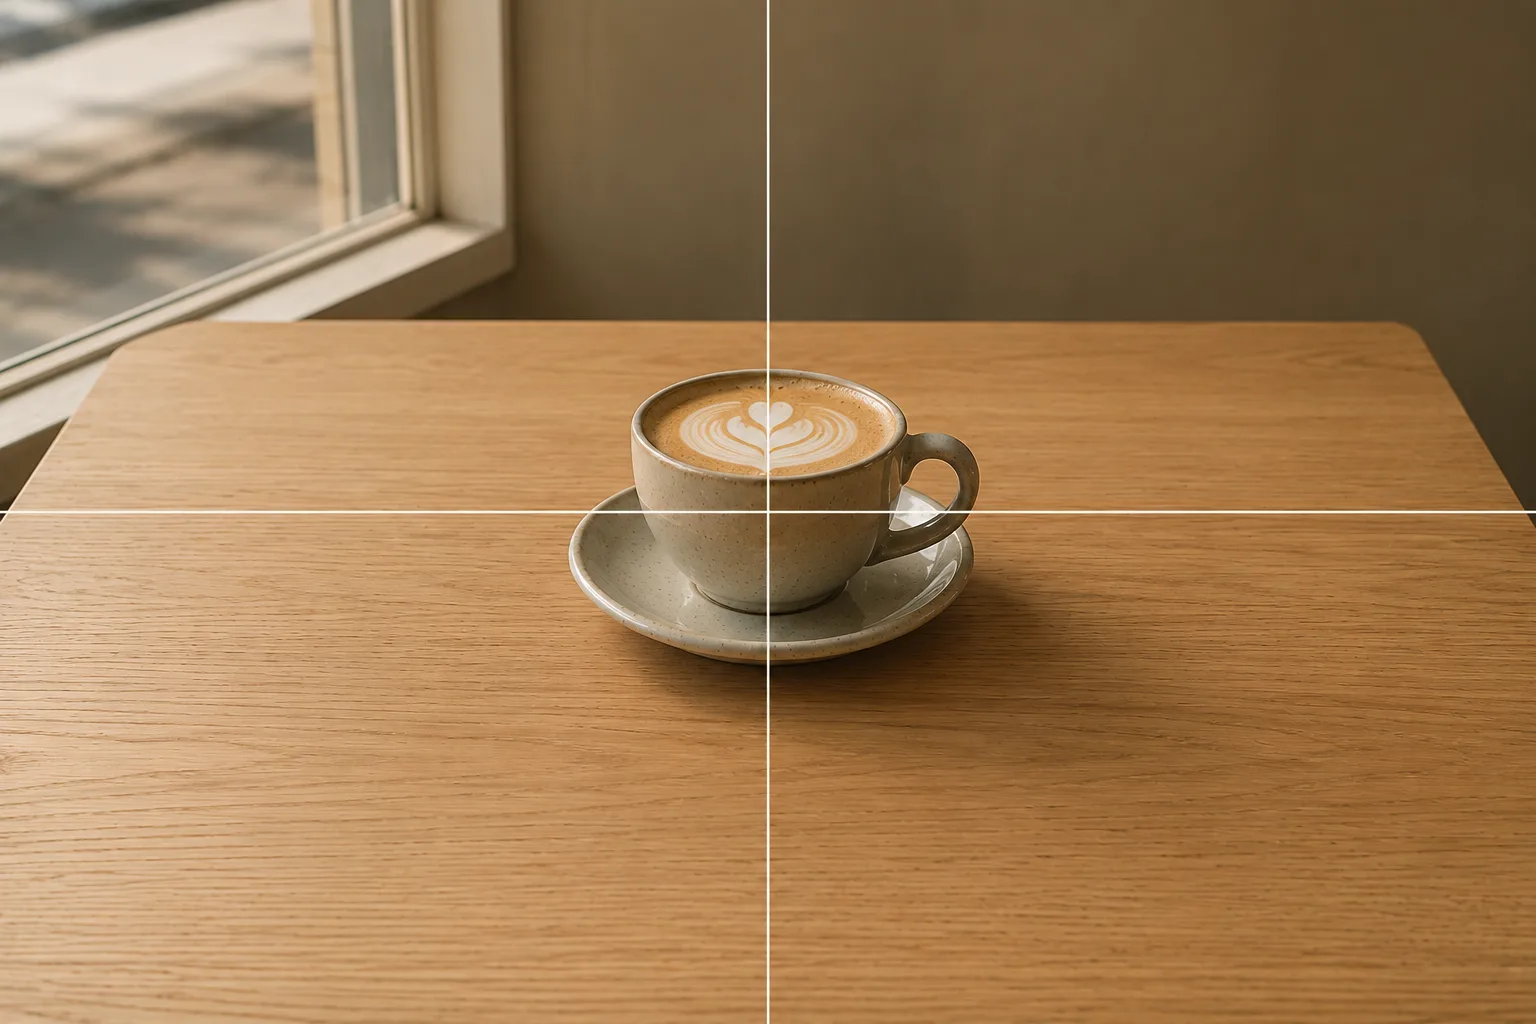
Center your subject so any crop is safe
Grid tiles have been shifting from square (1:1) to vertical (3:4), and depending on your post’s ratio, the edges get trimmed in the preview. Since the display spec may keep changing, the best insurance is to keep your subject near the center with breathing room around it. The center composition — subject confidently in the middle — is a natural fit for grids. A phone’s portrait shot (4:3 vertical) is already 3:4, so no special settings needed (→ Choosing an aspect ratio). If an edge bothers you later, a crop can fix it (→ Fixing composition by cropping).
Match color and light by using “your usual spot”
What unifies a grid isn’t a filter — it’s the light and background at the moment you shoot. Pick one “home base”: window-side natural light, a white table, whatever suits you, and shoot there more often. Even matching the time of day (cool morning light vs. orange evening light) calms the surface noticeably. Matching at capture time is far easier than fixing it in edits.
Build a rhythm of wide, close, and airy
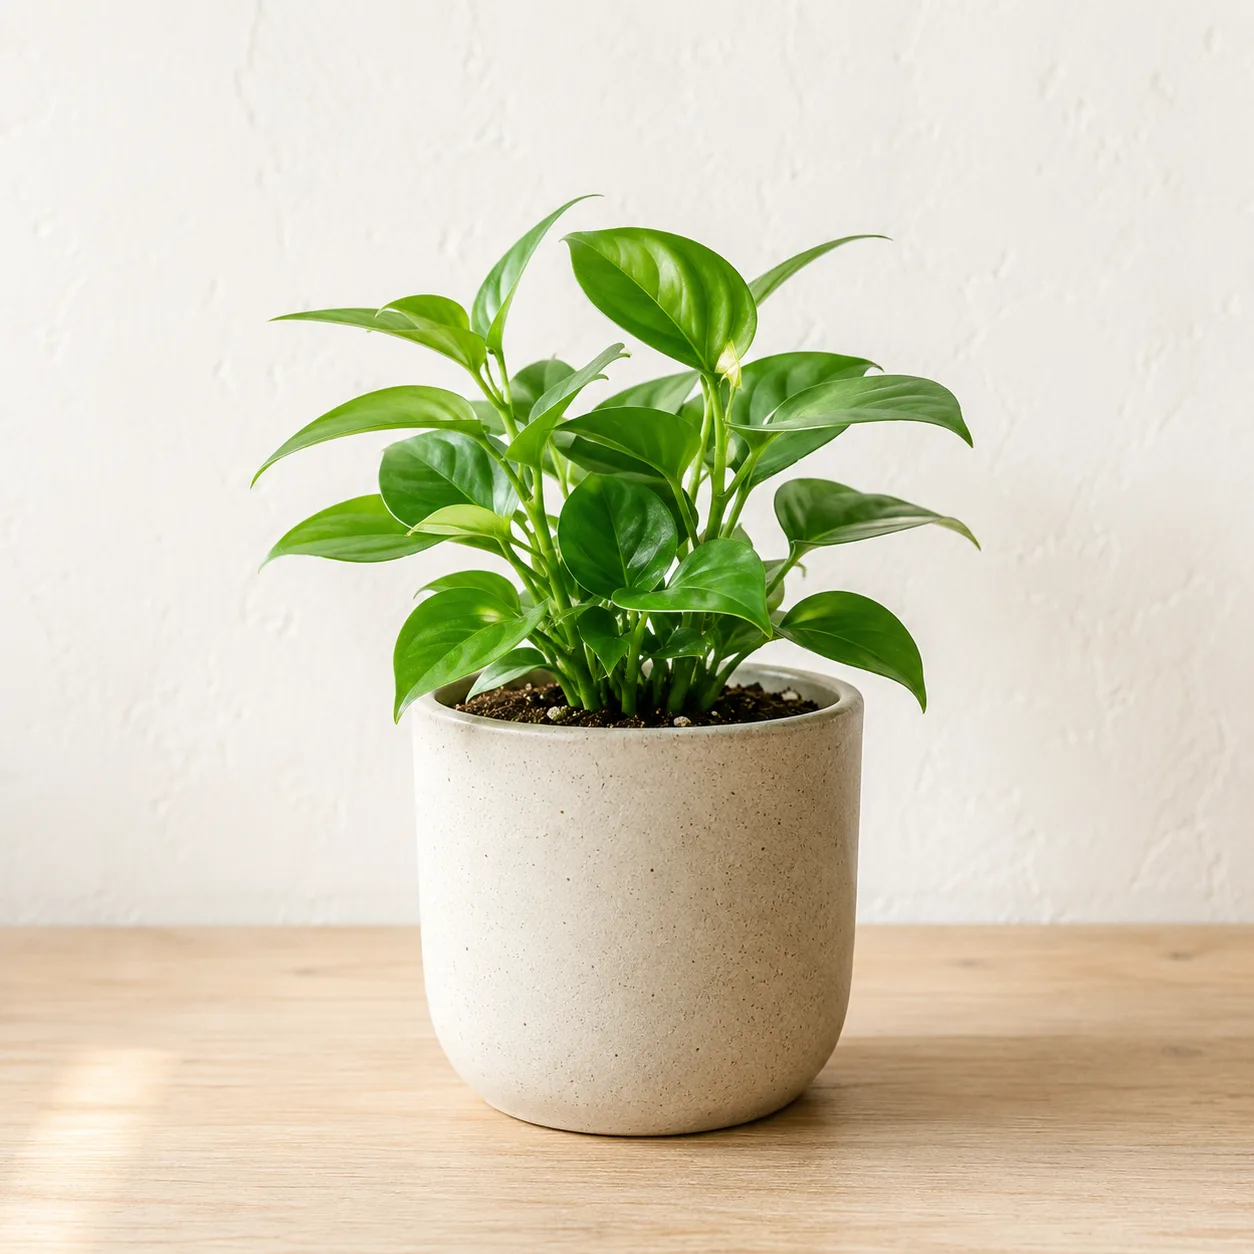
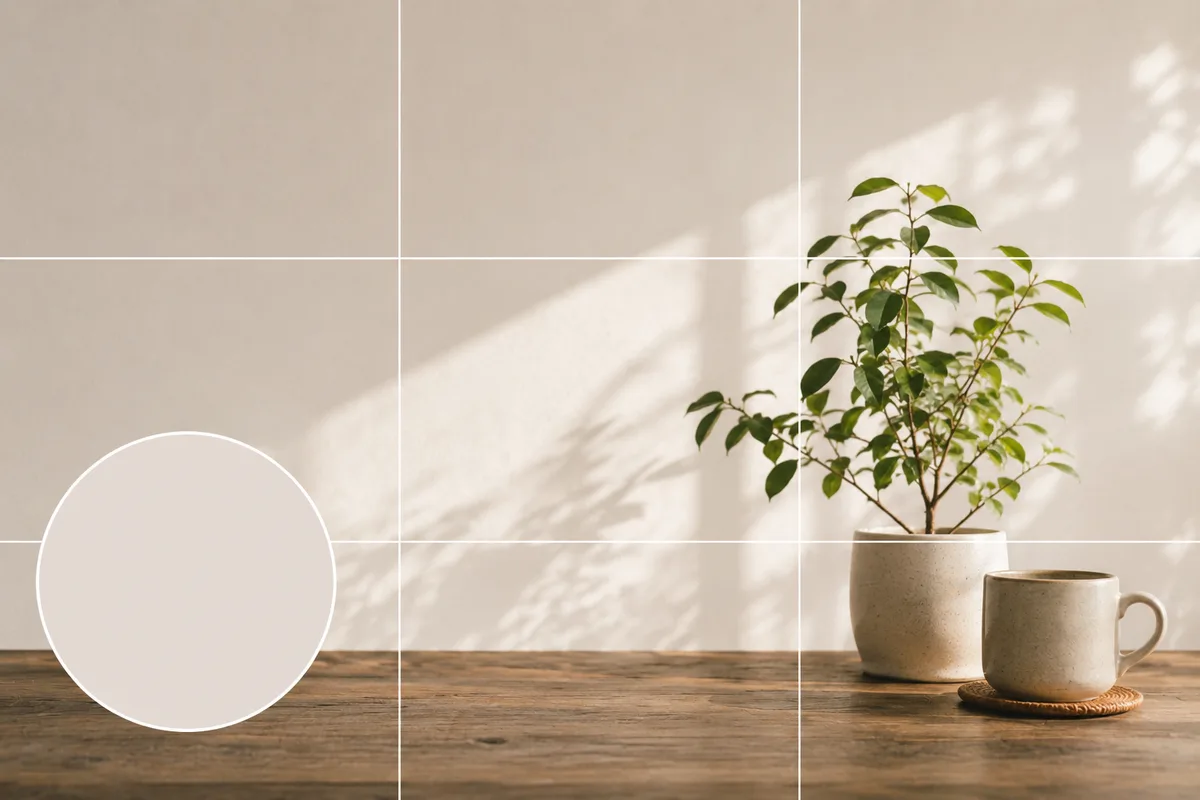
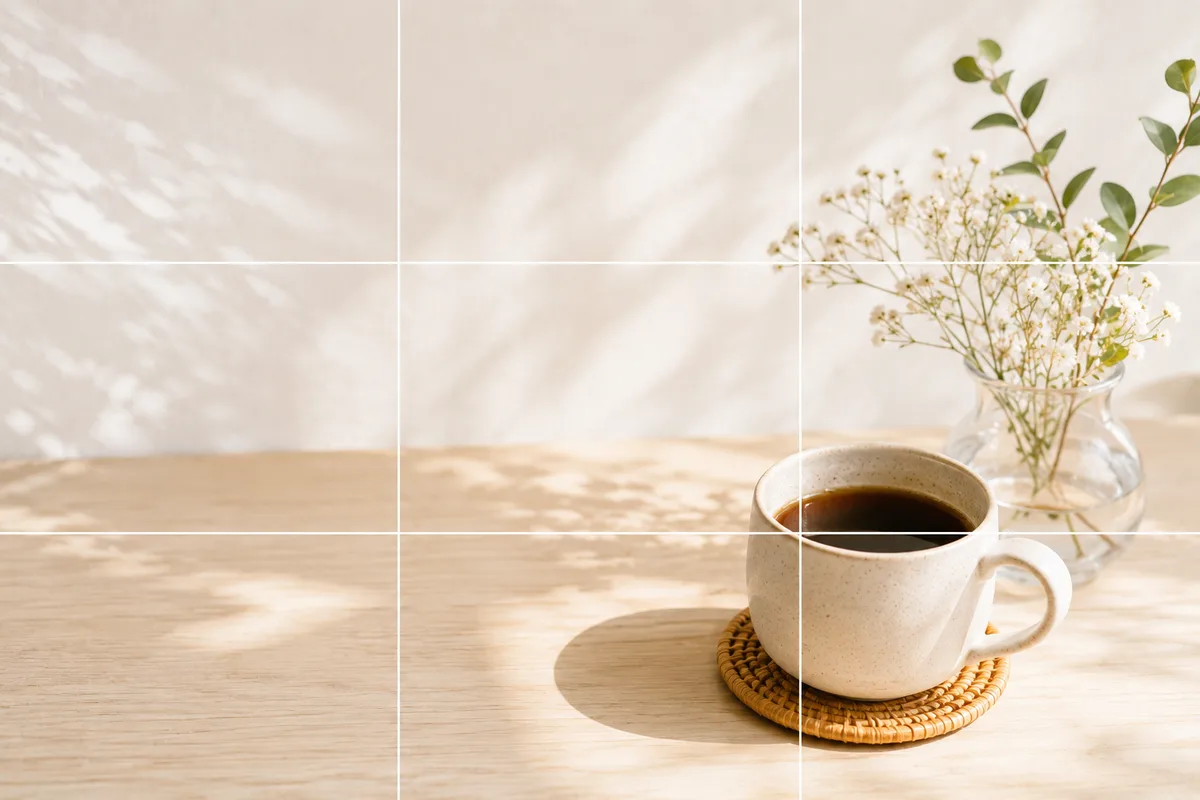
A grid of same-distance shots looks monotonous. Mix three kinds deliberately: wide (the whole scene), close (details), and airy (negative space). A wide shot of the table or scenery; a close-up that fills the frame with texture (→ Fill the frame); a shot that leaves sky or a plain surface open (→ Negative space). The grid runs in rows of three, so composing in units of three makes the rhythm easy to plan.
 Composition guideFill the frameSee the full guide for this composition →
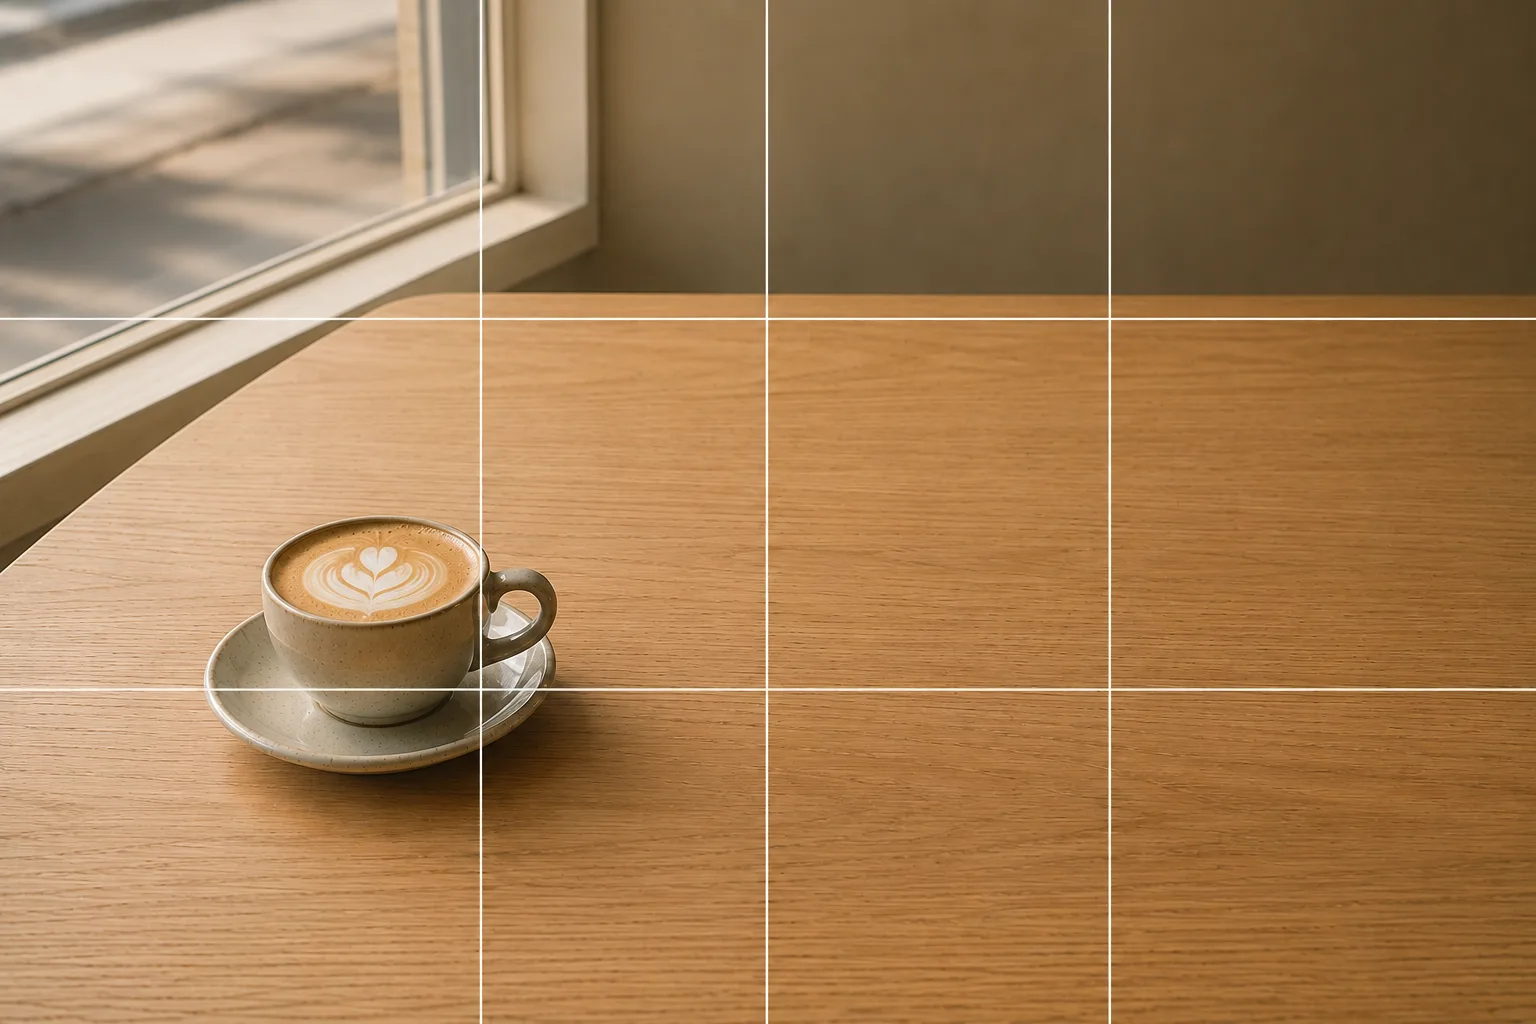 Composition guideNegative spaceSee the full guide for this composition →

Start with just this
Before your next shot, take one second to imagine where it lands in your grid. Keep the subject centered with room to spare, and shoot at your usual spot in your usual light. Mix wide, close, and airy in rows of three. Repeat, and your profile surface slowly grows into “consistent and clean.” And since your icon shapes the profile’s first impression too, see Shooting a profile icon.
FAQ
Do I need the same filter on everything for a cohesive look?
Matching "light and background" works better than matching filters. Photos taken in the same kind of natural light against similar background colors sit together naturally even without editing. Treat filters as a final light touch, not the foundation.
Should I shoot square?
The profile grid has been shifting from square (1:1) to vertical (3:4) tiles, and the spec may keep changing. Your phone's default portrait photo (4:3 held vertically) is already 3:4, so just shoot as usual and leave a little breathing room around your subject to survive any crop.
My past posts are all over the place. Do I have to start over?
No need to worry about the past. The grid fills from the newest post down, so if you start thinking in rows of three from today, the visible surface gradually falls into place. A grid-reordering feature is also available on mobile, though specs change over time.
Related reading
Compositions used