Shooting Photos for a note Eyecatch — Leave Room for the Title Text
Published Jul 10, 2026
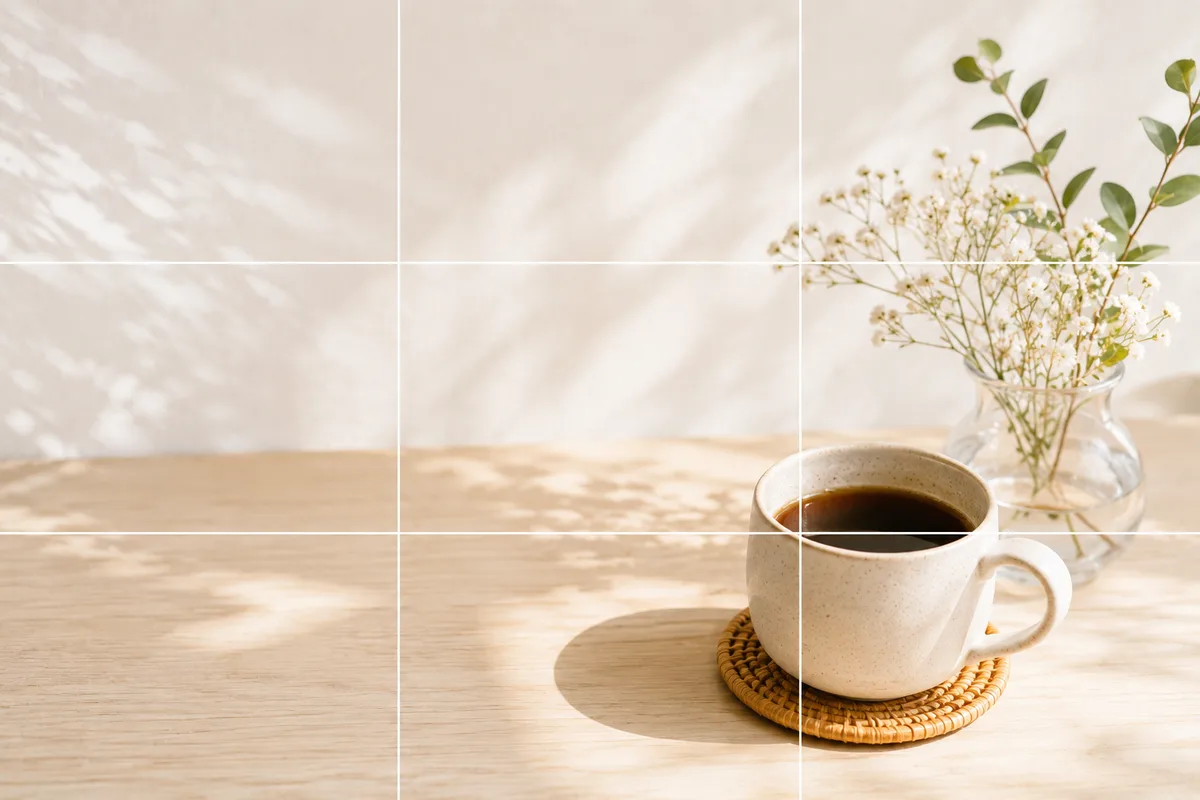
The article is written — and then you stall at the eyecatch. You pick a photo, place the title over it, and the text and subject collide so neither stands out. The cause: the photo was shot as a finished piece on its own. What an eyecatch photo needs isn’t polish — it’s a home for the text. Here’s how to shoot a photo that collaborates with words.
Think of the eyecatch as a photo-and-text collaboration
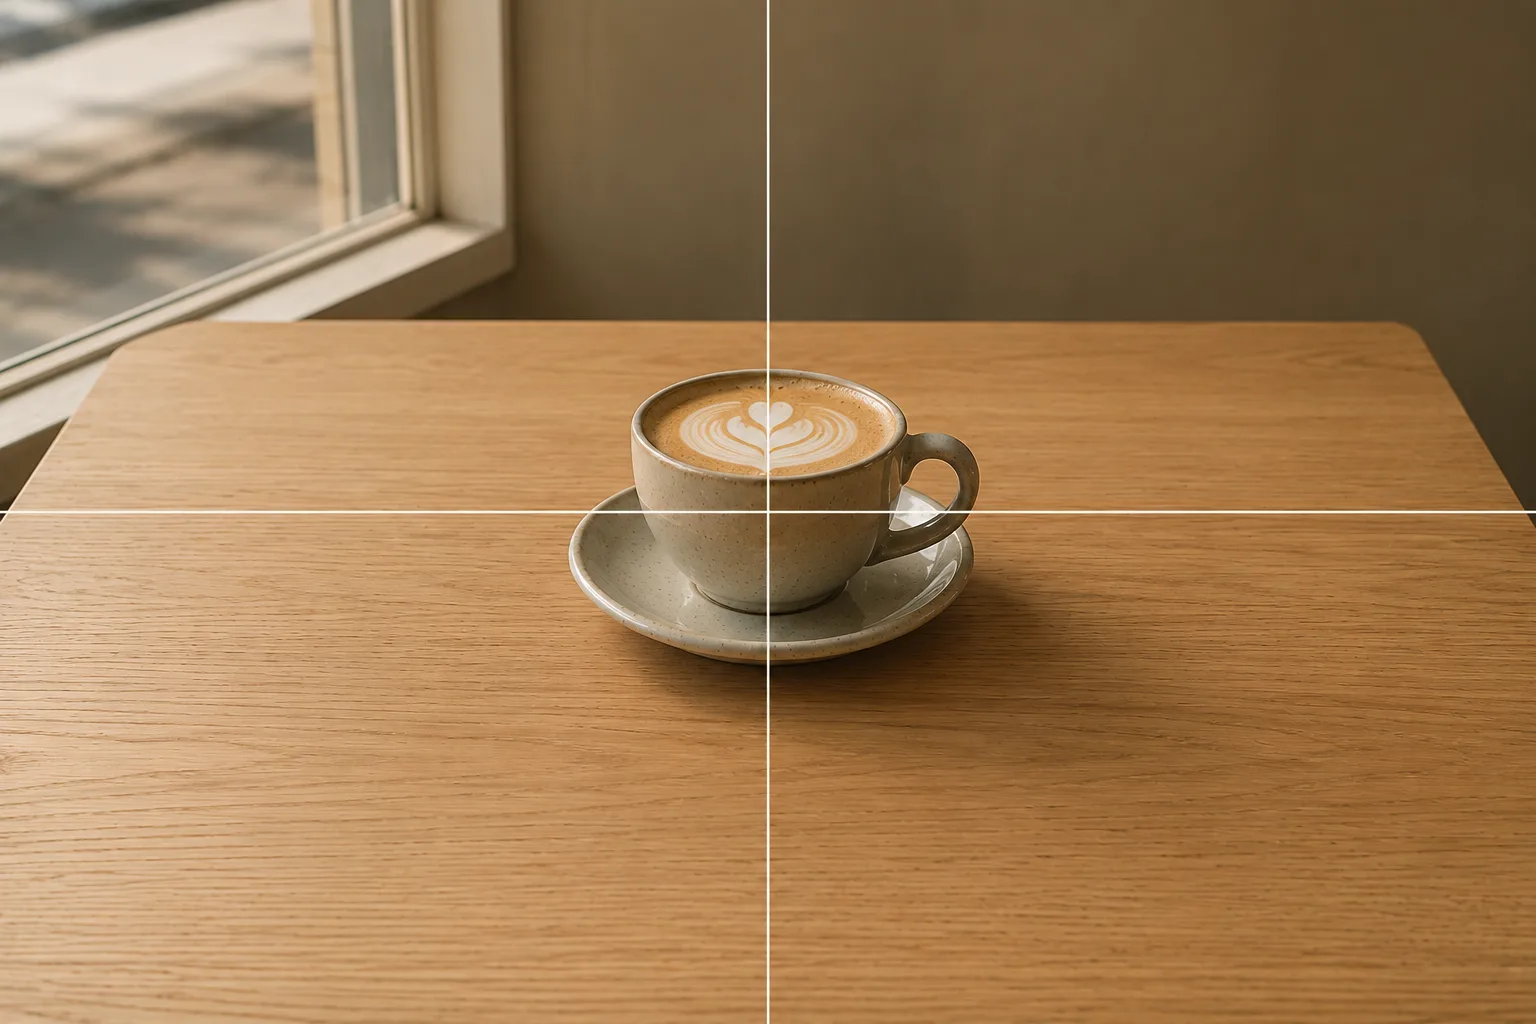
A note eyecatch is never viewed alone. Title text sits on it, lists shrink it, and it scrolls past in a feed. So a photo with a bold subject dead center is actually weaker here than one with a quiet, open side. Not because centering is bad — a clean center composition is a strong photo on its own — but because the text needs a home first. Knowing this before you shoot changes which photos you pick.
Leave deliberate space for the text
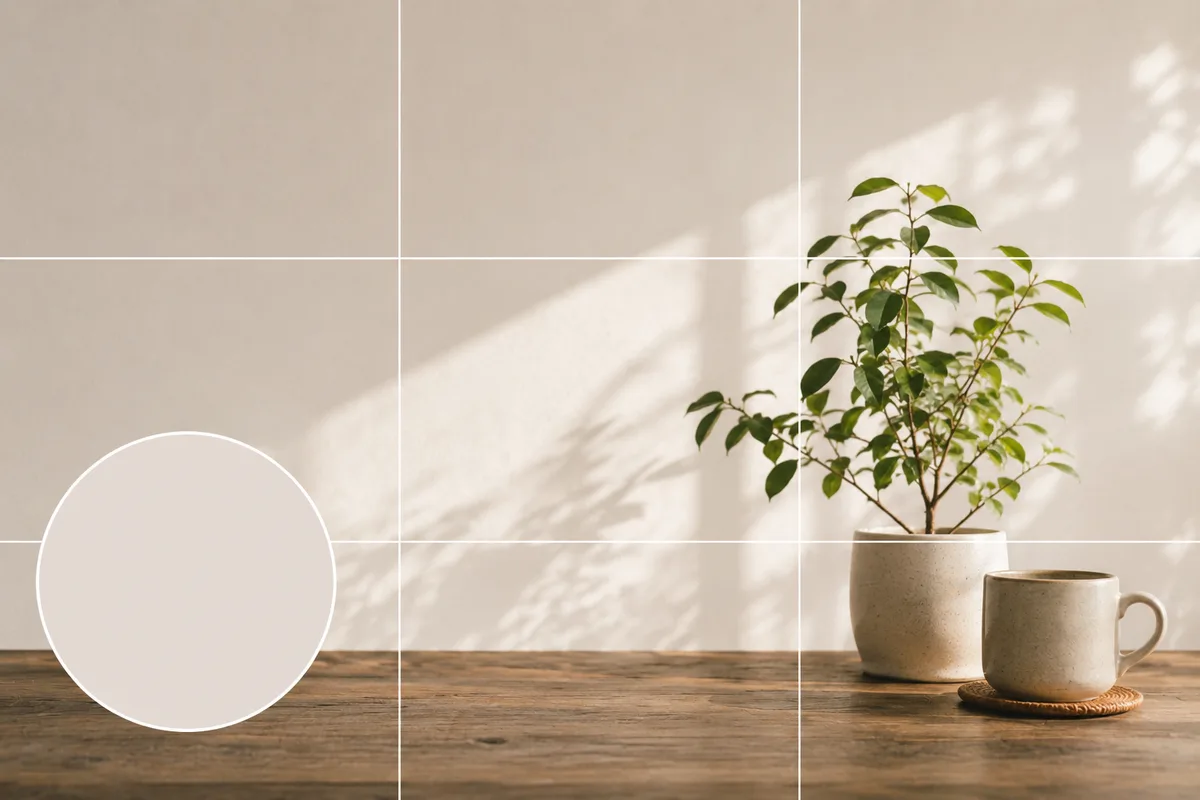
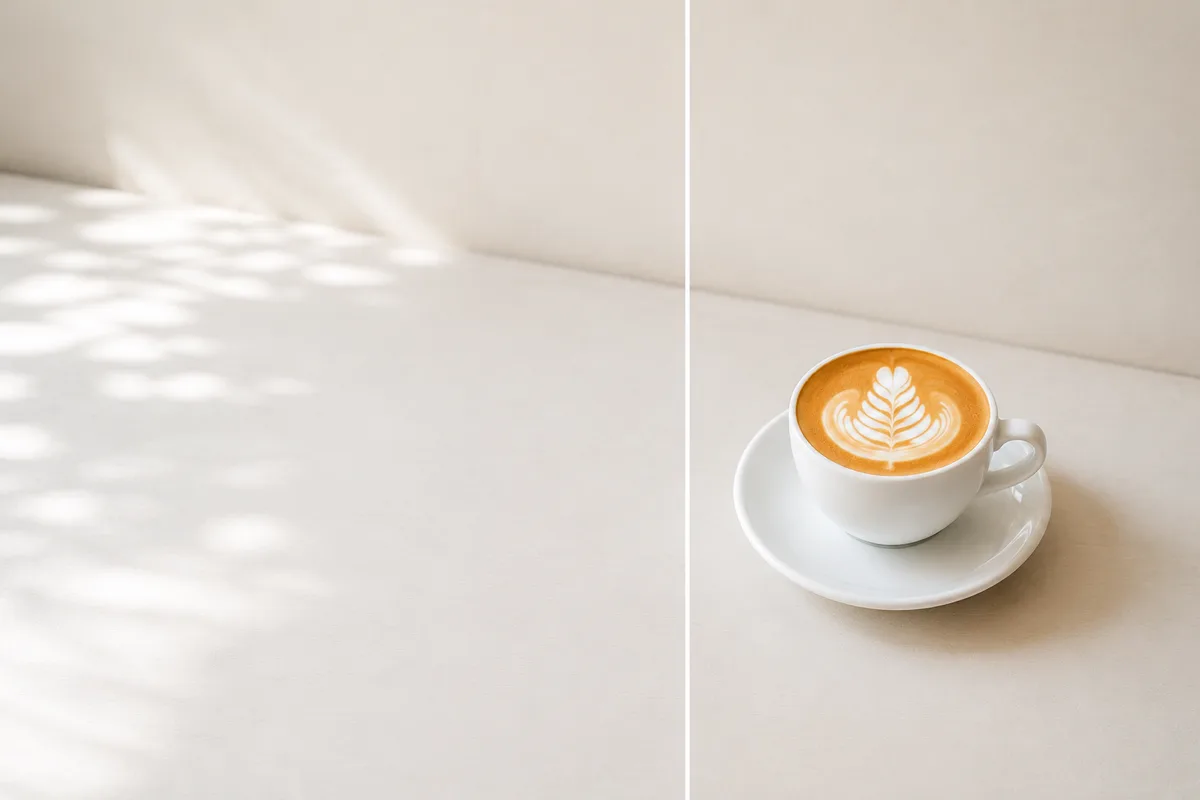
There’s really one trick: push the subject to one side and keep a near-plain surface on the other. Sky, a wall, wood grain, plain cloth — text reads best on quiet surfaces like these. This is negative space put to work. Place the subject around a rule of thirds intersection and the off-center layout still feels stable. For a hands-on version of this idea with a café table, see Café photos with negative space.
Make the subject read at thumbnail size
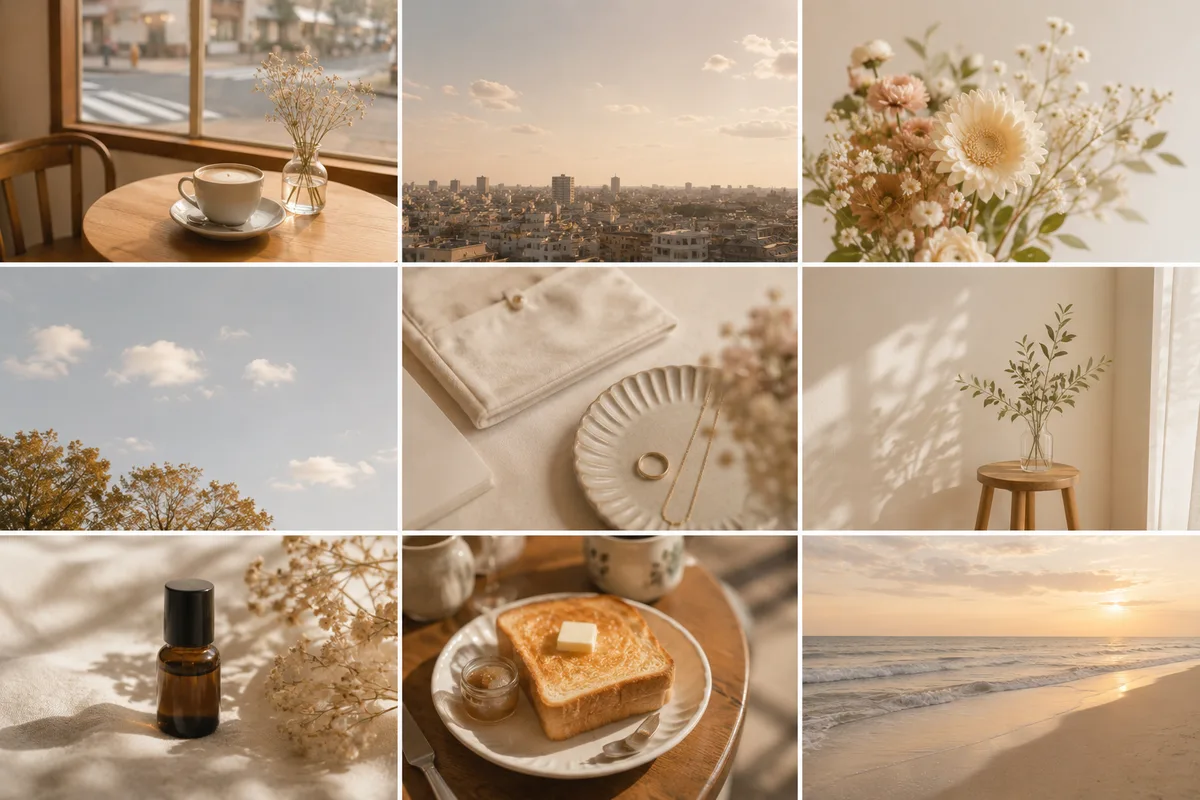
In lists and on phones, an eyecatch displays at thumb size. So the subject should be big, and the frame limited to one or two elements. A spread of many small objects turns into “something cluttered” when shrunk. When in doubt, ask: would this still read if it were thumb-sized?
Crop to wide and double-check the text area
Eyecatches are used in a wide shape, so your 4:3 photo gets its top and bottom trimmed. When you crop, confirm the subject and the text space both survived (→ Fixing composition by cropping). Display ratios vary by context and change over time, so keep anything important away from the very edges as insurance.
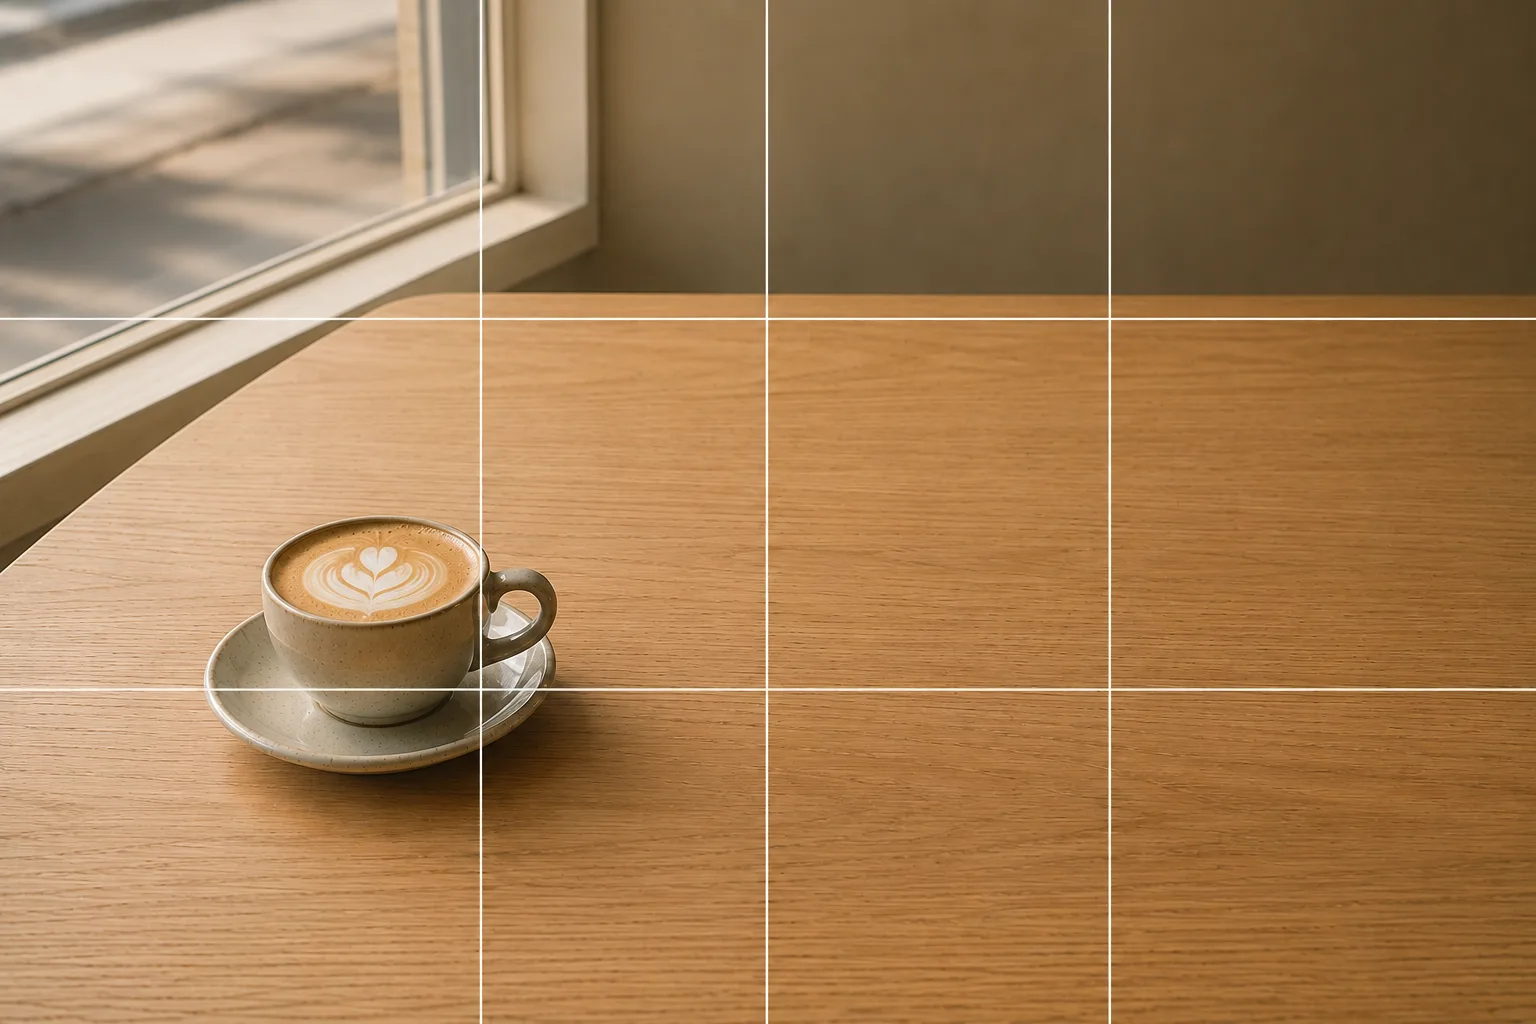 Composition guideNegative spaceSee the full guide for this composition →
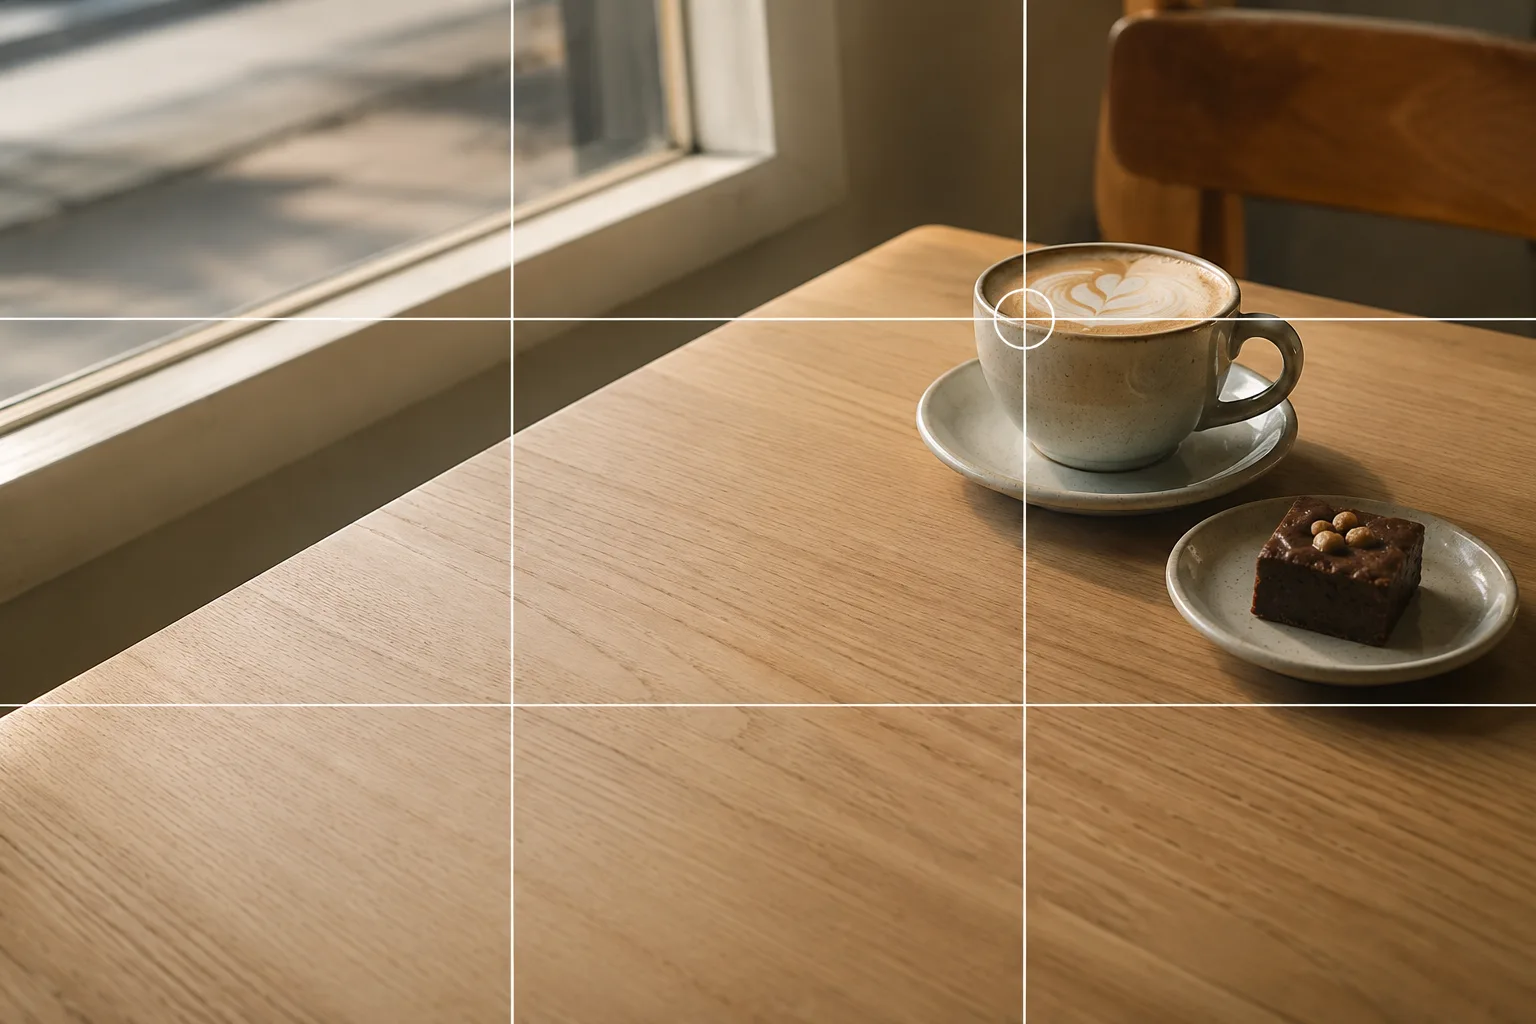 Composition guideRule of thirdsSee the full guide for this composition →

Let a tool handle the text and sizing
Once the photo is ready, you don’t need to hunt for an editing app. Our sister service Michikusa Techo (Japanese) has an eyecatch maker that builds cover images from templates. Split the work — “shoot the photo on your phone, finish it with the tool” — and eyecatches stop being a chore.
Start with just this
Push the subject to one intersection, keep a plain surface on the other side, and limit the frame to one or two elements that read at thumb size. Crop to wide, check the text area, and hand the lettering to a tool. Build this pattern once and the eyecatch stops being the hard part. For more “shoot for the display shape” thinking, see X headers and the Instagram grid.
FAQ
Does it have to be a photo I took myself?
Not at all — stock photos and generator tools work too. But a photo of your own carries the exact mood of your article and will never match anyone else's cover. A phone is plenty, so it's worth shooting one photo connected to what you wrote.
Where should the text go so it stays readable?
On a near-plain surface — sky, a wall, cloth, a tabletop. If you push your subject to one side while shooting and keep that plain surface on the other, you'll never wonder where the text fits. Text over a busy background stays hard to read even with outlines.
What ratio does the eyecatch display at?
It shows wide on the article page, and lists or social shares may crop it differently. Since display specs change, keep the important parts — your subject and the text area — away from the very edges, and the image holds up in any context.
Related reading
Compositions used