Shooting People with Holiday Lights — Fixing Dark Faces and Vanished Lights
Published Jul 5, 2026
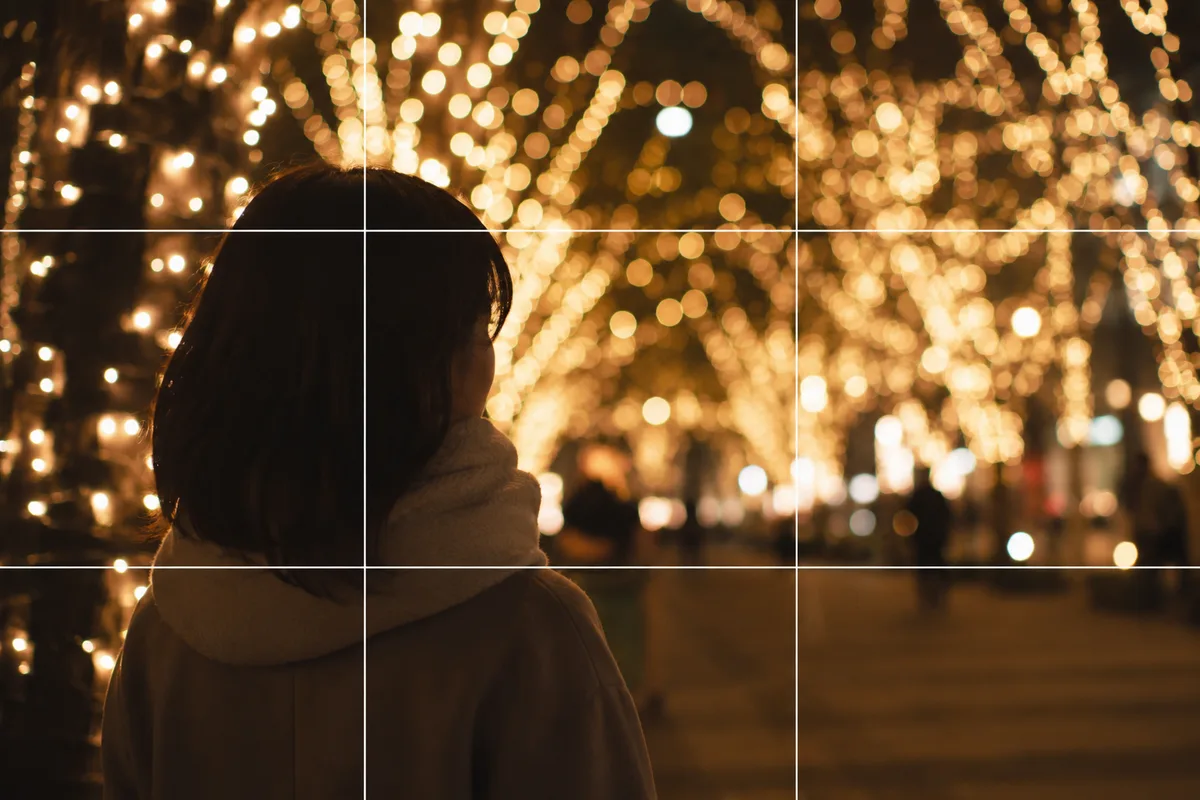
A winter evening at the illuminations. Shoot someone in front of them and you usually get one of two results: a pitch-dark face, or the lights gone black. The cause: the camera can’t handle the brightness gap between bright lights and a dark face in one go. Here’s how to strike the balance on a phone.
A seasonal subject — the lights are typically up from November to February. Use this while they’re on.
Tap the face to make the person the reference
Left to itself, the camera exposes for the brightest thing — the lights — and faces sink. Tap the person’s face so focus and brightness lock onto it, and if it’s still dark, swipe the sun icon up a little (→ Adjusting brightness). Even if the background lights bloom a bit, a visible expression wins.
Use position to get light onto the face
Better than any setting: where the person stands. Have them stand where the lights actually reach them — near a light source, facing the glow — and the gap between face and background shrinks so both photograph naturally. Borrowing light from a street lamp or shop window works too. Save the flash as a last resort; it tends to leave faces floating white (→ Fixing dark indoor shots).
Turn the lights into bokeh with Portrait mode
Portrait mode focuses on the person and blurs the background, turning the light points into round bokeh balls — instant atmosphere (→ How to use Portrait mode). The farther the person is from the lights behind them, the bigger the bokeh, so have them step two or three paces forward from the display.
When Night mode kicks in, call “hold still”
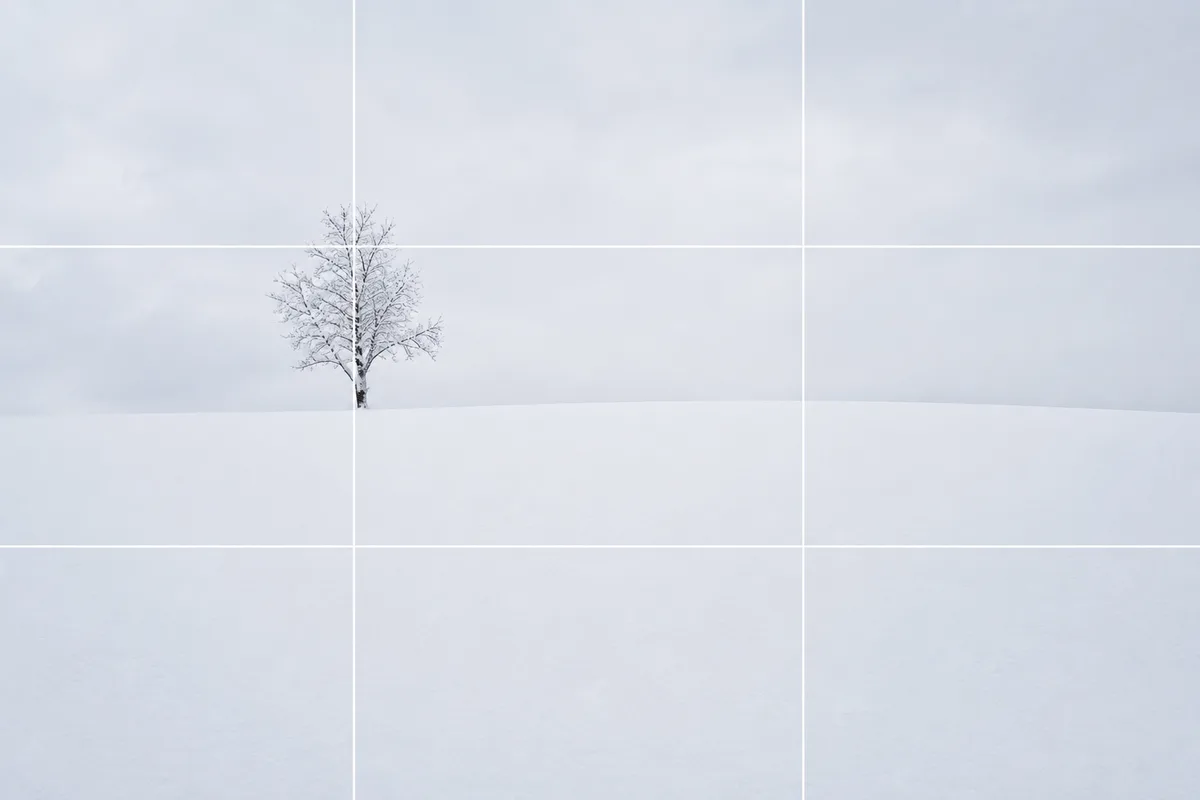
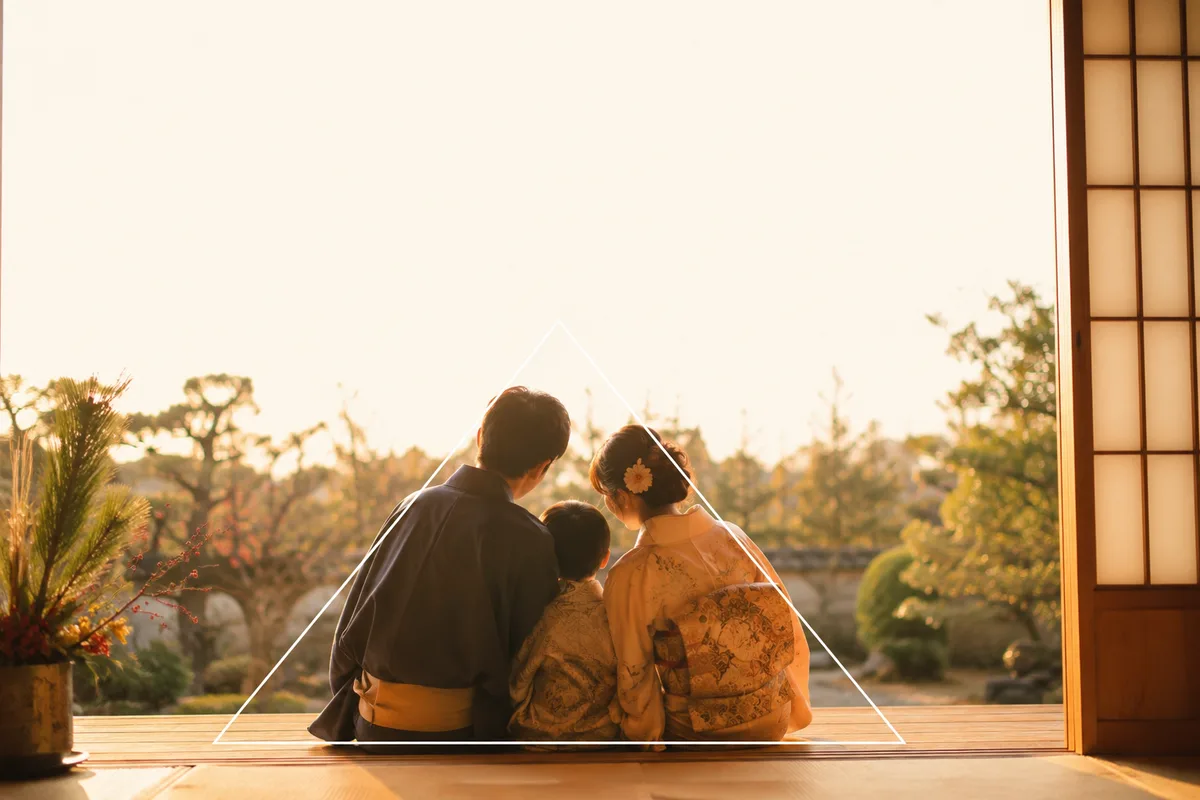
In real darkness, Night mode may activate. If the person moves during those few seconds, they blur — a quick “three seconds, hold still!” before the shot raises the success rate a lot (→ How to use Night mode). For composition, place the person on a rule-of-thirds intersection with the lights flowing behind, or surround them with a light arch or gate (→ Framing). For shooting the illuminations themselves, see the night-view article (→ Night views and illuminations).
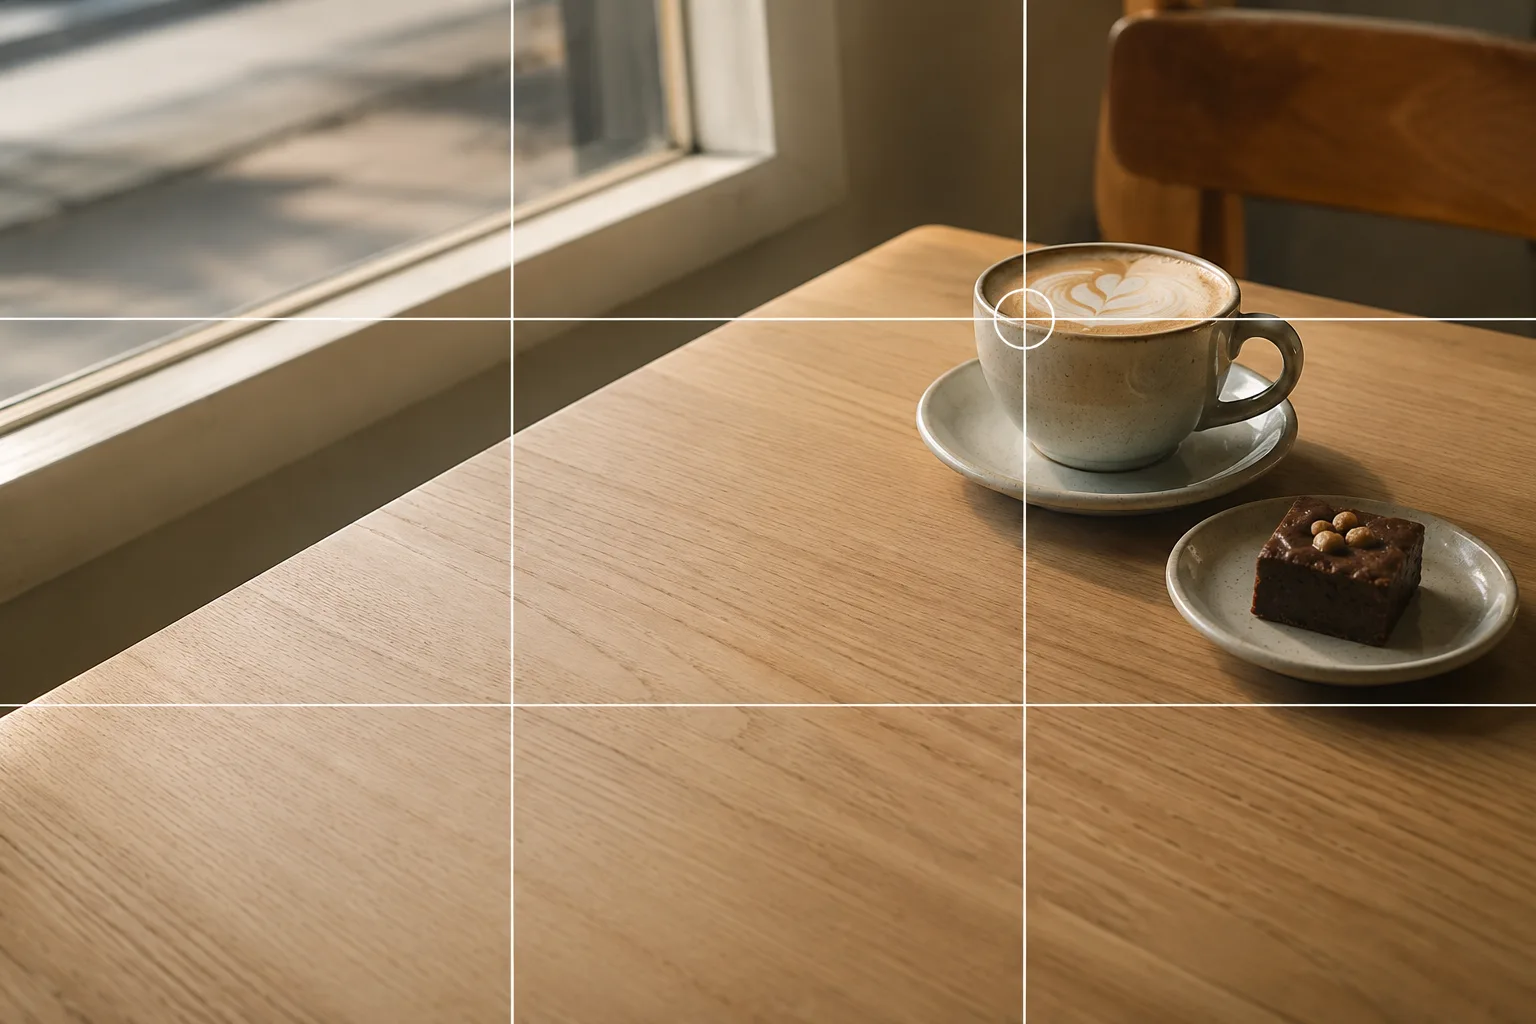 Composition guideRule of thirdsSee the full guide for this composition →
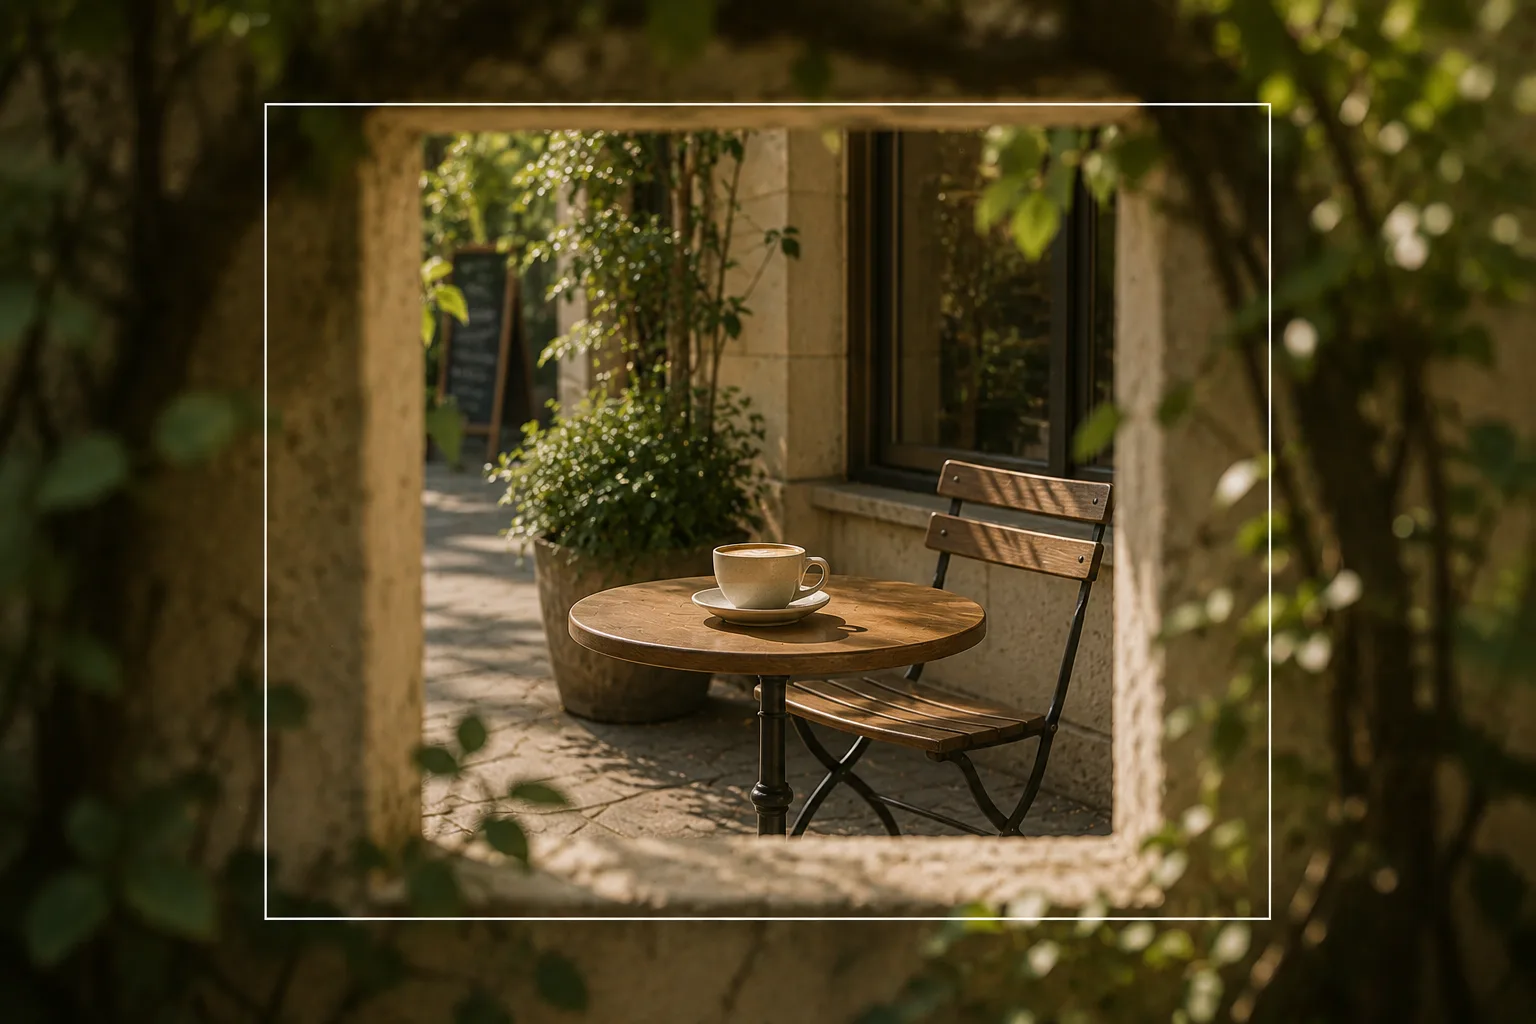 Composition guideFramingSee the full guide for this composition →

Start with just this
Have them stand where the light reaches, tap the face, swipe up if dark. For atmosphere, Portrait mode for bokeh lights. During Night mode, call three seconds of stillness. That alone mostly prevents the pitch-dark face.
FAQ
Faces go pitch dark in front of the lights.
The camera sets brightness for the bright lights and darkens everything else. Tap the face to make it the exposure reference, and swipe the sun icon up if needed. Having the person stand where the lights actually reach their face also works well.
Should I just use the flash?
Flash tends to leave the face floating white while the background lights sink dark, so try tapping and repositioning first. Keep flash as a last resort in real darkness, and try it from not-too-close.
How do I get those round light bokeh balls?
Portrait mode blurs the background, turning the lights into round bokeh. The farther the person is from the lights, the bigger the bokeh — try having them step two or three paces forward, away from the lights.
Related reading
Compositions used
Related subject guides
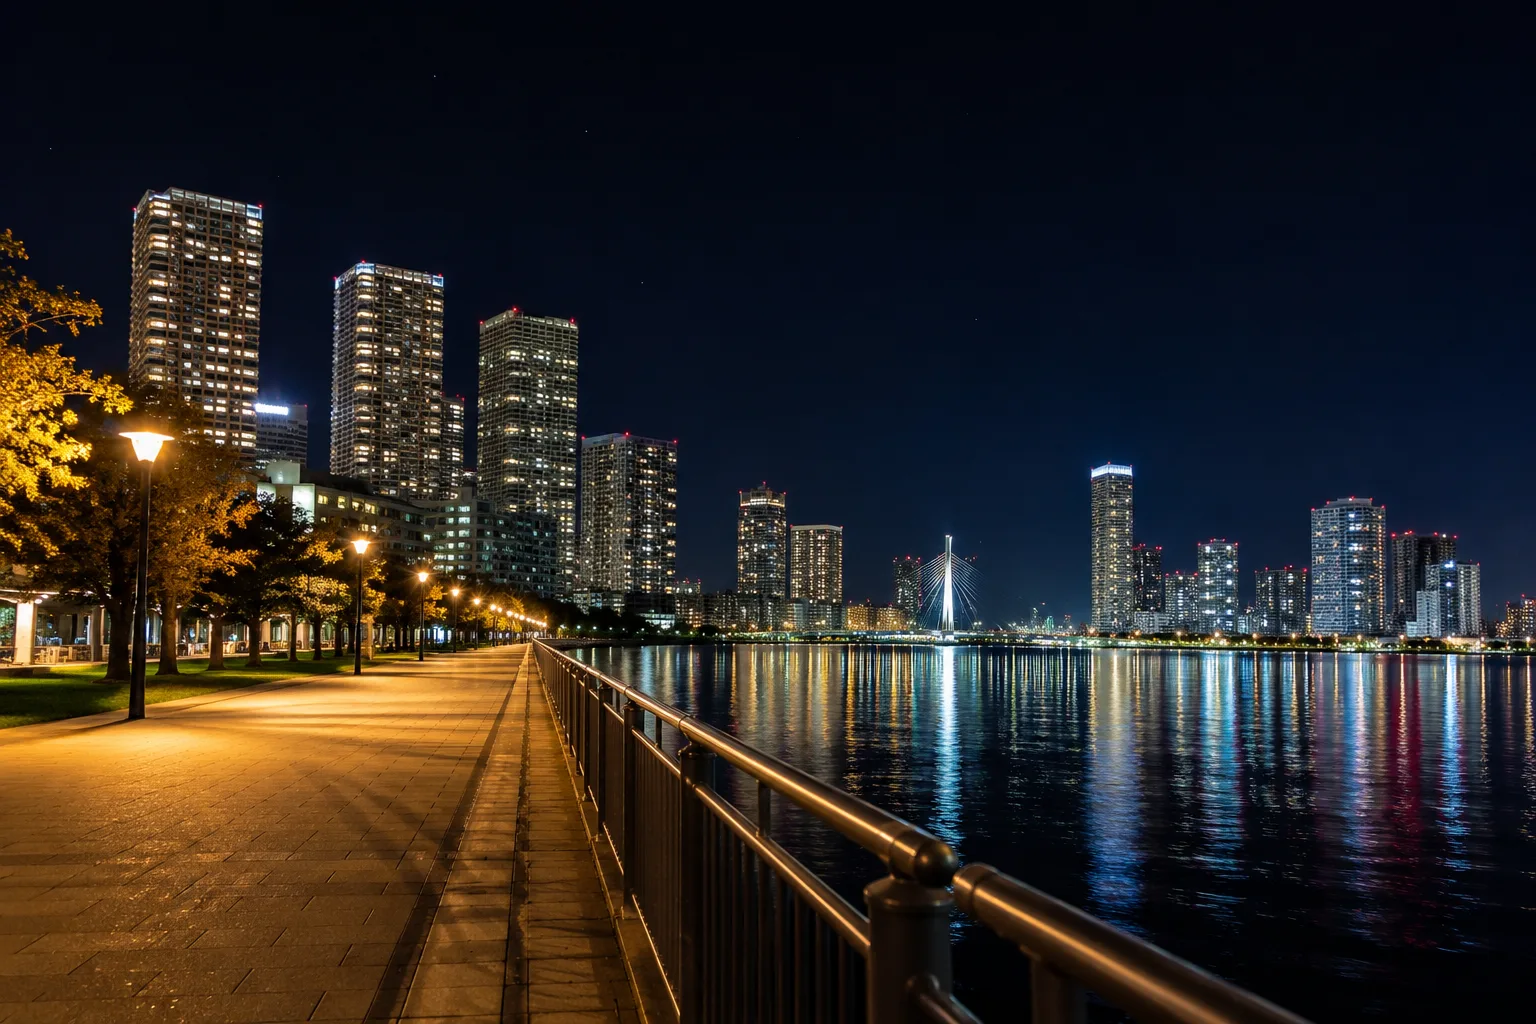
Shooting Night Views and Illuminations Crisp — Why They Blur, and Night Mode

Flattering Selfies, Naturally — Why They Look Awkward, Plus Angle and Light
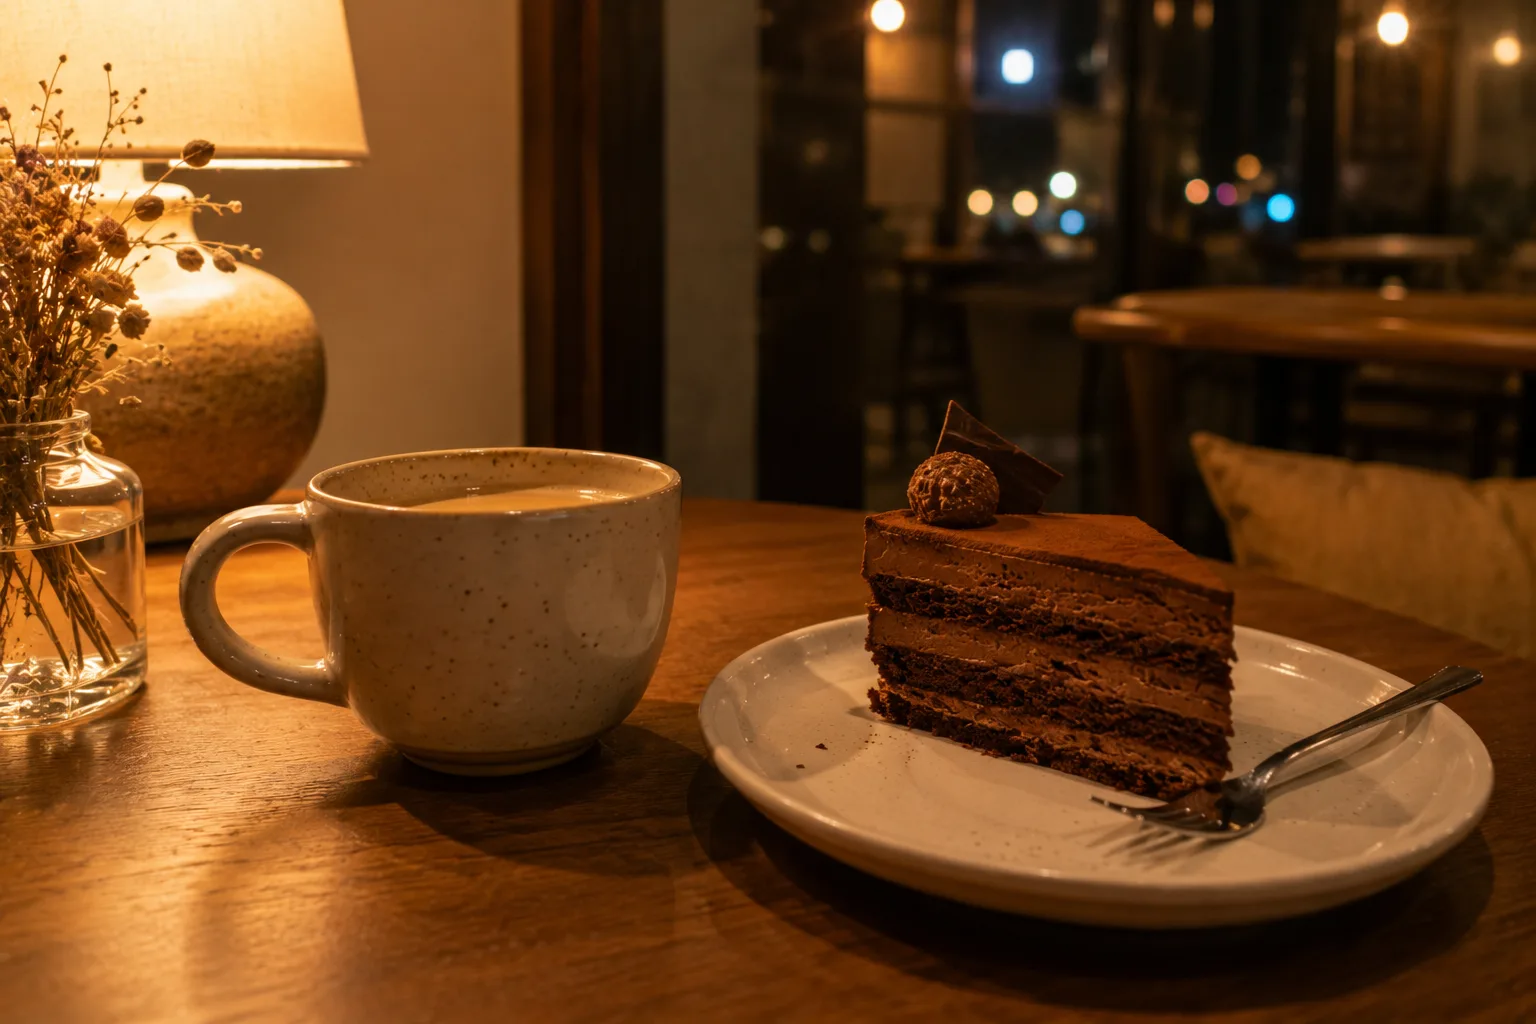
Shooting Cleanly in a Dark Room — Why It Blurs and Goes Dark, and the Fix
Shooting Snow Truly White — Why It Turns Gray, and the Fix
A Family Photo for New Year's Cards — Everyone In, Bright, with Room for Text