Shooting Snow Truly White — Why It Turns Gray, and the Fix
Published Jul 5, 2026
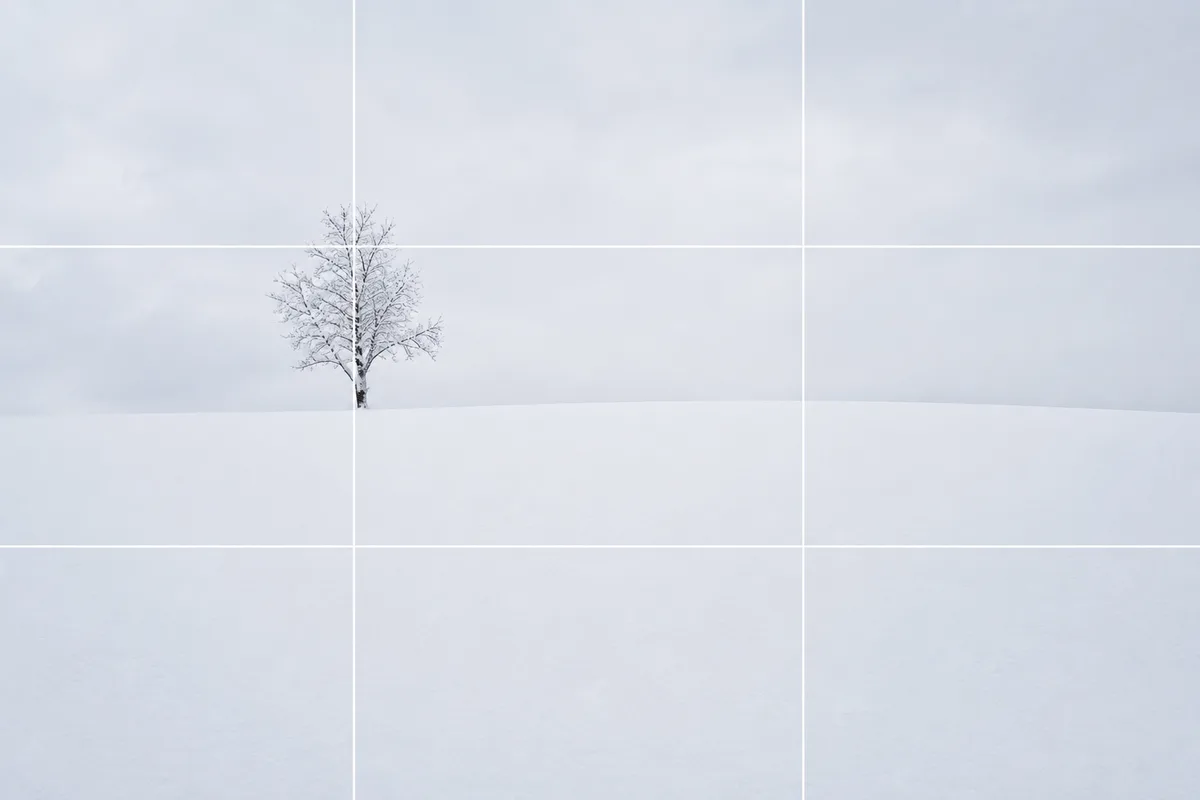
A world of white. But in the photo, the snow looks dull and gray. This isn’t your fault — it’s a habit of the camera’s auto adjustment. Once you know the cause, the fix is easy. Let’s also cover falling snow and the cold-weather quirks.
A seasonal subject — use this in snowy season and regions.
Why snow turns gray
The camera auto-adjusts the whole frame toward “moderately bright.” Fill the frame with white snow, and it decides the scene is too bright and darkens everything — so white snow sinks to gray. It happens to every camera whenever white is the star, snow or white sand alike.
Raise the brightness a notch to get the white back
The fix is simple. Tap the screen, then swipe the sun icon up to raise the brightness, a little at a time, until it matches the white you actually saw (→ Adjusting brightness). Push too far and the snow’s surface texture flattens out — stop at “white, but still textured.”
Falling snow: burst, against a dark background
Drifting flakes are small and quick, so shoot a burst and choose, rather than betting on one frame (→ How to use burst mode). White snow disappears against a white sky; shoot against dark trees or buildings and the flakes pop. Snow at night pairs beautifully with street lights and illuminations (→ Night views and illuminations).
Compose with the white as negative space
Snow’s whiteness is itself perfect negative space. Take the snowfield wide and place a snow-covered tree or a walking figure small in the frame — the quiet comes through (→ Negative space). Footprints and ski tracks work as lines leading the eye into the distance (→ Leading lines). Tilted horizons show badly against snow, so check level with the grid (→ Landscape photos).
 Composition guideNegative spaceSee the full guide for this composition →
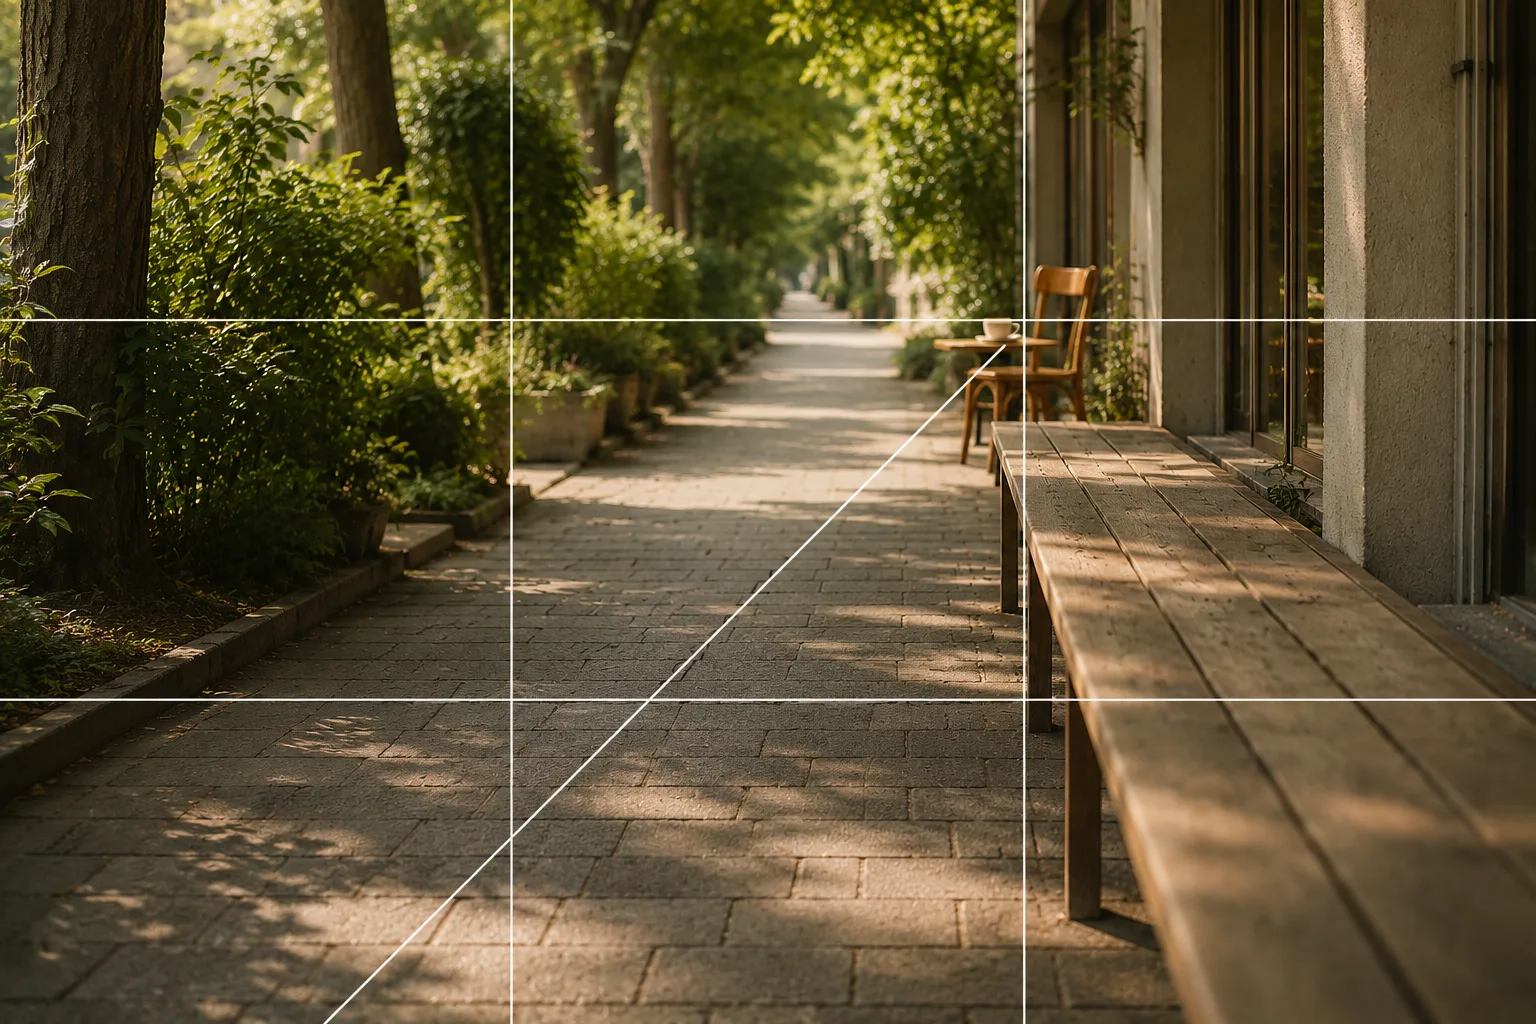 Composition guideLeading linesSee the full guide for this composition →

Don’t forget the cold itself
Moving suddenly between a warm room and the cold outdoors can fog the lens with condensation. Wipe before shooting, and if the fog stays, wait for the temperature to settle (→ Cleaning the lens). Batteries also drain fast in the cold — keep the phone in an inner pocket and take it out only to shoot.
Start with just this
Tap the screen and swipe the sun icon up until the snow looks white. Shoot falling snow in burst against a dark background. Use the snowfield as wide negative space, footprints as leading lines. That’s the graduation from dull gray snow.
FAQ
Why does snow come out gray instead of white?
The camera judges a frame full of white snow as "too bright" and automatically darkens it. Tap the screen, then swipe the sun icon up until the snow looks as white as it did to your eyes.
How do I capture falling snow?
Snowflakes are small and fast, so shoot a burst and pick the frame where the snow shows best. A dark background — trees or buildings — makes the white flakes stand out clearly.
My battery drains fast in the cold.
Batteries are weak in the cold; below freezing, the level can drop suddenly or the phone can shut down. Keep the phone warm in an inner pocket and take it out only to shoot. A power bank adds peace of mind.
Related reading
Compositions used