How to Adjust Brightness and Exposure on a Phone — Tap and Swipe Basics
Published Jun 27, 2026
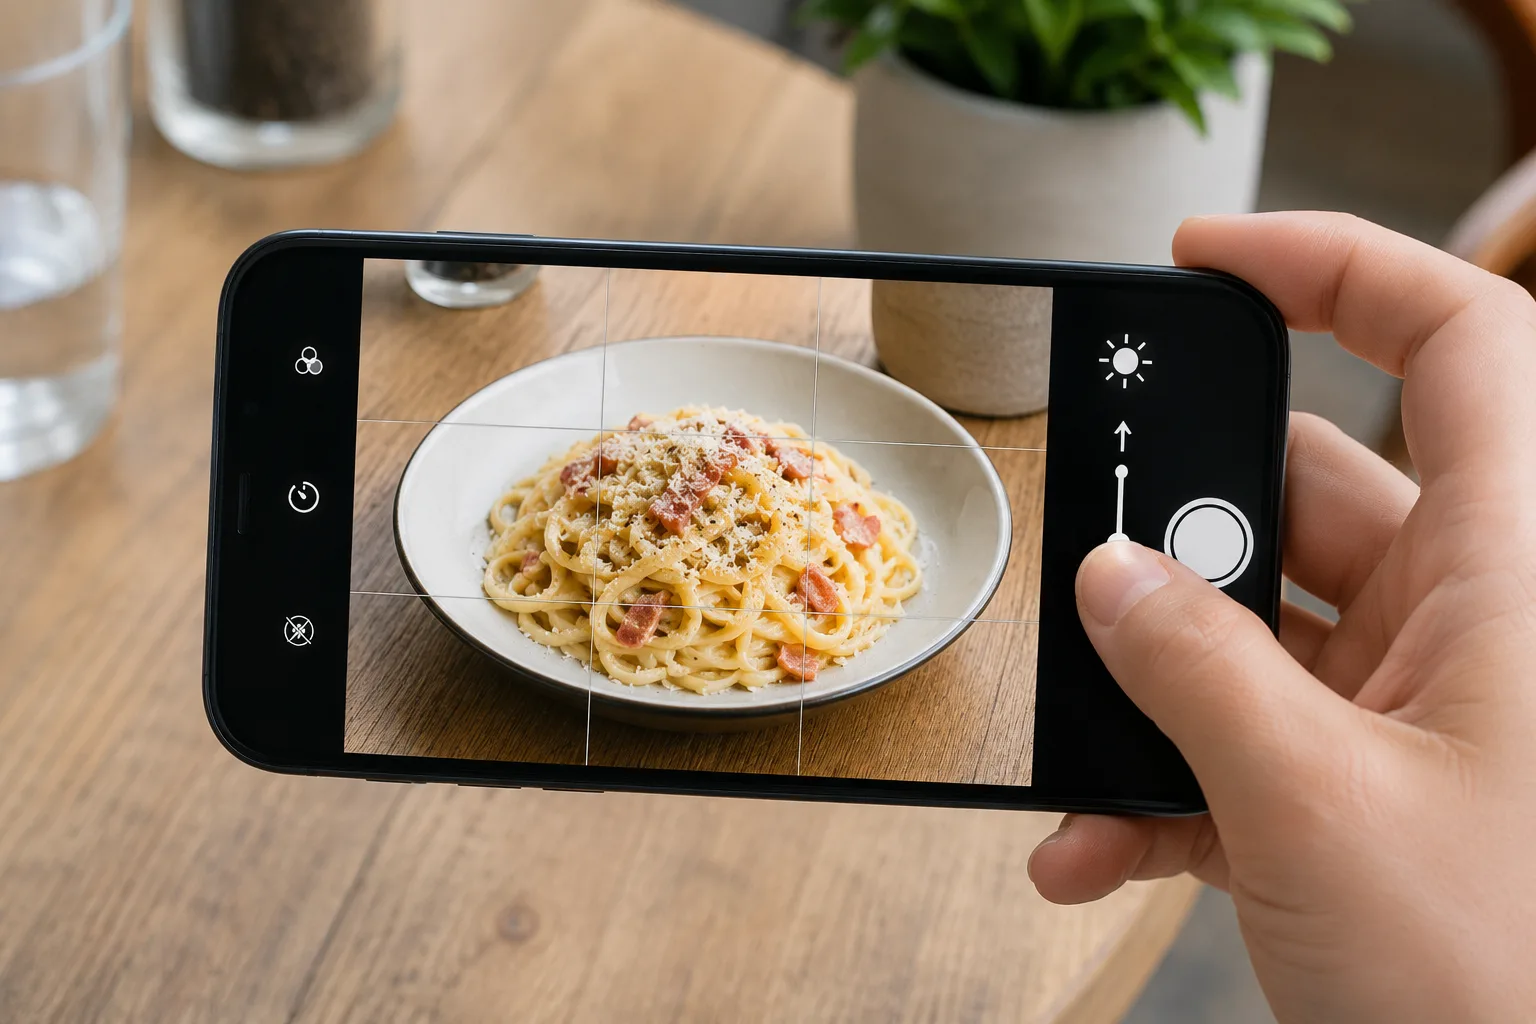
“It came out dark.” “I included the window and the face went pitch black.” Most of these letdowns happen because the brightness — the exposure — doesn’t match the scene. With your phone’s stock camera, you can adjust it with a fingertip, no special settings needed.
Why it comes out dark (or too bright)
The camera automatically averages the brightness of the whole frame. So when a bright window or sky enters the frame, it decides “the whole thing is bright” and renders your actual subject dark. Conversely, with a lot of dark background, it may try to brighten the subject and blow out the highlights. Left on auto, the subject’s brightness easily drifts from what you intended.
The basic steps (iPhone / Android)
First, tap your subject to set focus. A sun icon (a brightness slider) appears near the focus box. From there, swipe up to brighten, down to darken. Take the shot once the subject is at an easy-to-see brightness.
On iPhone, tap and then drag the sun icon beside the box up or down; on Android (Pixel and others), tap and move the slider that appears — the idea is the same.
How much to raise it
Food and people look healthy and appetizing a touch brighter (toward plus). The trick is to stop just before the bright areas lose detail and “blow out.” When a white wall or the sky in the background starts going flat-white, pull back a little.
Start with just this
Tap the subject → swipe up or down → shoot at an easy-to-see brightness. Just learning these three steps lets you fix most “dark” and “blown out” shots as you take them. Reach for this first with a backlit dark face, or when shooting in a dim room.
FAQ
Exposure or flash — which should I use to brighten a shot?
Try exposure (swiping) first. Flash tends to be harsh and unnatural, so even in dark places, adjusting brightness or using Night mode first looks more natural.
When I brighten it, it looks washed out.
That's a sign you've gone too far. Pull back a little, to just before detail in the bright areas disappears. Keep it within the range where the subject is easy to see.
Related reading
Related subject guides

Shooting Faces and Food Bright Even in Backlight — Why It Goes Dark and the Fix
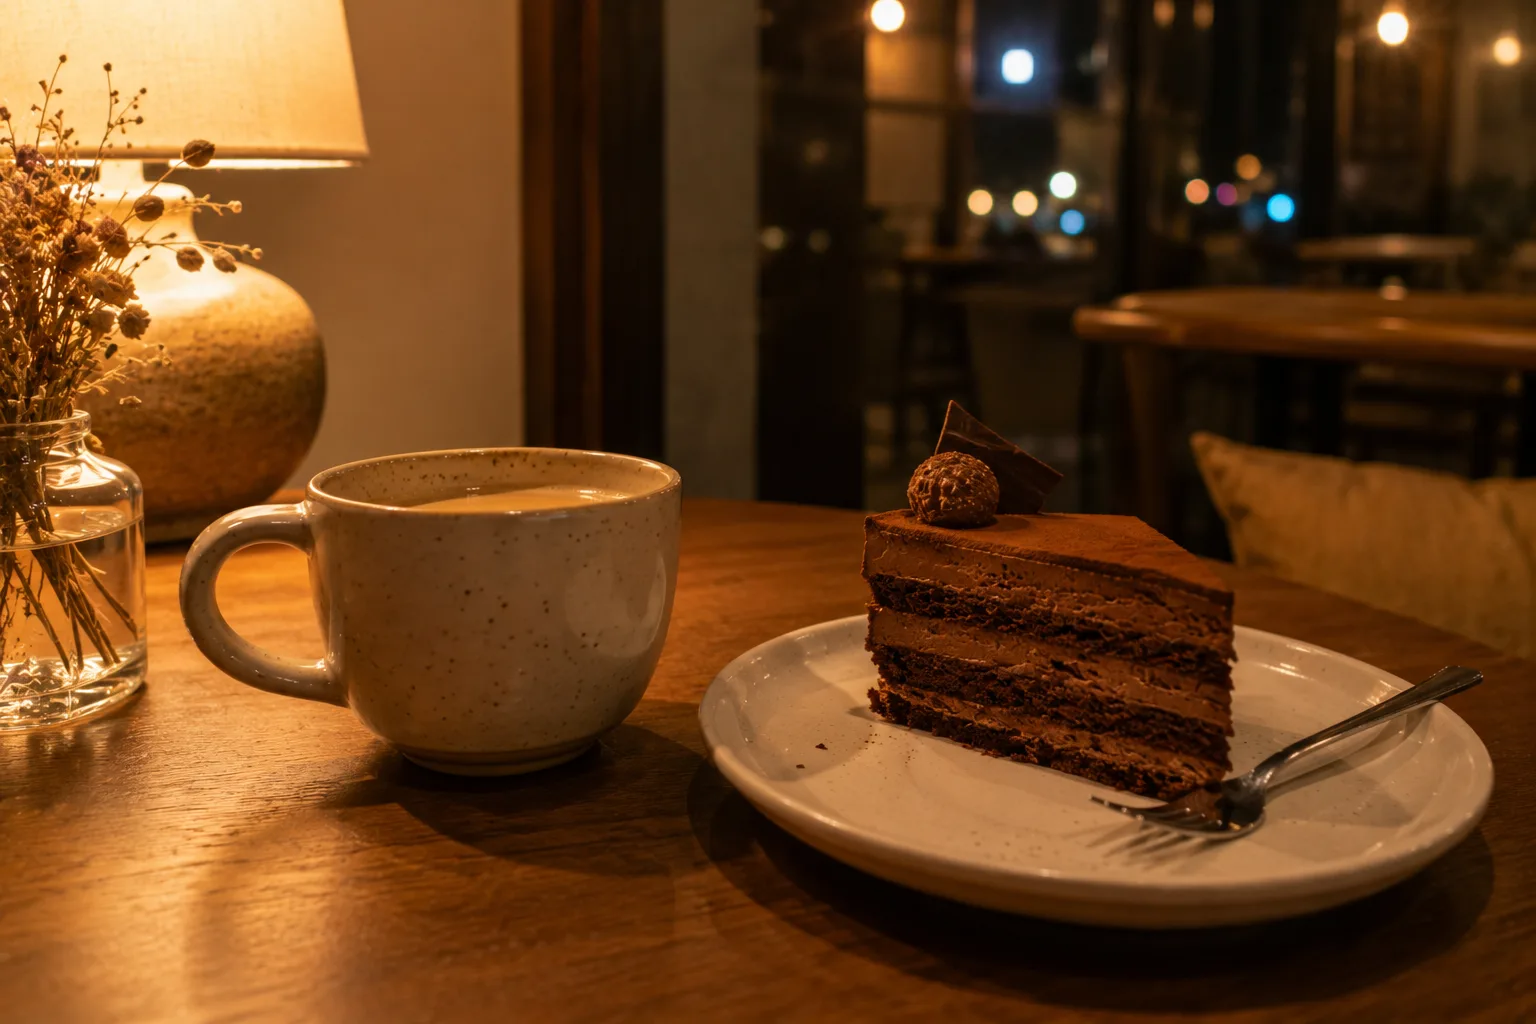
Shooting Cleanly in a Dark Room — Why It Blurs and Goes Dark, and the Fix

How to Make Food Look Delicious — Why It Looks Bland and How to Fix It

Composing Stylish Café Photos — Why They Don't Pop and How to Fix It
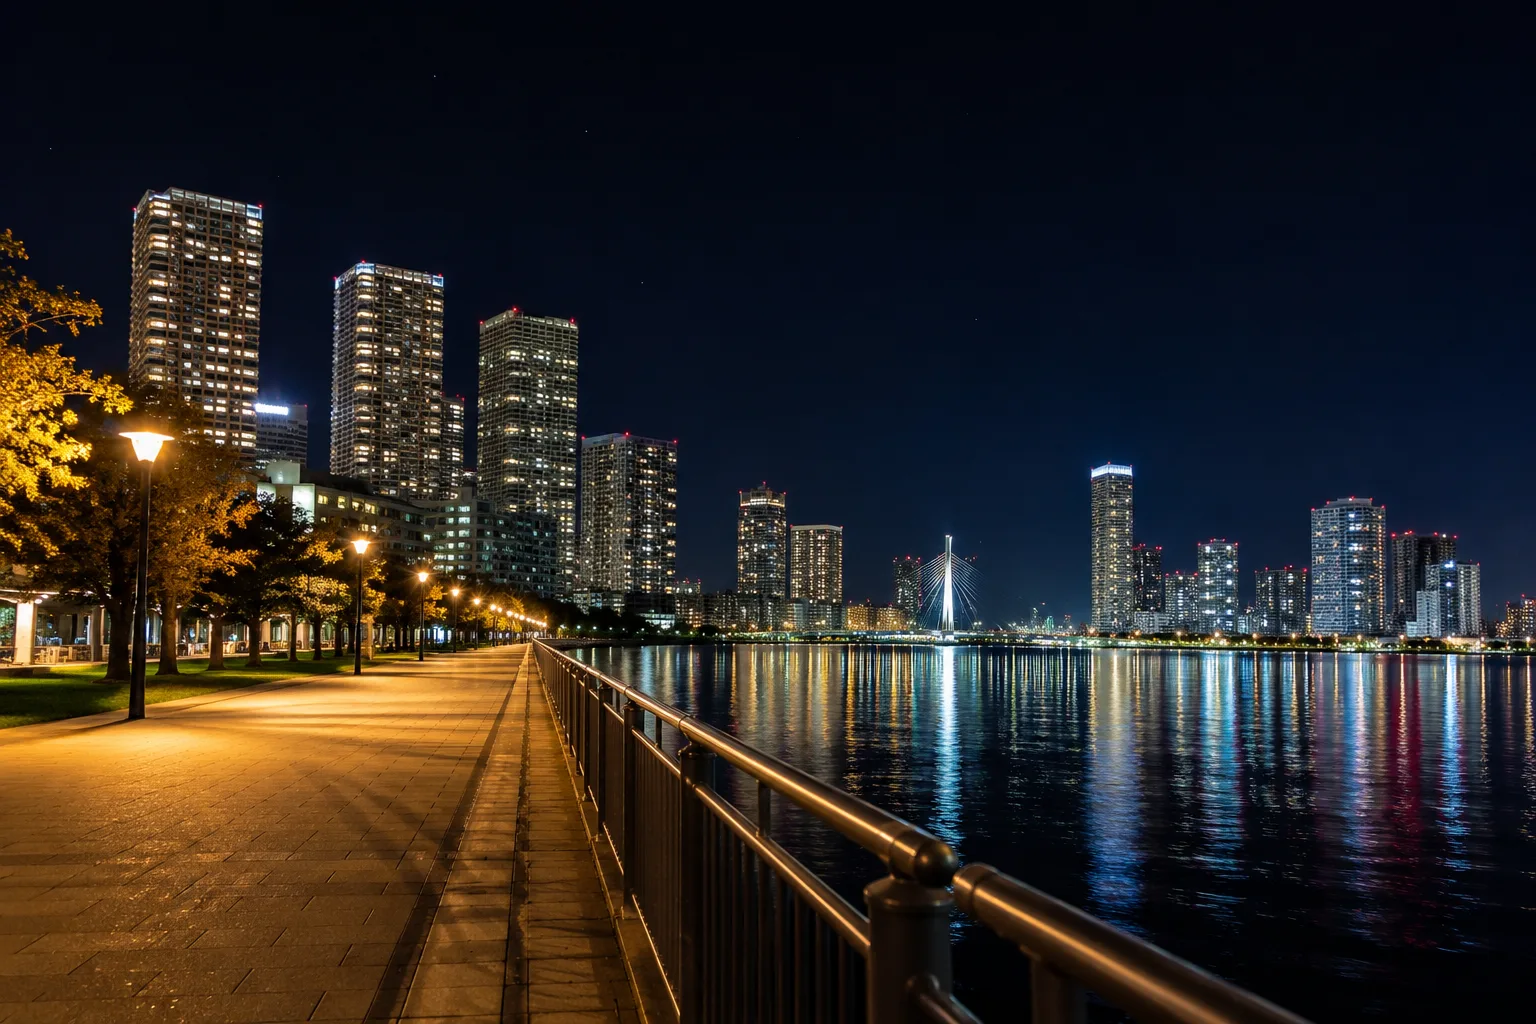
Shooting Night Views and Illuminations Crisp — Why They Blur, and Night Mode
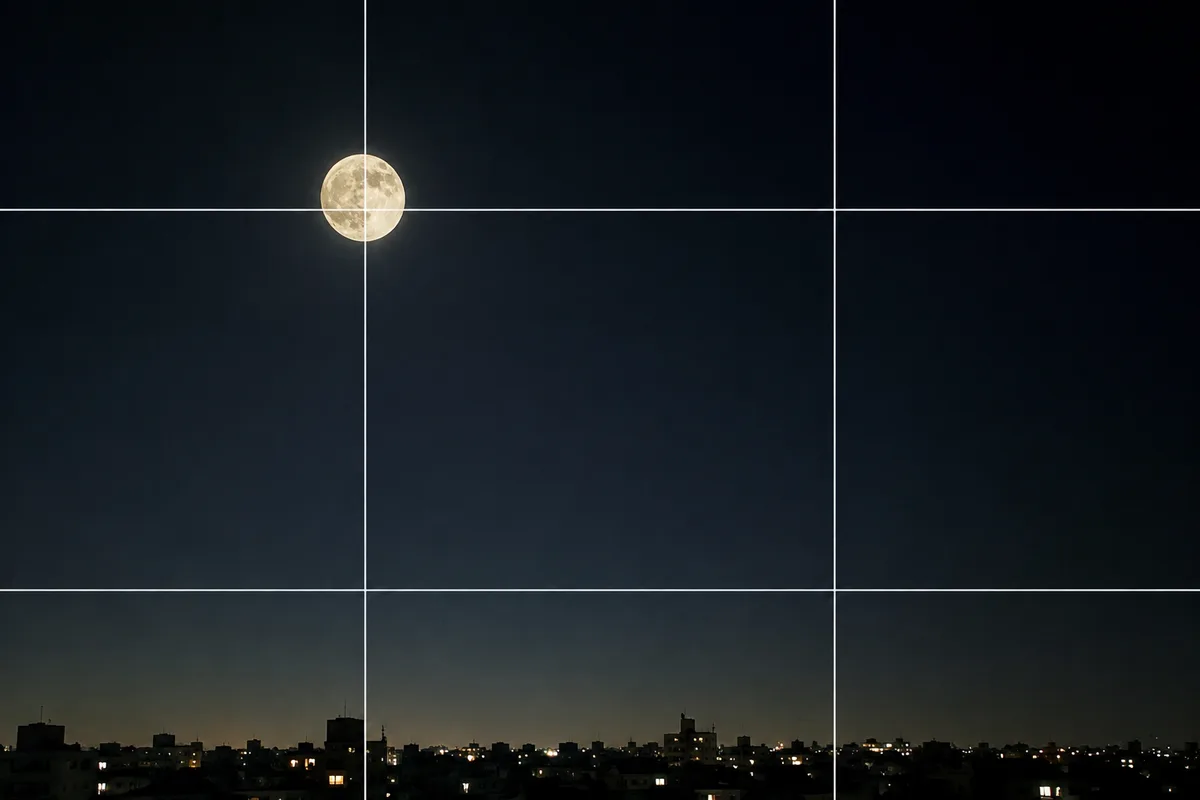
Shooting the Moon Clearly — Why It Becomes a White Dot, and What a Phone Can Do
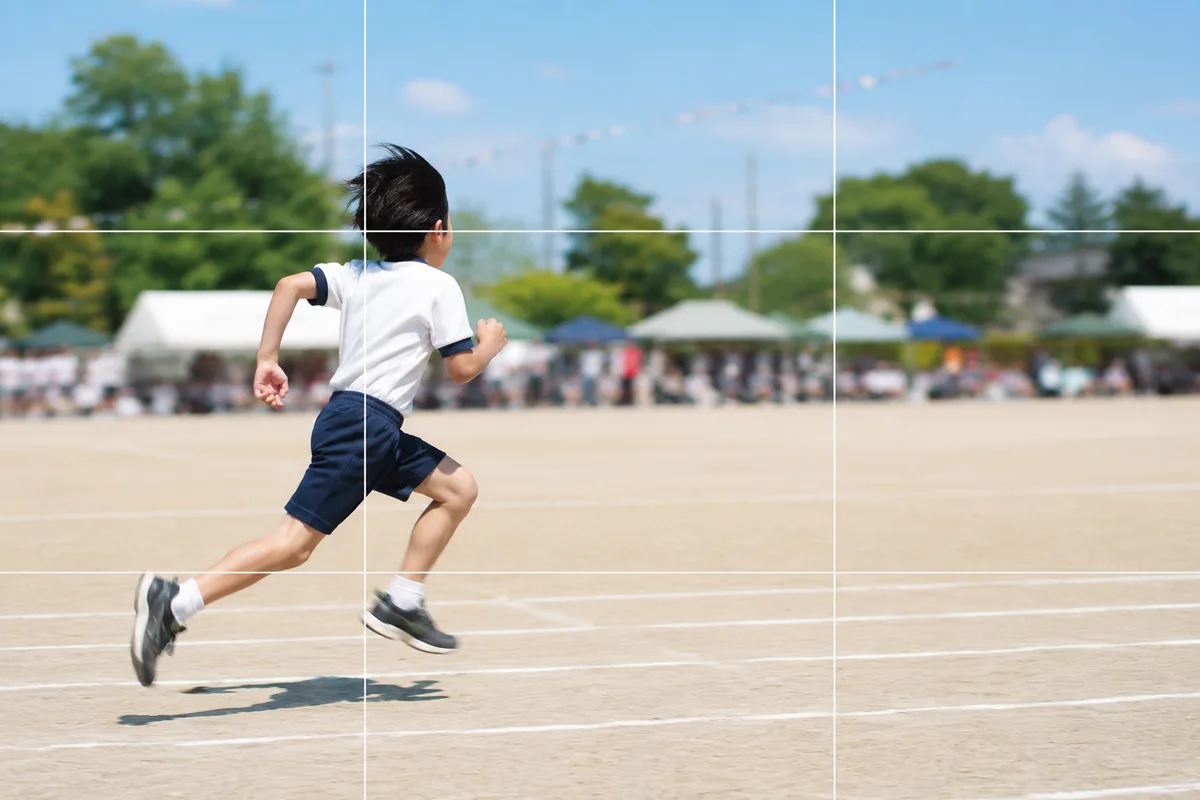
Shooting Kids Sharp at Sports Day — Fixing Blur, Distance and Backlight
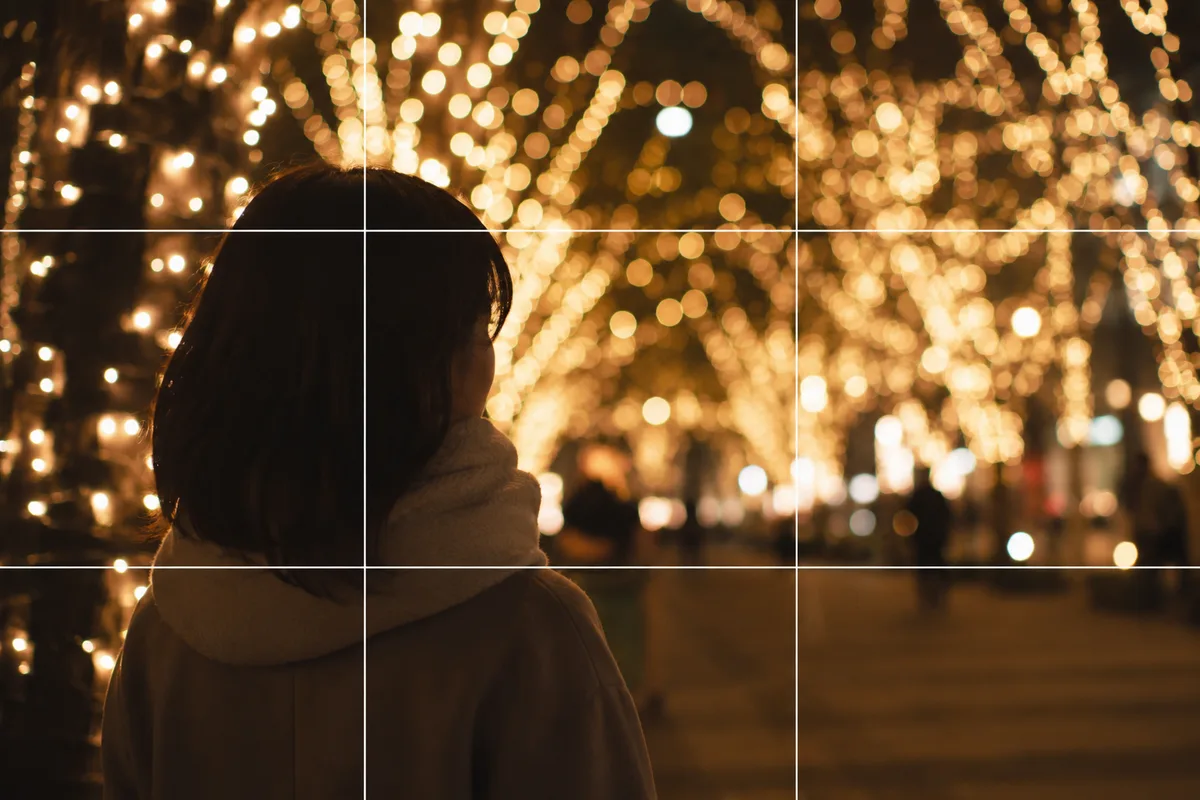
Shooting People with Holiday Lights — Fixing Dark Faces and Vanished Lights
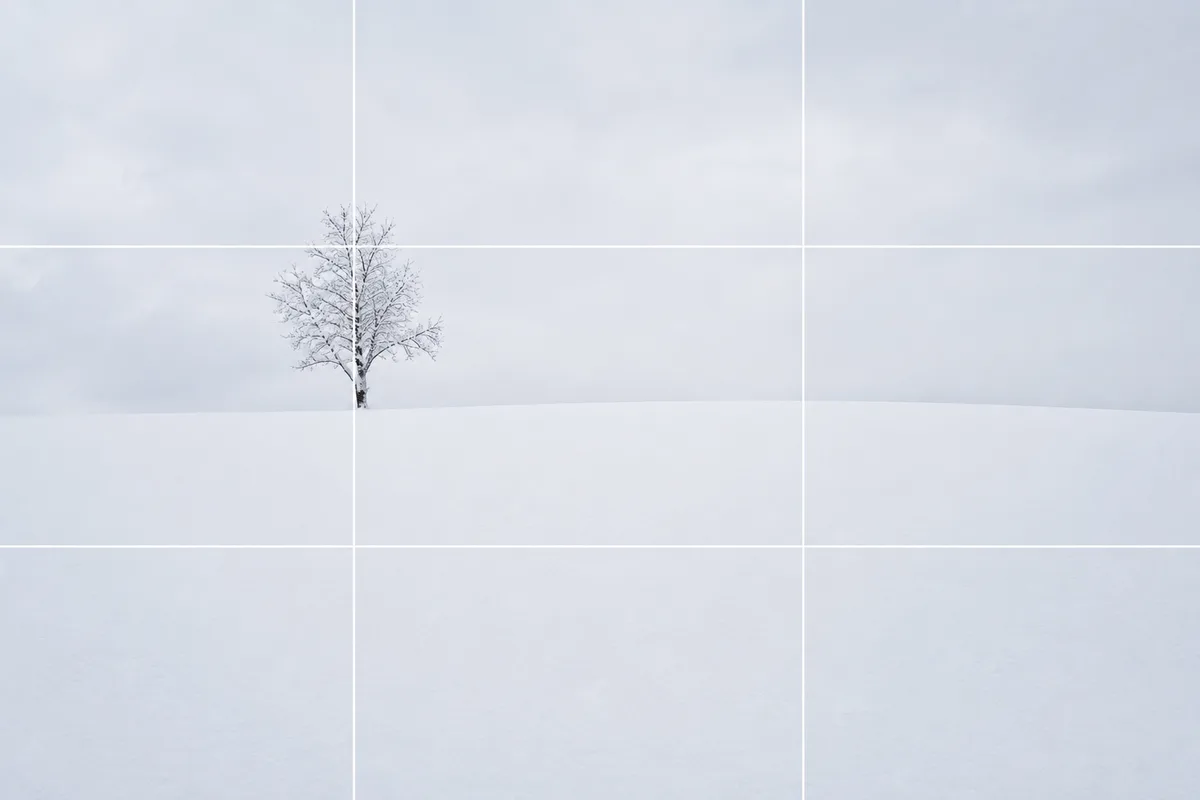
Shooting Snow Truly White — Why It Turns Gray, and the Fix
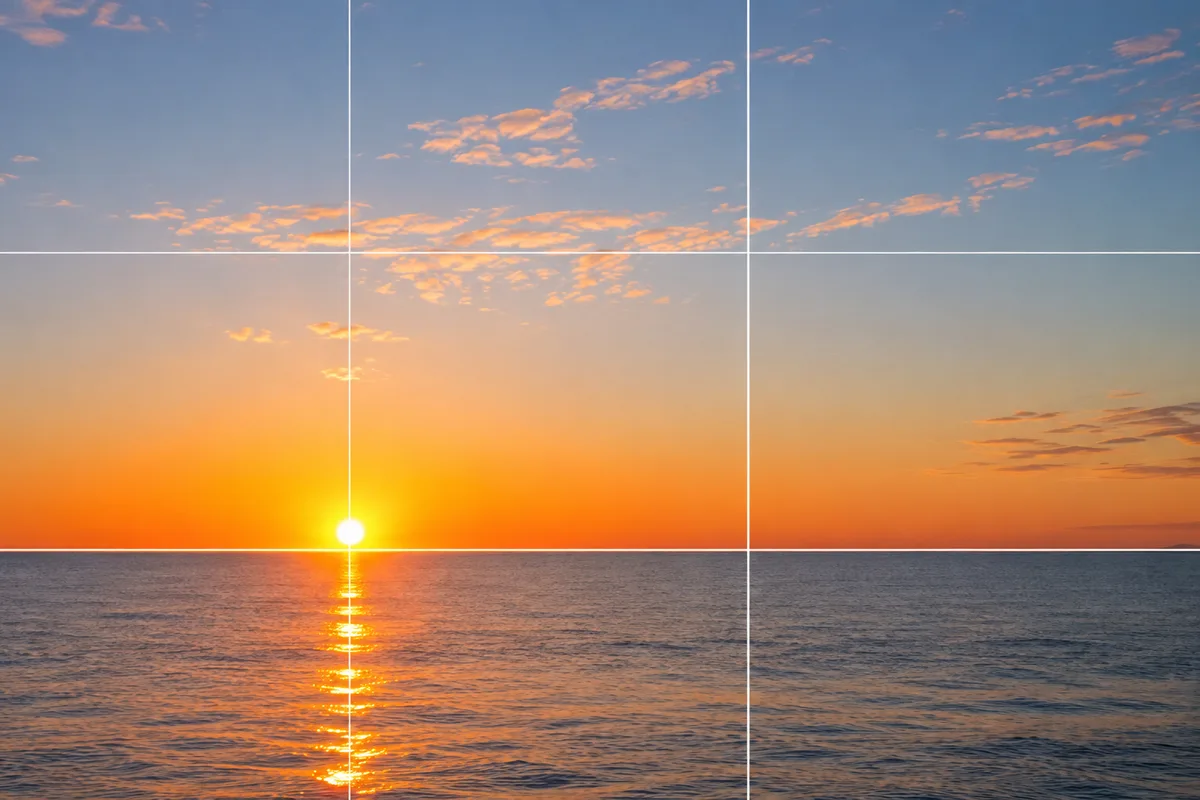
Shooting the New Year's First Sunrise — Fixing the Blown-Out Sun and Tiny Sun
Shooting at Aquariums and Zoos — Fixing Glass Reflections and the Dark Indoors
Shooting at Photo-OK Concerts — Fixing Black Frames, Blur, and the Tiny Stage