Blur the Background With Portrait Mode — Using It Naturally
Published Jun 27, 2026
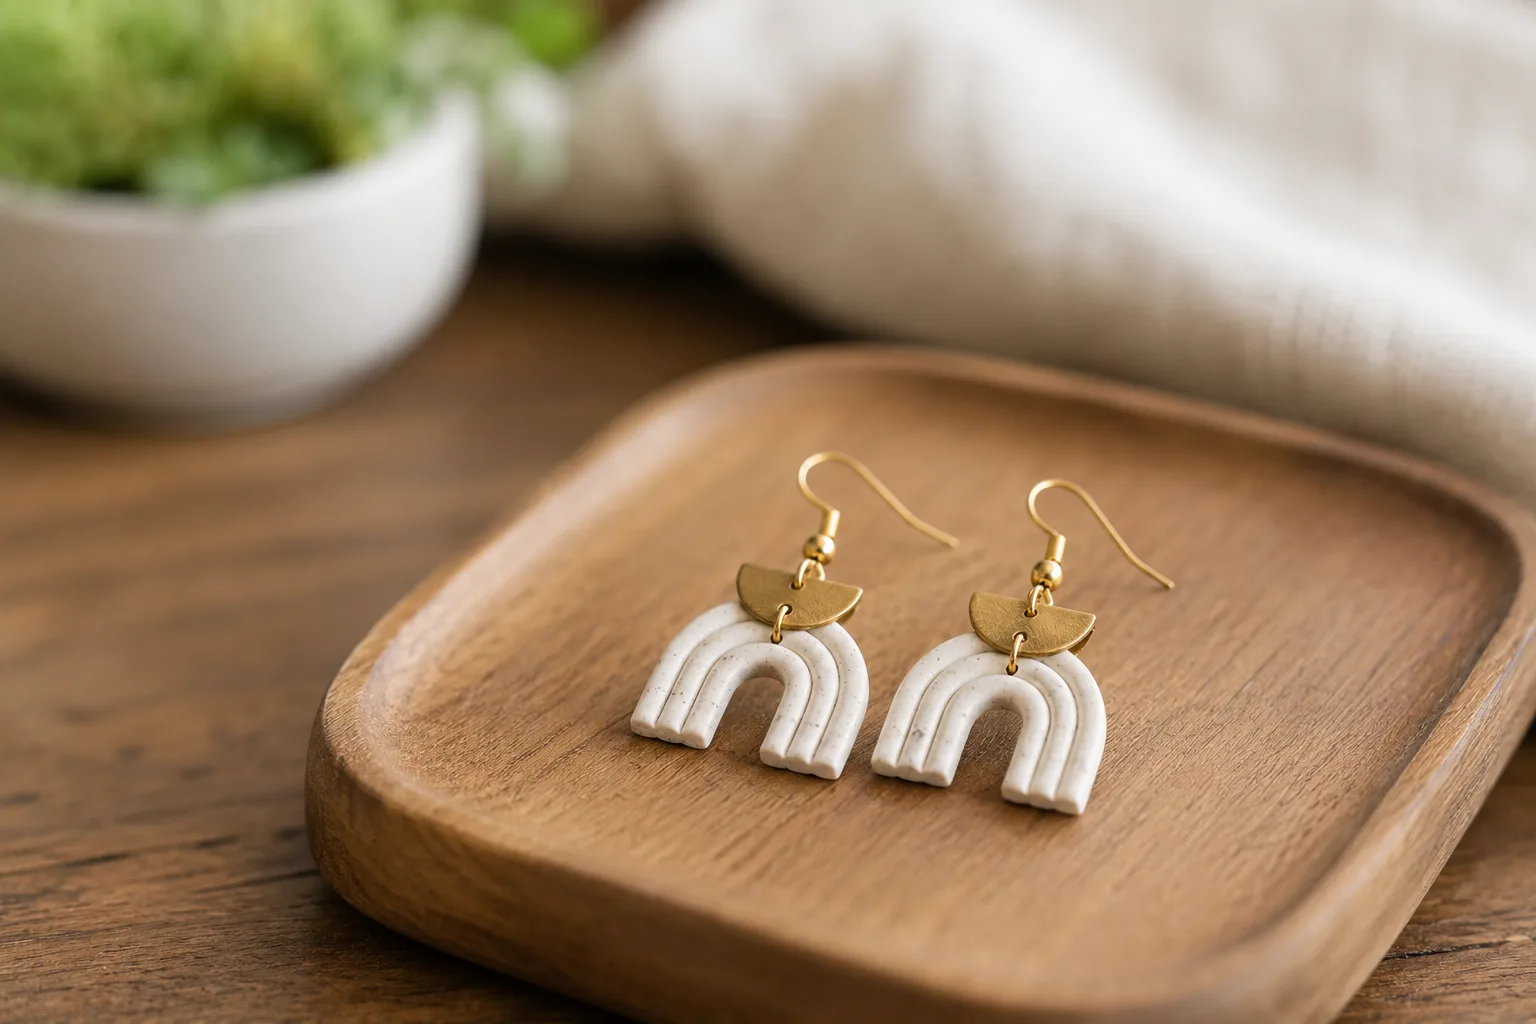
Portrait mode softly blurs the background to make your subject stand out. Used well, it gives even a phone a sense of depth like a DSLR — but it has strengths and weaknesses.
What it does
By keeping the subject in focus and blurring the background, it draws the eye to the subject. Even in a busy spot, it softens the everyday clutter and lifts the subject. It suits social icons, profile shots and introducing small objects (→ Photographing social media icons).
How to use it
Switch the camera app to “Portrait” mode and point it at your subject. Follow the on-screen prompts and adjust your distance a little, and the blur kicks in. A little distance between subject and background makes the blur look natural.
Where it struggles, and cautions
A hairline, glasses, and fine gaps like branches or a fence can leave the edge of the blur looking unnatural. With these subjects, rather than forcing the blur, it sometimes comes out cleaner to choose a spot with plenty of background space (→ Negative space). Dark places are also tough for the blur, so bright spots suit better.
Three distances that make the cutout look natural
Whether the edge of the blur reads as natural comes down largely to how you place the distances.
- Separate subject and background. Even two or three paces between them makes the edge far easier for the phone to work out. Having someone step forward from the wall they’re standing against is enough.
- Back off and shoot around
2. Too close and whatever is nearest the lens — usually the nose and forehead — is enlarged, and the outline gets complicated. Step back and use the telephoto end: the rendering looks more natural, and the background genuinely softens. - Avoid strong light straight from behind. When the background is far brighter, the hairline dissolves into it and the cutout falls apart. Move half a step round so the light comes in at an angle and the edge holds (→ Shooting into the light).
Newer phones are adding depth sensors to sharpen these cutouts. But separating subject and background is the basic move, and it works on any phone today.
Start with just this
Leave a little distance between subject and background, in a bright place, and switch to Portrait mode to shoot. For subjects with lots of hair or fine gaps, don’t force it — also lean on negative space to lift the subject. That lets you use background blur naturally.
FAQ
Can I use Portrait mode on things other than people?
Yes. It suits small objects, food and flowers — anything where you want a clear subject. But it can struggle with hair and fine gaps, so subjects with a clear outline come out cleaner.
The blur looks unnatural.
If the blur is too strong, some phones let you adjust the "depth" or f-number after shooting. Leaving a little distance between subject and background also makes the blur look more natural.
Related reading
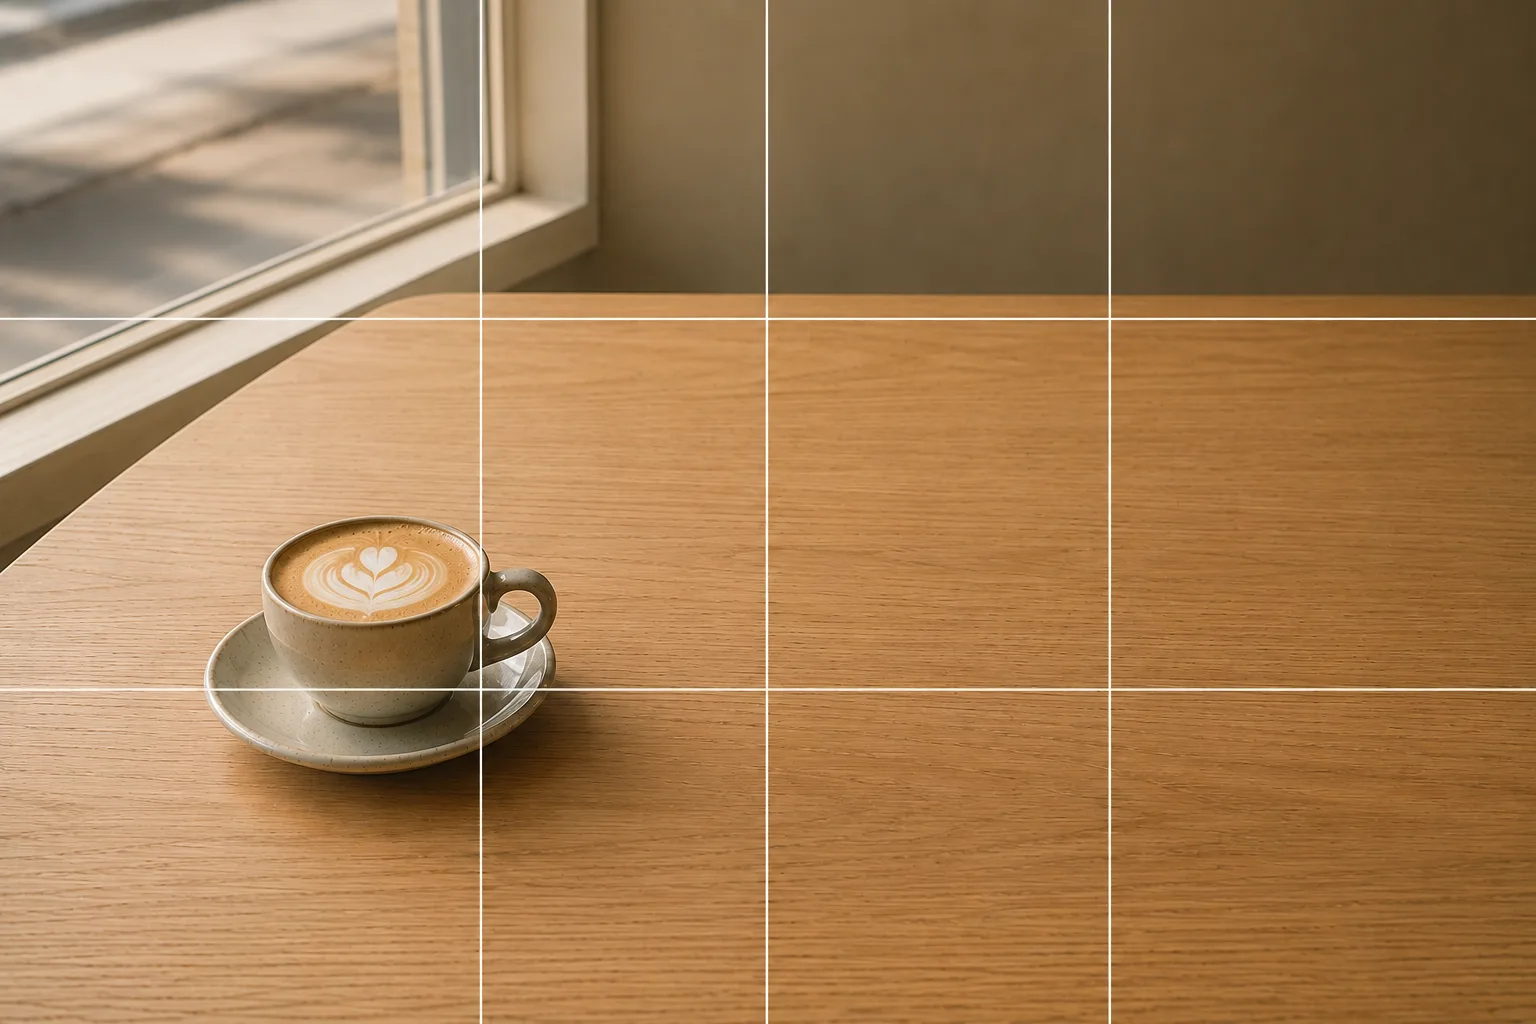
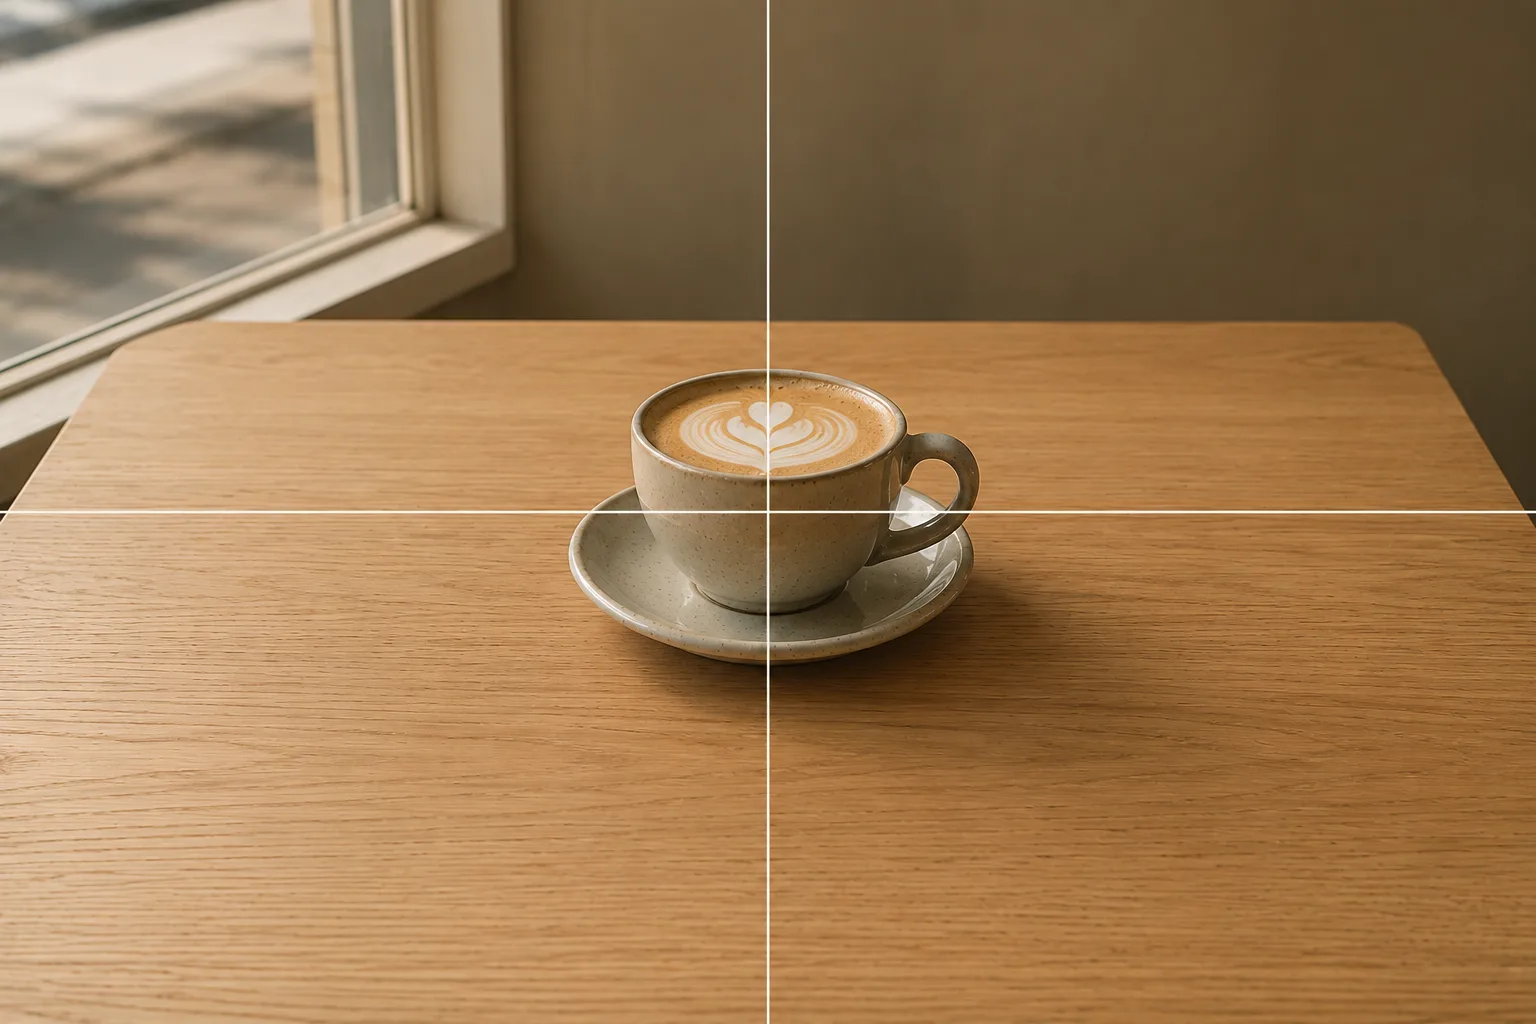
Compositions used
Related subject guides
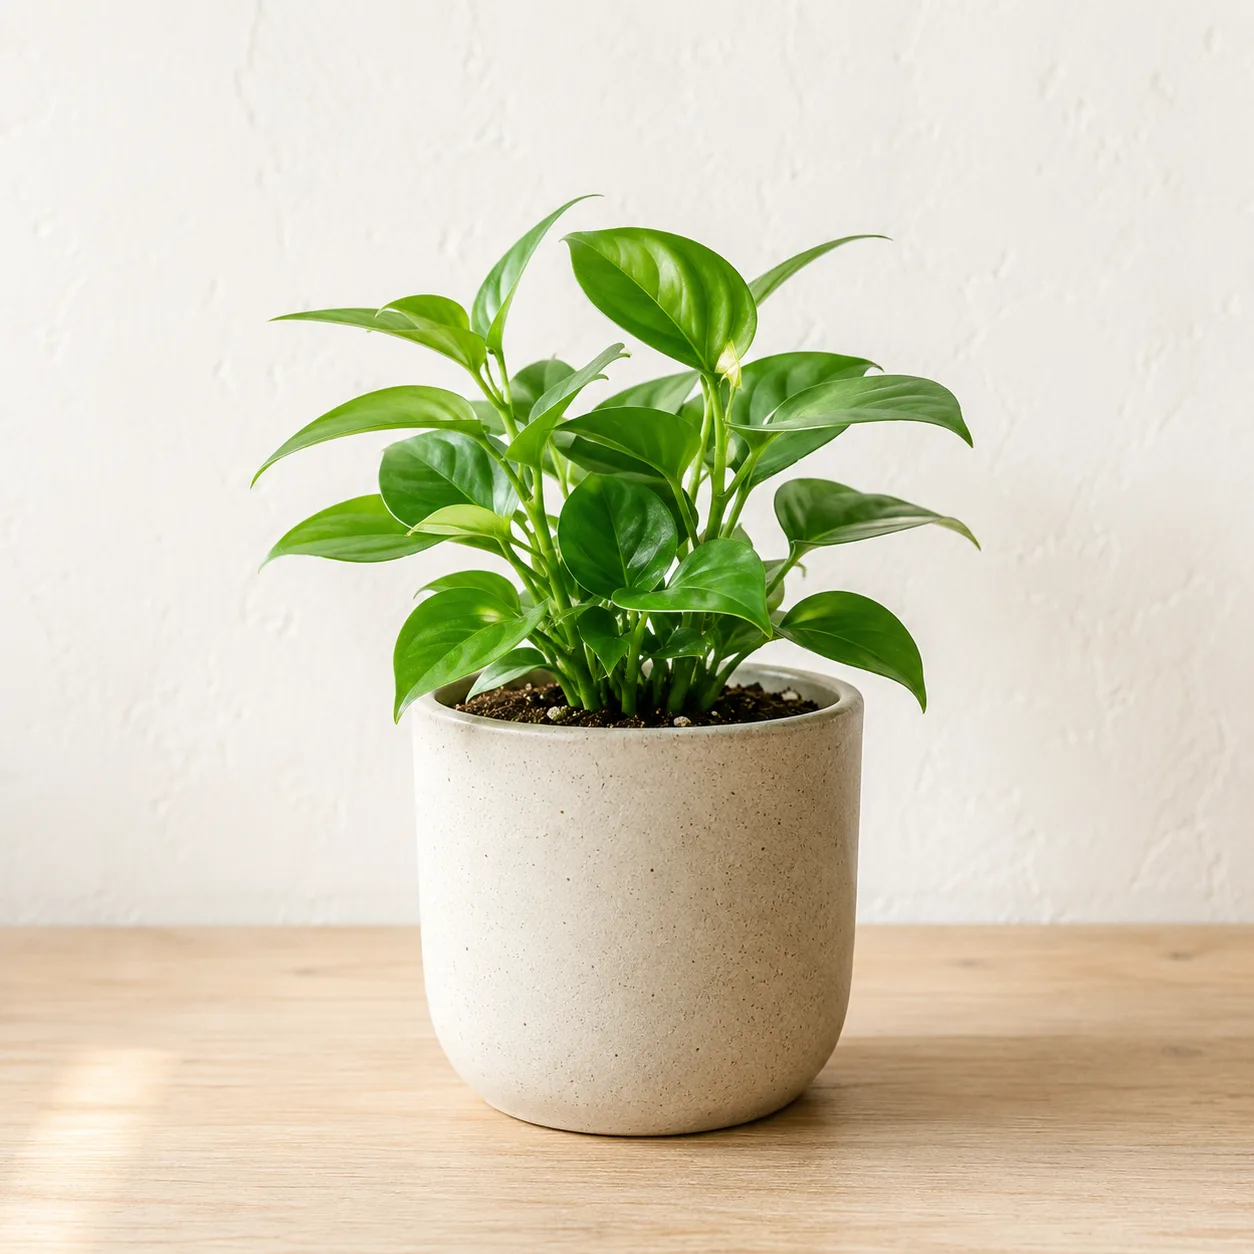
Composing a Polished Social Media Icon — Making a Good Impression

Flattering Selfies, Naturally — Why They Look Awkward, Plus Angle and Light
Composing Stylish Café Photos — Why They Don't Pop and How to Fix It

Capturing Dogs' and Cats' Expressions — Fixing Motion, Darkness and Blur
How to Photograph Plushies as the Star — Fixing Tiny, Blurry, Busy Shots
Composing Marketplace Listing Photos That Sell — Clearing the Background
Shooting People with Holiday Lights — Fixing Dark Faces and Vanished Lights