How to Photograph an Oshi Shrine Cleanly — Clutter, Darkness and Tilt
Published Jun 27, 2026
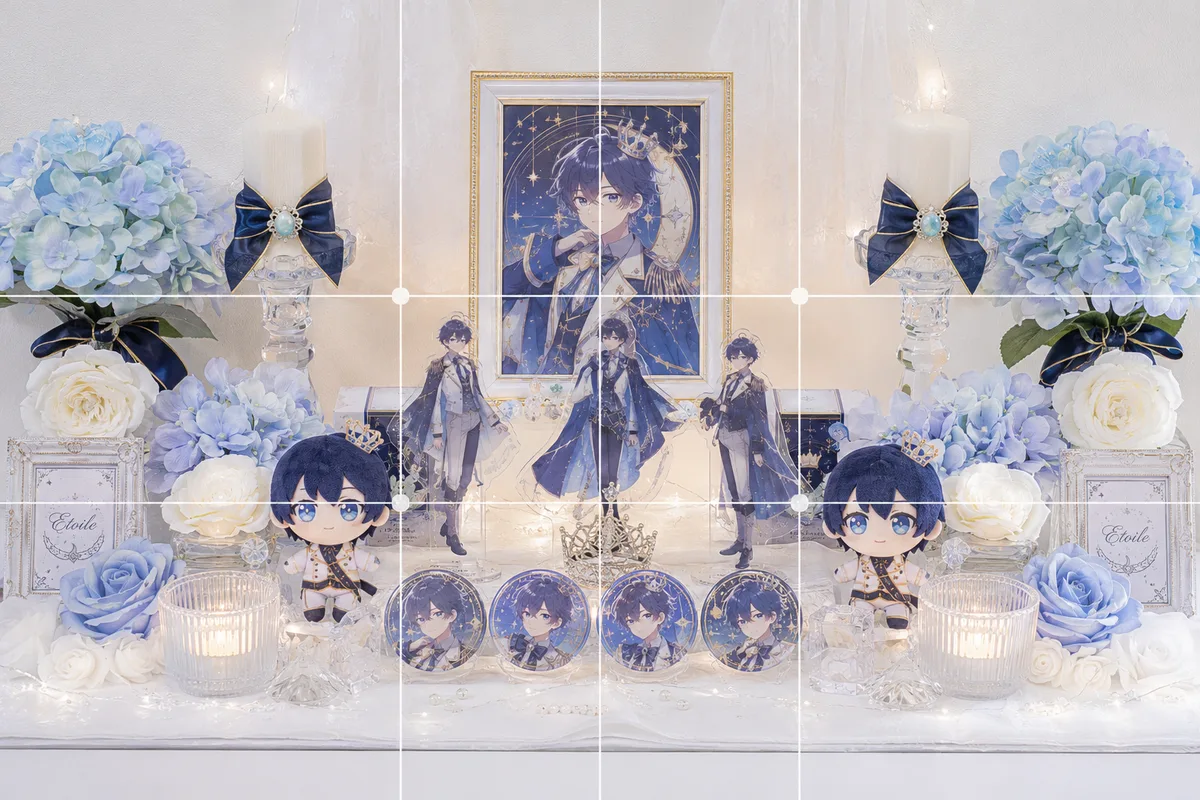
Photograph your decked-out oshi shrine — a shrine-style display for your fave — and it looks cluttered, dark with sunken colors, or tilted. The causes: lots of items with no axis to line them up, and a room that isn’t bright enough. Just arrange it symmetrically head-on and raise the brightness, and even an item-heavy shrine becomes a clean, “precious” shot.
Arrange it symmetrically, head-on
A shrine has many items, so without an axis to the layout it looks scattered. Put the main fave at the center and set goods at equal height and number on each side, so the eye gathers at the middle and settles (→ Symmetry). Hold the camera square to the front of the shelf, and use the grid to line up the shelf’s vertical and horizontal lines to prevent tilt (→ How to use grid lines).
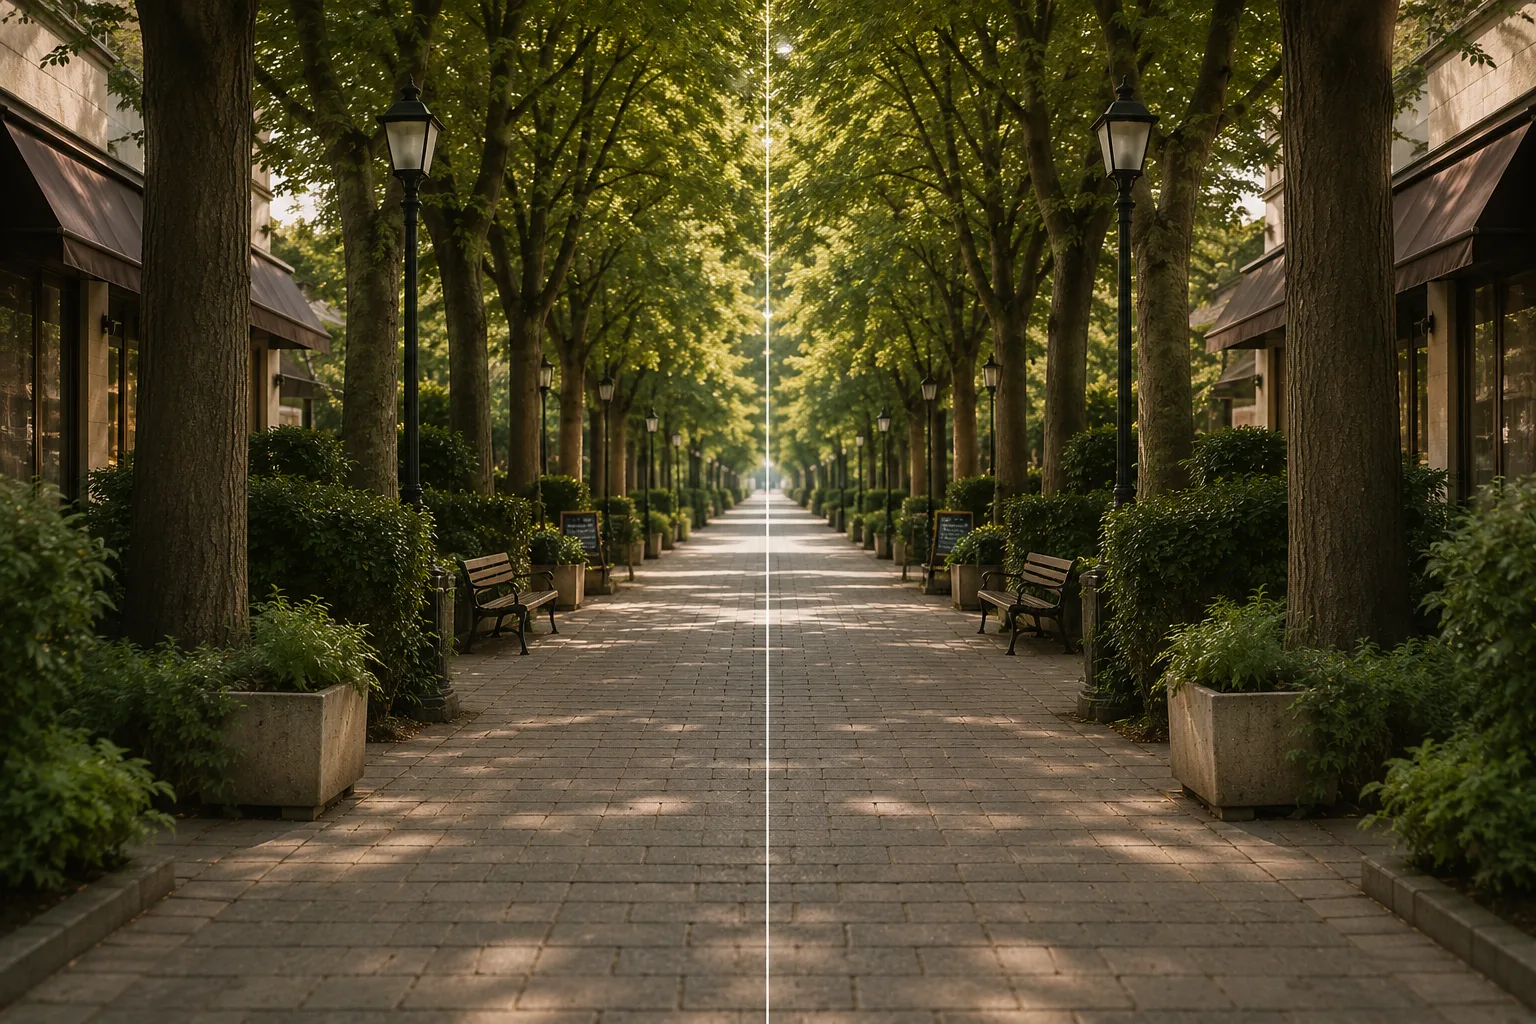 Composition guideSymmetrySee the full guide for this composition →
Raise the brightness to bring out color
In a dark room, the colors of your goods and the sheen of gold leaf sink. Raise the brightness a notch, and if it’s still dark, use Night mode (→ Adjusting bright and dark / How to use Night mode). Light from the front reflects, so light from the side to tame reflections while keeping dimension. For shooting in a dark room, Fixing dark indoor photos helps too.
Shoot the whole and the details separately
Taking one shot of the whole shrine and one closing in on a favorite corner makes for a richer story. Shoot the whole symmetrically, and for the close-up, pack goods to fill the frame to show “the volume of love collected” (→ Fill the frame). For a flat lay shot from straight overhead, arranging items radially from a center adds depth and impact (→ Radial composition). When you make one corner the star, placing it on a rule-of-thirds intersection tidies it up (→ Rule of thirds).
 Composition guideFill the frameSee the full guide for this composition →
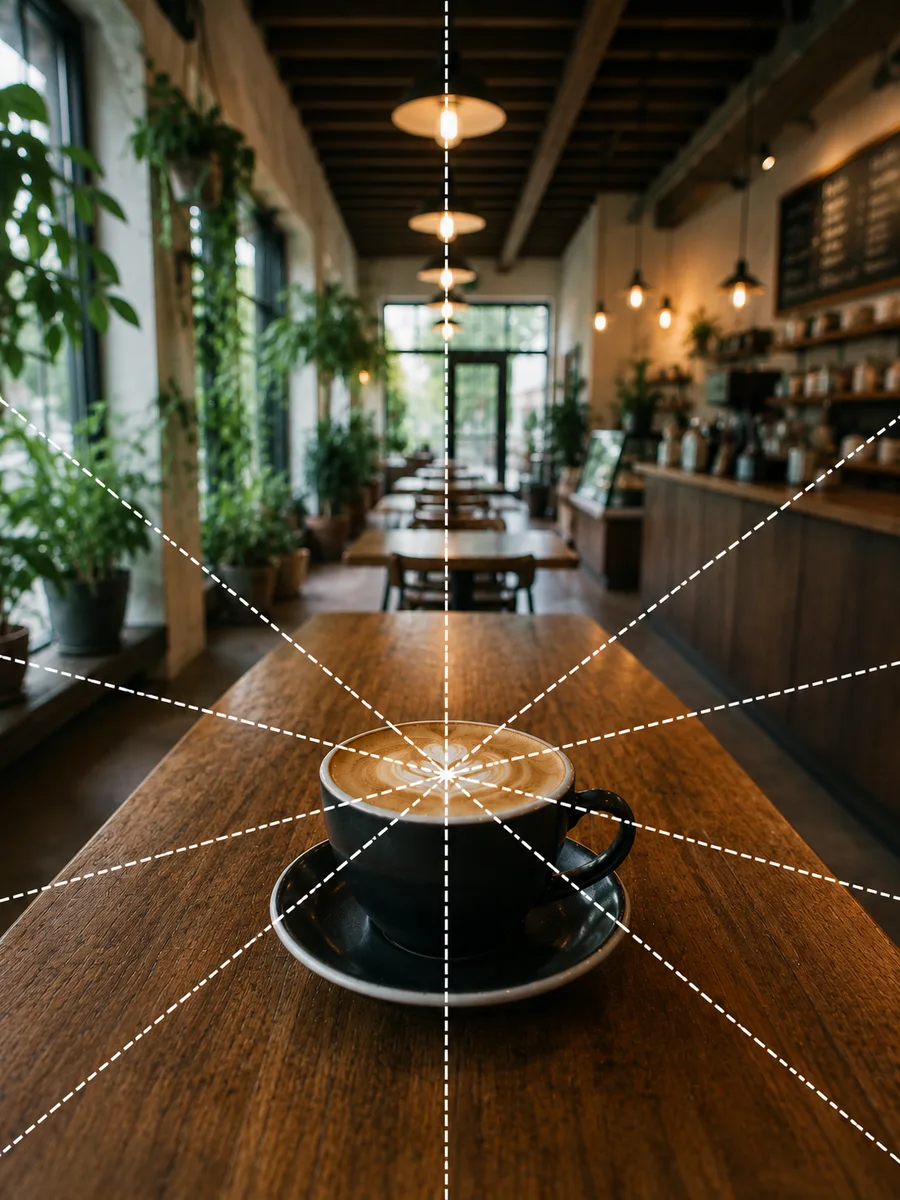 Composition guideRadial compositionSee the full guide for this composition →
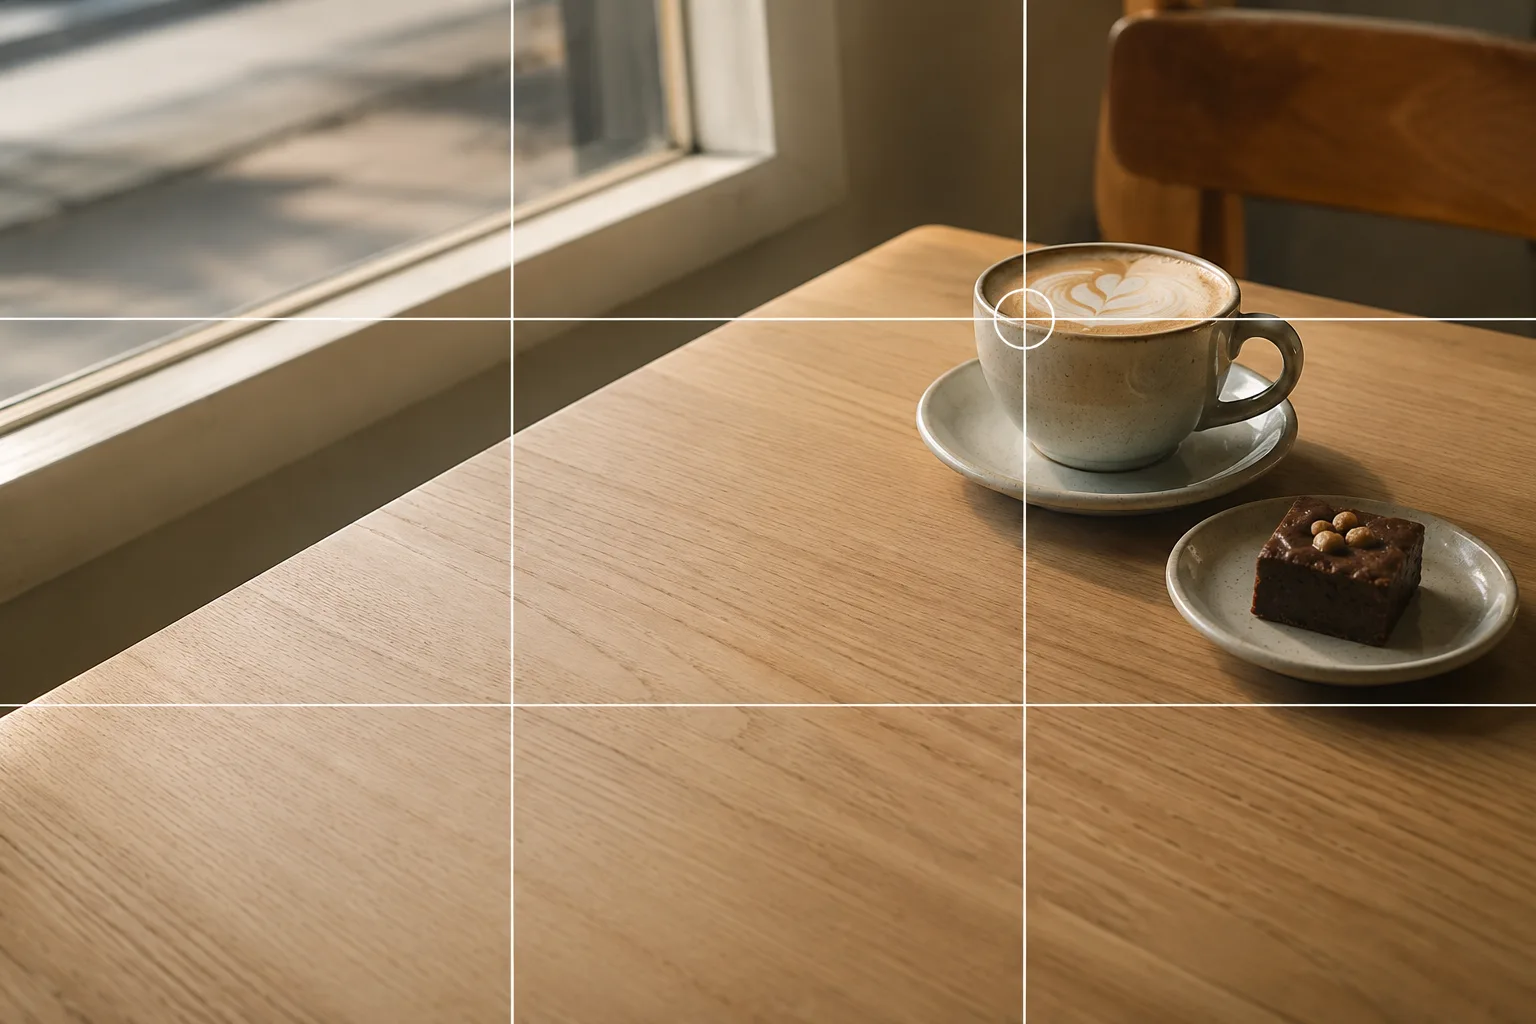 Composition guideRule of thirdsSee the full guide for this composition →
Start with just this
Arrange it symmetrically head-on, raise the brightness a notch, and fix tilt with the grid. Shoot the whole and the details separately. That alone transforms your oshi shrine. For photographing each piece of goods cleanly, see How to photograph fan goods too.
FAQ
My shrine looks cluttered.
First, arrange it symmetrically head-on and even a lot of items settles down. Put the main fave at the center and line items up at equal height and number on each side, so the eye gathers at the middle for a tidy, "shrine-like" shot.
My room is dark and the goods' colors sink.
Raise the brightness a notch, and if it's still dark, use Night mode. Light from the side rather than straight on to tame reflections on acrylic stands and photocards while keeping a sense of dimension.
Related reading
Compositions used
Related subject guides
How to Photograph Fan Goods — Glare and Blur on Acrylic Stands & Photocards
How to Photograph an Ita Bag Cutely — Flat, Glare-y Shots and How to Show It Off

Shooting Cleanly in a Dark Room — Why It Blurs and Goes Dark, and the Fix
Photographing Silver Tape and Tickets — Dull Color and Lost Sparkle, Fixed
Photographing Cheki (Instax) Prints — Glare, Faint Signatures, and Fading, Fixed