Photographing Cheki (Instax) Prints — Glare, Faint Signatures, and Fading, Fixed
Published Aug 15, 2026
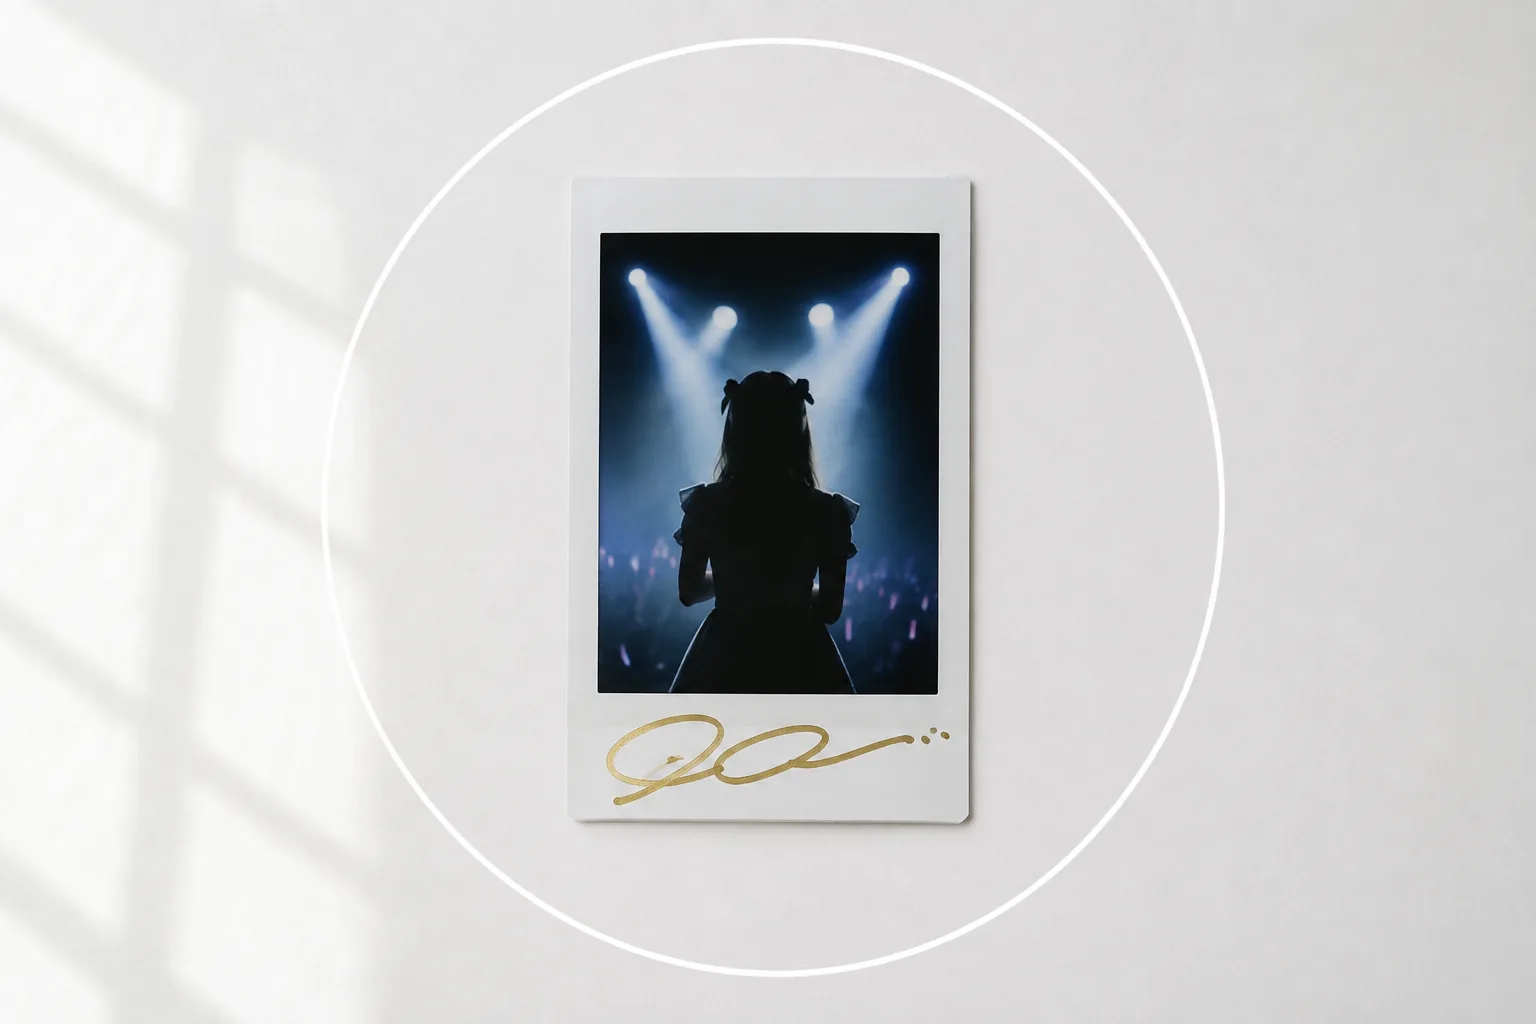
The cheki from a fan meet, the signed print you treasure. Photograph it with your phone and the surface glares white, the signature won’t read, or the colors look duller than the real thing. The causes: the glossy surface bouncing light straight back, plus a room that’s darker than you think. The basics for fan goods in general are in How to photograph fan goods, and sleeve glare and holo are covered in Photographing trading cards — this article sticks to what’s specific to instant prints: gloss, signatures, and fading.
Slide the light to the side to let glare escape
An instax print has a glossy finish, so directly under a light or facing a window, the light source itself lands on the print as a white blob. The quickest fix: move to a window and turn the print so the light comes from the side. If a white band remains, slip a bit of paper under one edge to tilt the print slightly and push the reflection out of the frame. Fingerprints on the print — and on your lens — also read as white haze, so give both a quick wipe first (→ Cleaning your lens). If the colors look dull, tap the print and swipe up on the sun icon to raise the brightness a step (→ Exposure basics).
Change the angle bit by bit for signatures
Gold and silver pen shines by bouncing light back. Remove every reflection and the signature sinks into the print — that’s the tricky part of photographing signed cheki. The trick is to tilt the print or your phone a little at a time and take several shots. You’ll usually find an angle where the pen lines float up crisply; compare afterward and keep the clearest one. This “let glare escape, keep a little sparkle” balance is the same idea as holo cards (→ Photographing trading cards). If one part matters most — the signature, your fave’s expression — step in and fill the frame with just that (→ Fill the frame).
 Composition guideFill the frameSee the full guide for this composition →
Lock focus from straight above
A print is flat, so — like a trading card — straight above is the go-to angle. Shoot from an angle and that familiar white border skews into a trapezoid, and the “cheki look” gets lost. Once you’re overhead, tap the print to set focus and press and hold to lock it (AE/AF Lock) (→ How to use AE/AF Lock). Instax prints are tall, so with a single print as the star, holding your phone vertical makes the margins easier to balance. You can also fine-tune the framing afterward by cropping (→ Fixing composition by cropping).
Digitize before the colors fade
Left in direct sunlight, instant prints can fade little by little. That’s exactly why it’s worth taking one good photo of a print soon after it reaches you. The photo becomes a copy that never fades, and even if the print gets damaged someday, the memory stays. When you display the print, picking a spot out of direct sun helps the real thing last longer too. This “record it while it’s crisp” idea is the same as thermal-paper tickets and setlists (→ Recording concert tape and tickets).
One print at the center, several with even gaps
For a single star print, lay down a sheet of white paper and place it firmly at the center — center composition lands directly (→ Center composition). Thanks to the white border, leaving empty space around it looks as neat as a framed photo (→ Negative space). To show a collection, line the prints up in a grid with even vertical and horizontal gaps, and the time you’ve spent collecting comes through on its own. Want to capture the whole display shelf? See Photographing your fan shrine. Shooting everyone’s cheki together at a meetup? See Group shots of goods at fan meetups.
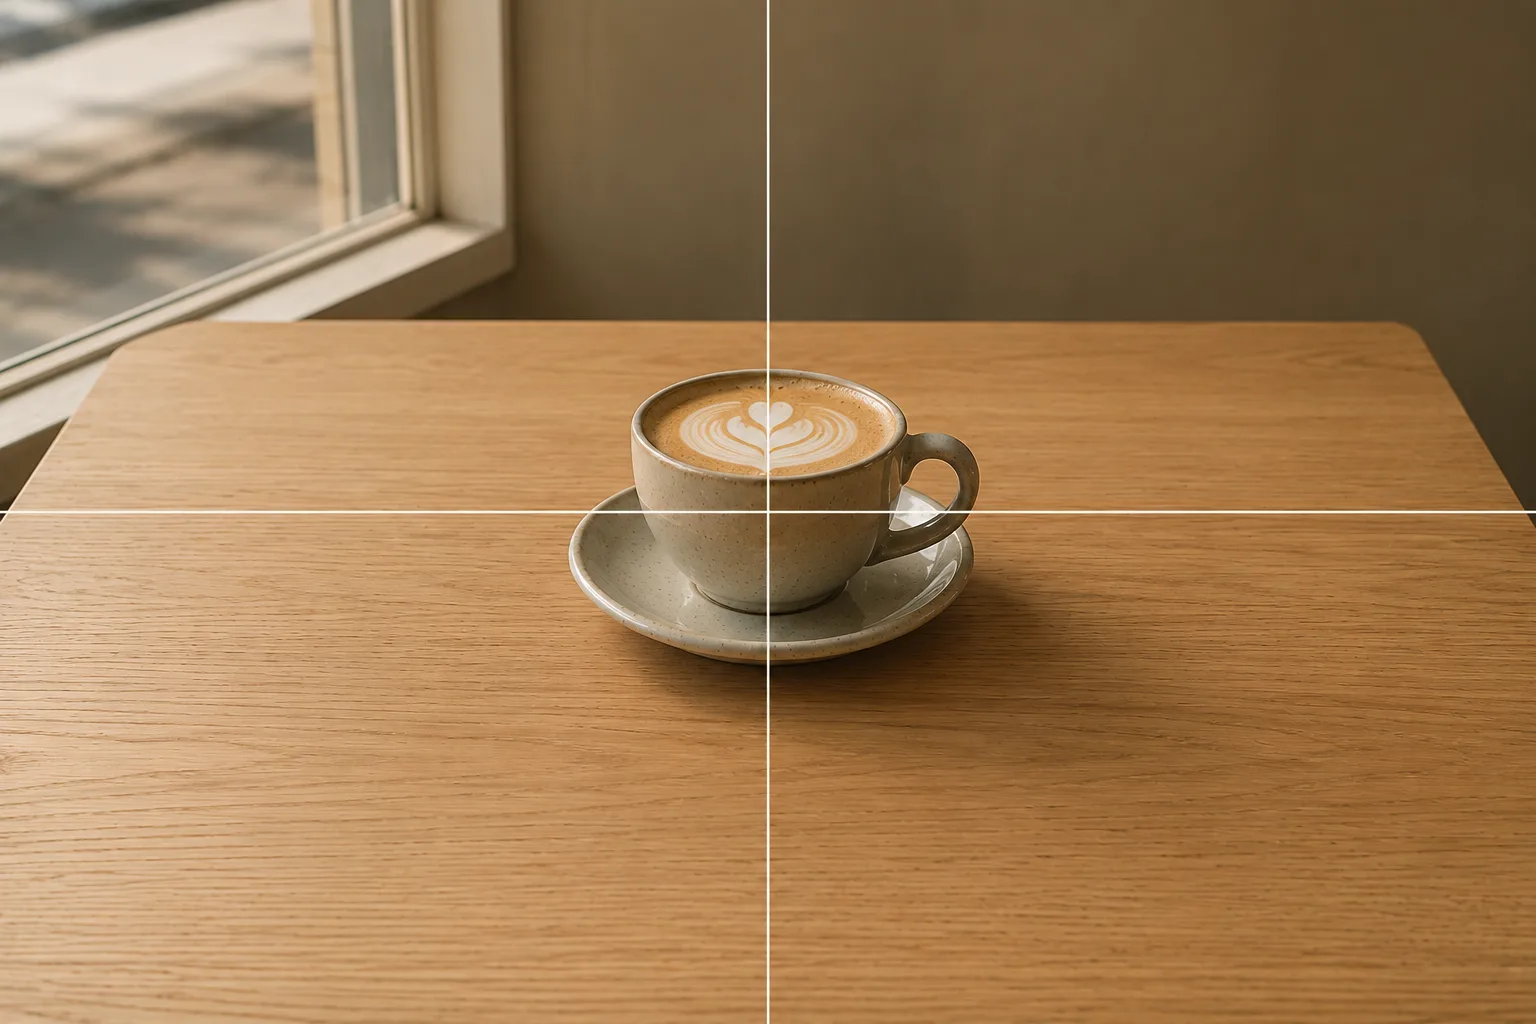 Composition guideCenter compositionSee the full guide for this composition →
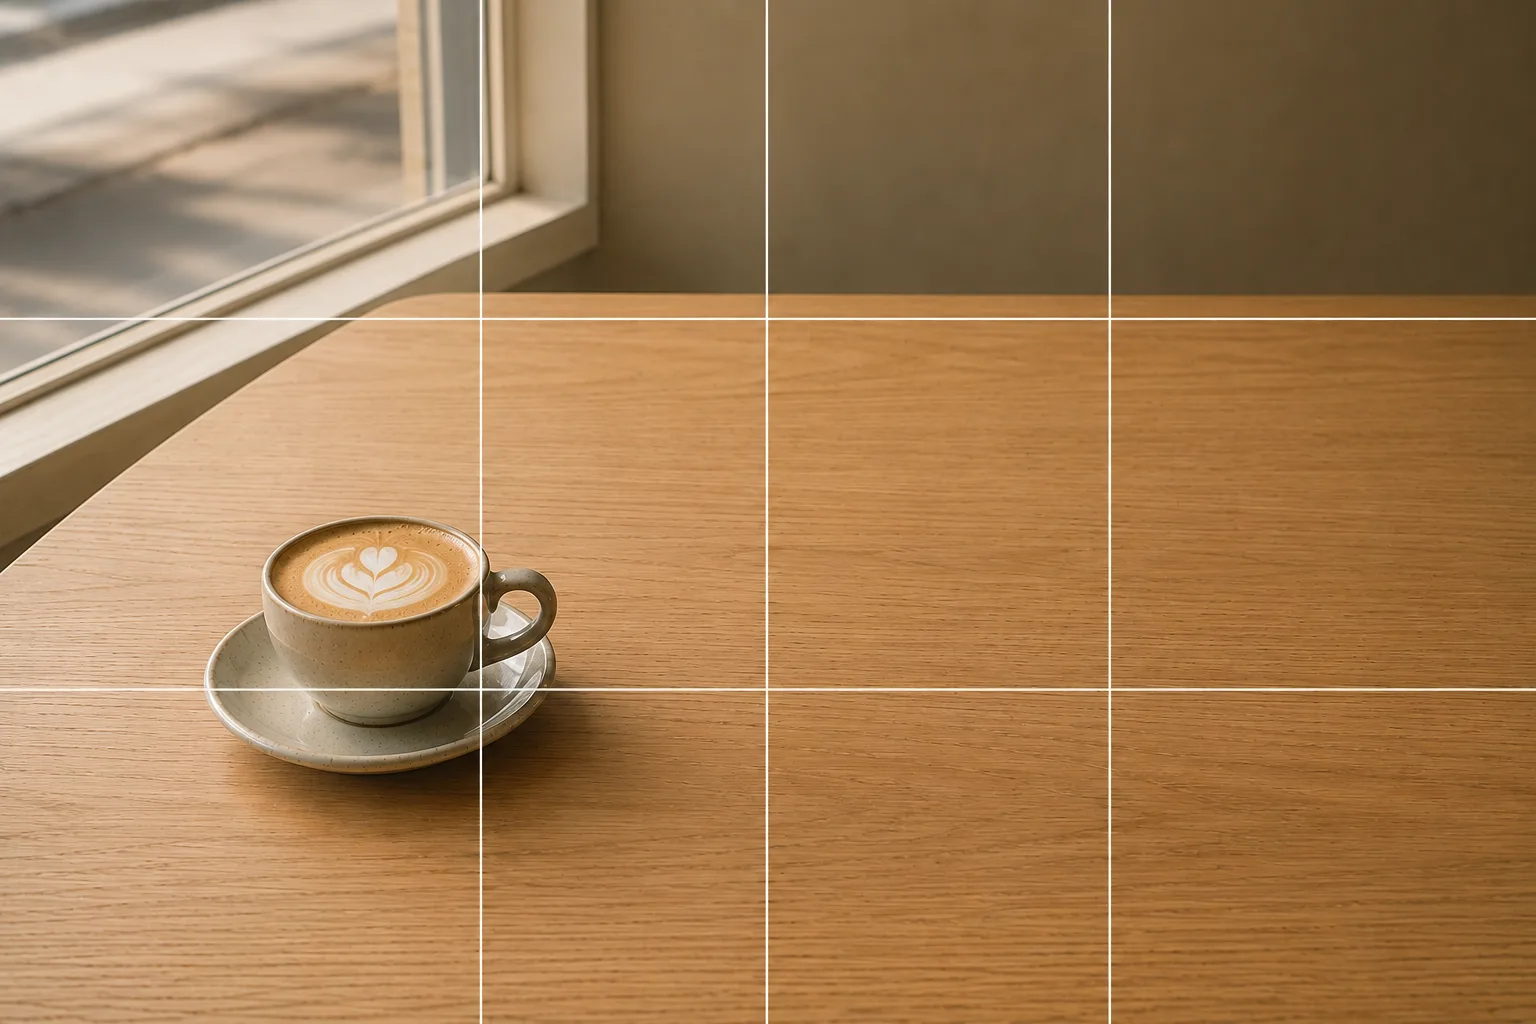 Composition guideNegative spaceSee the full guide for this composition →
Pause before posting
Events and shows sometimes have rules about posting cheki online — a quick look at the official guidance first is the safe move. And a two-shot cheki, or one taken for you at an event, may have someone other than you in it. Being mindful of that person’s and the organizer’s wishes — or simply keeping it private when in doubt — is a lovely call too. A photo shared with care is one you can look back on comfortably.
Start with just this
Slide the light to the side by a window, work the angle for signatures across a few shots, lock focus from straight above, and center the print on white paper. Then digitize it before the colors fade. These five steps transform your cheki photos. For fan-goods basics in general, see How to photograph fan goods.
FAQ
The surface of my print glares white and hides the photo.
The glossy surface is bouncing head-on light back like a mirror. Move away from directly under a ceiling light, set the print near a window so the light comes from the side, and the glare slides out of the frame. Tilting the print a tiny bit also moves the reflection.
Signatures in gold or silver pen won't show up.
Metallic ink looks bright because it bounces light back. Kill every reflection and the signature sinks too. Tilt the print or your phone a little at a time, take several shots, and keep the one where the signature floats up most clearly.
Is it okay to post a cheki taken with someone on social media?
Events and shows sometimes have their own rules about posting cheki, so it's worth a quick check of the official guidance first. If someone other than you is in the print — a two-shot cheki, for example — being mindful of that person's and the organizer's wishes keeps it enjoyable for everyone.
Example gallery
Related reading
Compositions used
Related subject guides
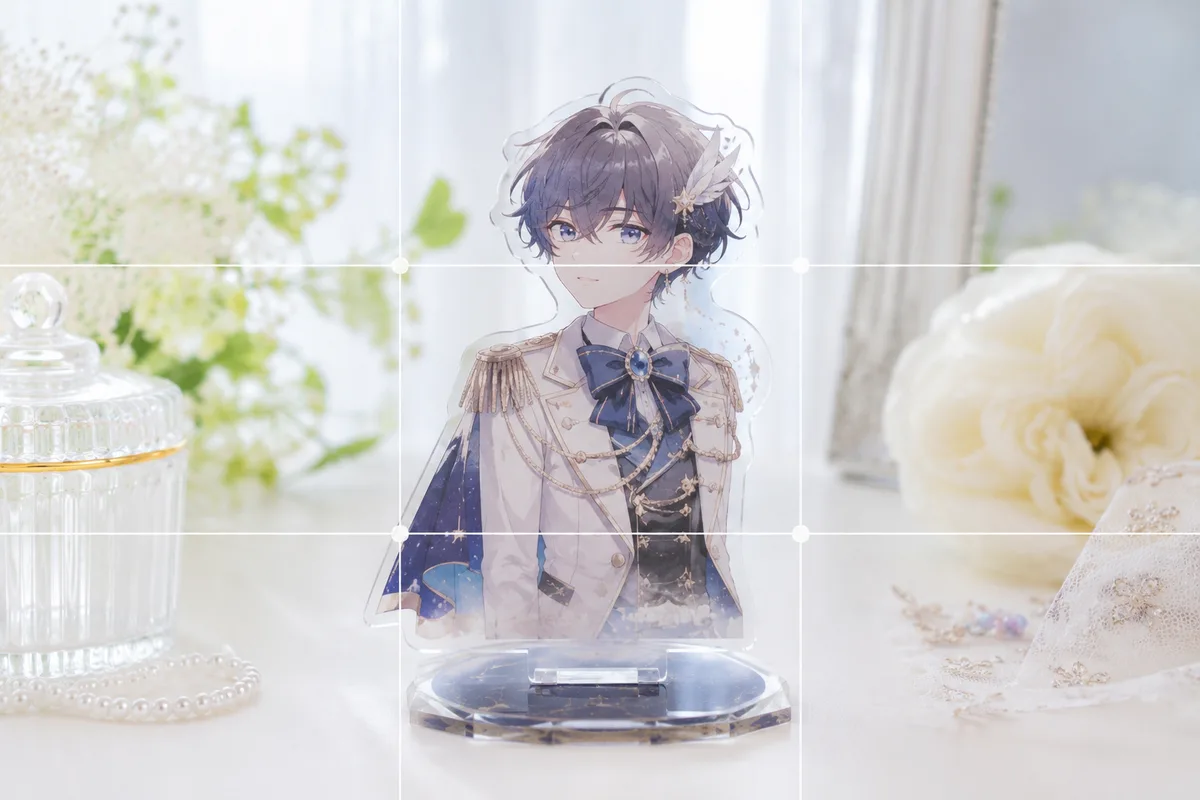
How to Photograph Fan Goods — Glare and Blur on Acrylic Stands & Photocards
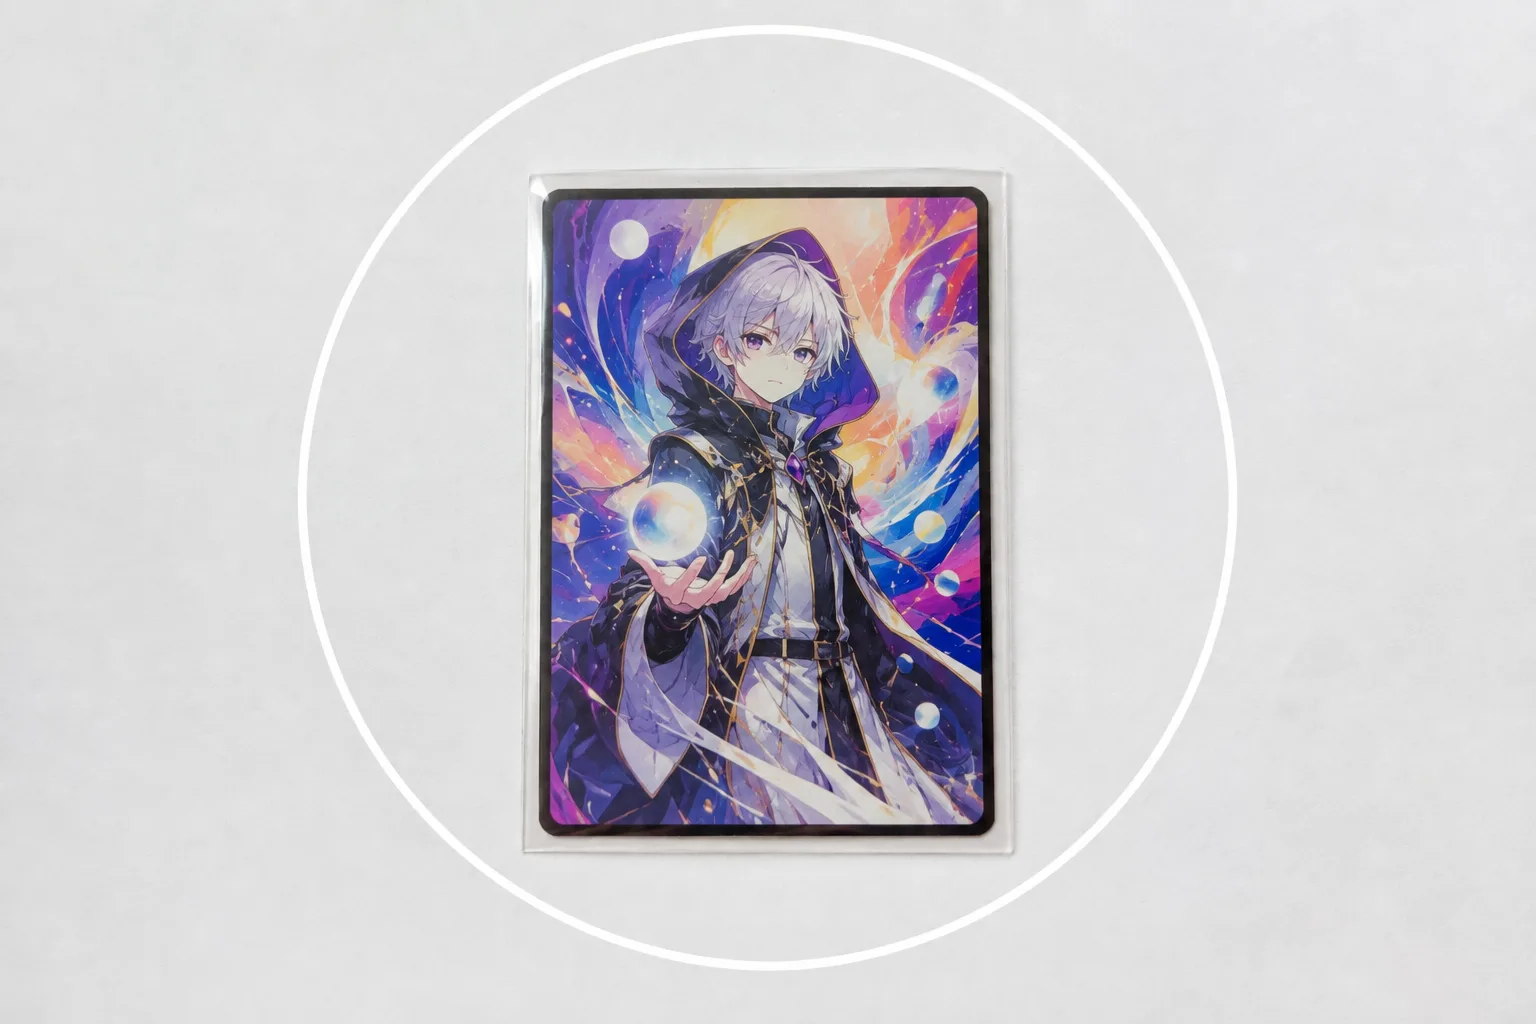
Photographing Trading Cards — Sleeve Glare and Lost Holo Shine, Fixed
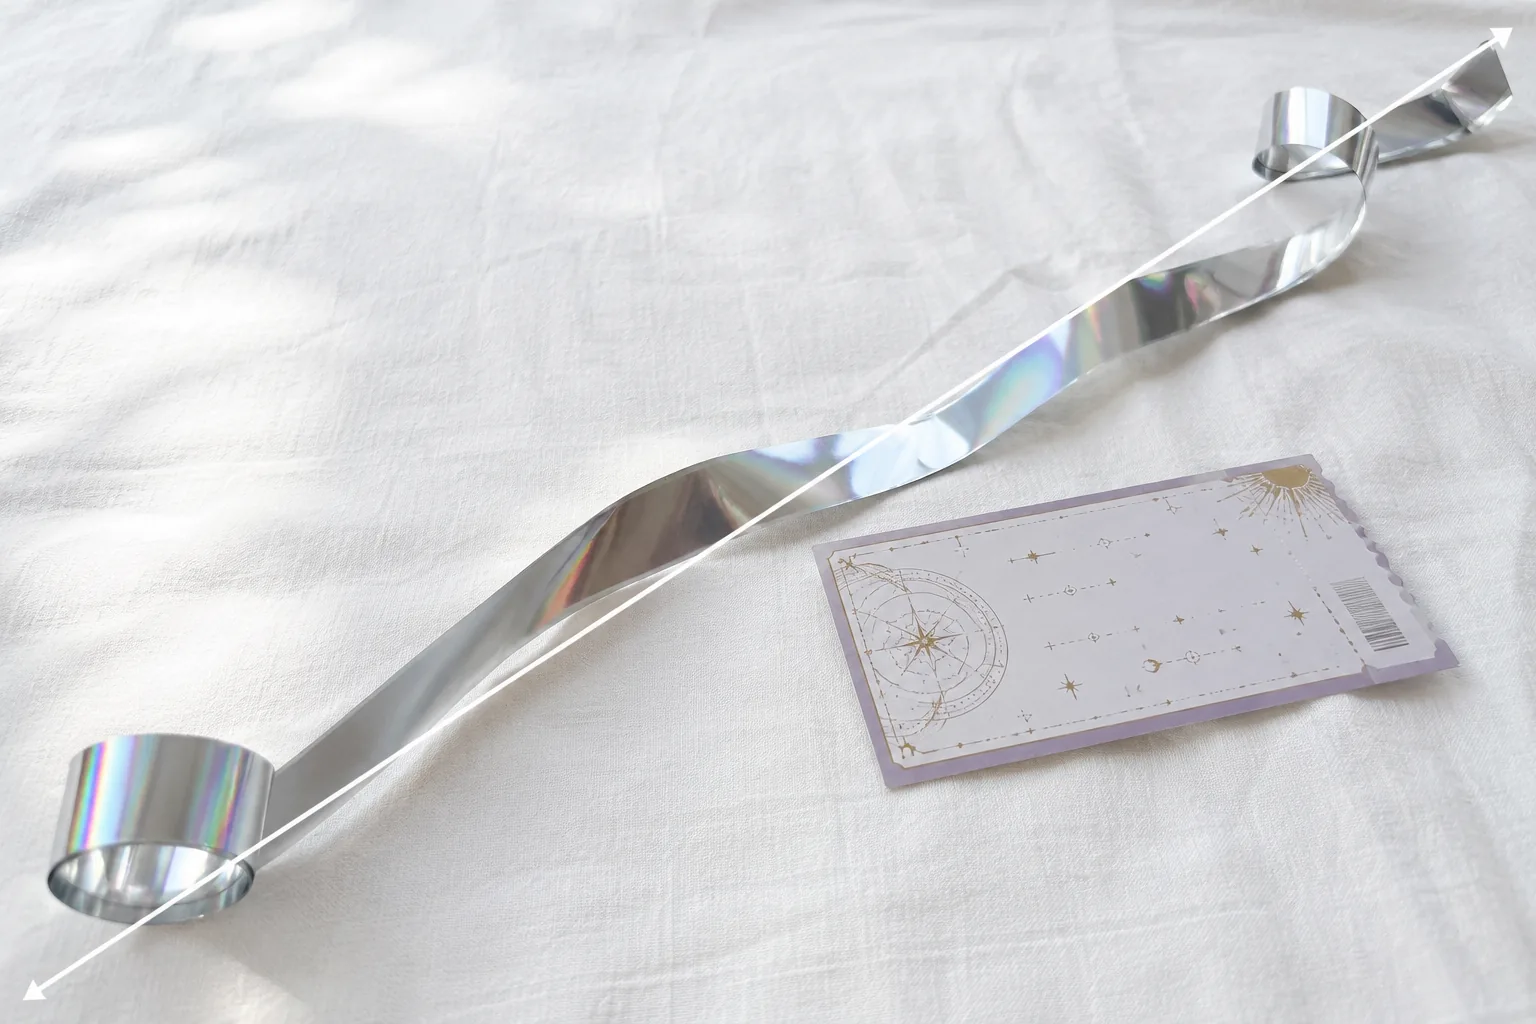
Photographing Silver Tape and Tickets — Dull Color and Lost Sparkle, Fixed
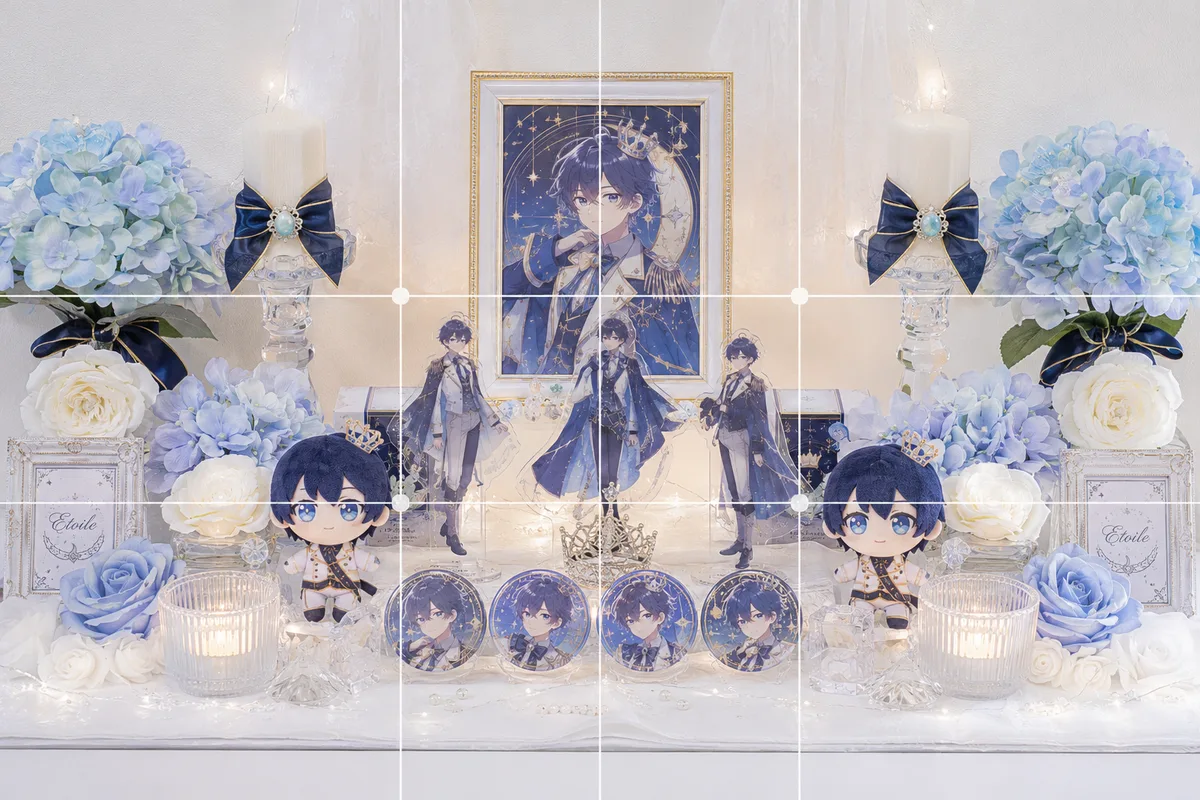
How to Photograph an Oshi Shrine Cleanly — Clutter, Darkness and Tilt

Group Goods Photos at Fan Meetups — Clutter, Shadows, and Uneven Layouts, Fixed