Acrylic Stand Photos With the Scenery — Focus Misses and Melting Edges, Fixed
Published Jul 17, 2026
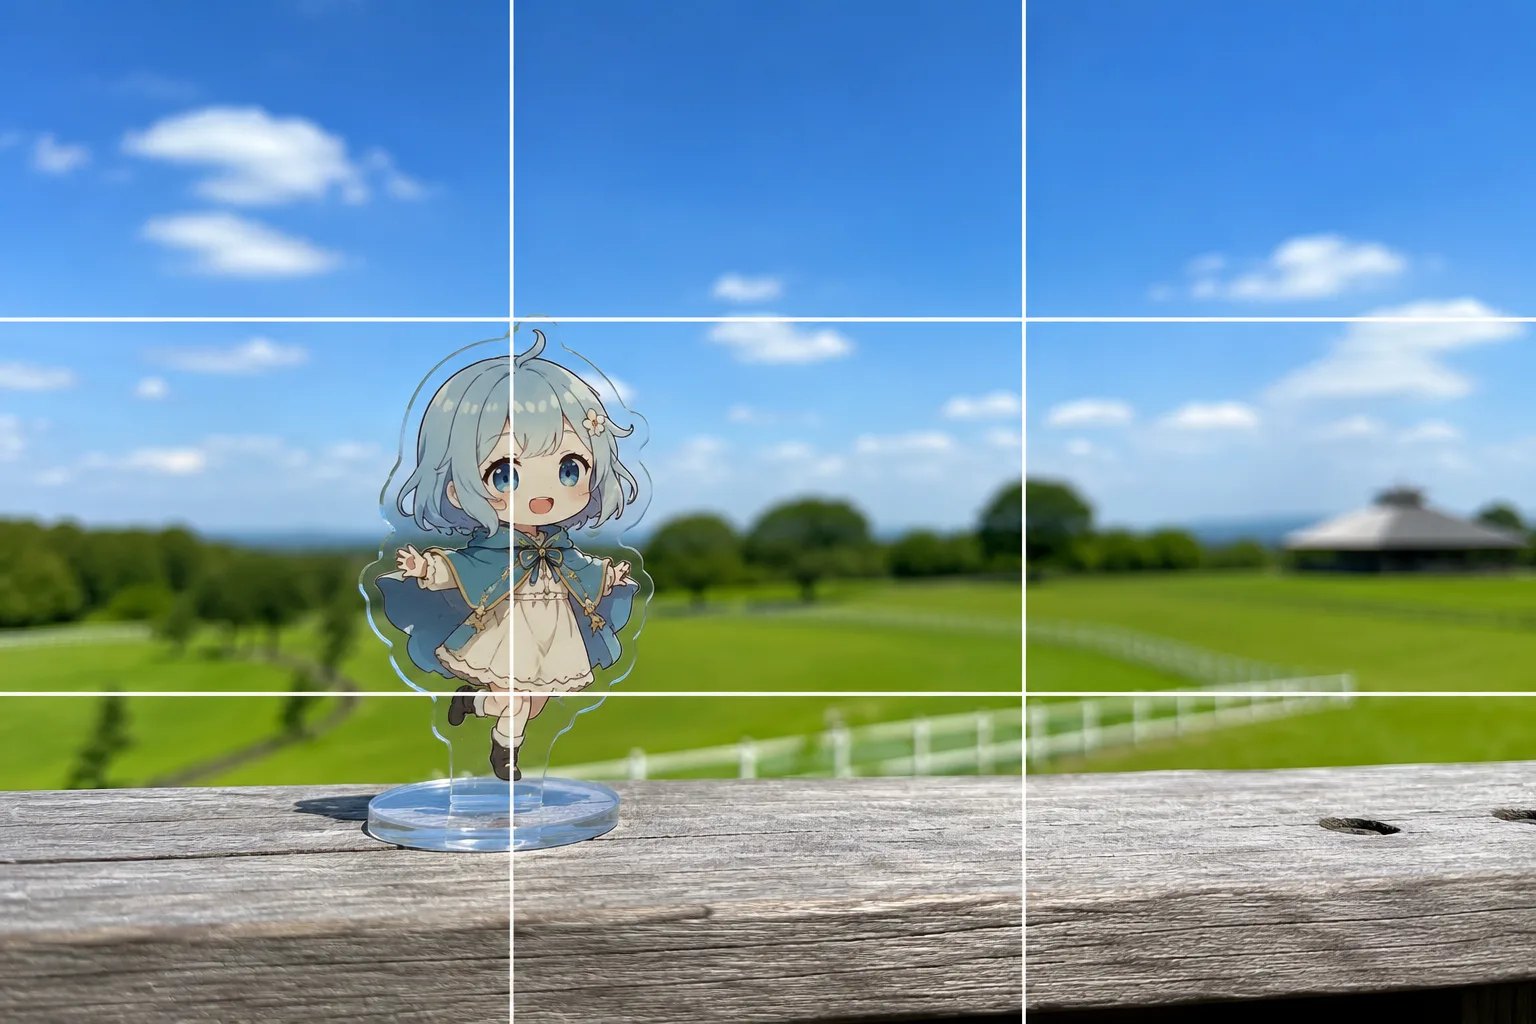
Shoot your acrylic stand with the scenery on a trip and focus lands on neither, the clear edges melt into the background, or the fingers holding it get in the shot. The causes: a thin, small subject that makes focus wander, and a see-through material that makes the background choice everything. “Taking your fave along” works just like plushie photography (→ Plushie photo basics), so here we focus on what’s specific to acrylic stands.
Lock focus on the stand’s face
Point the camera at a view and focus slips to the distance, softening the stand in front — and because an acrylic stand is thin and small, the focus box jumps to the background easily. Tap the stand’s face on screen to set focus and press and hold to lock it (AE/AF Lock) (→ How to use AE/AF Lock). As a rule of thumb: move in close when the stand is the star, and step back about a pace when you want an even split with the scenery.
Choose the background and make transparency an ally
The stand’s clear edges and empty areas show whatever is behind them. A busy background mixes into the artwork and melts the subject, so pick something clean — sky, sea, a wall, greenery. With a tidy background, those clear edges turn into a distinctive airy look: your fave floating in the scenery. Holding it up against the sky puts the character’s face in backlight, so tap the face and swipe up on the screen to brighten it (→ Fixing backlight / Exposure basics).
Use an intersection and clear the space behind the artwork
Because an acrylic stand is see-through right up to the artwork’s edge, placing it against buildings or passers-by muddles both. Shift it to a rule-of-thirds intersection on one side, then take half a step sideways so a plain patch — open sky, calm water — sits directly behind the artwork; that adjustment is the acrylic-specific move (→ Rule of thirds). Camera height matters just as much: shoot standing up and the background becomes the ground, which makes the stand look tiny. Lower the phone to the stand’s face height and the character looks like they’re standing inside the scenery.
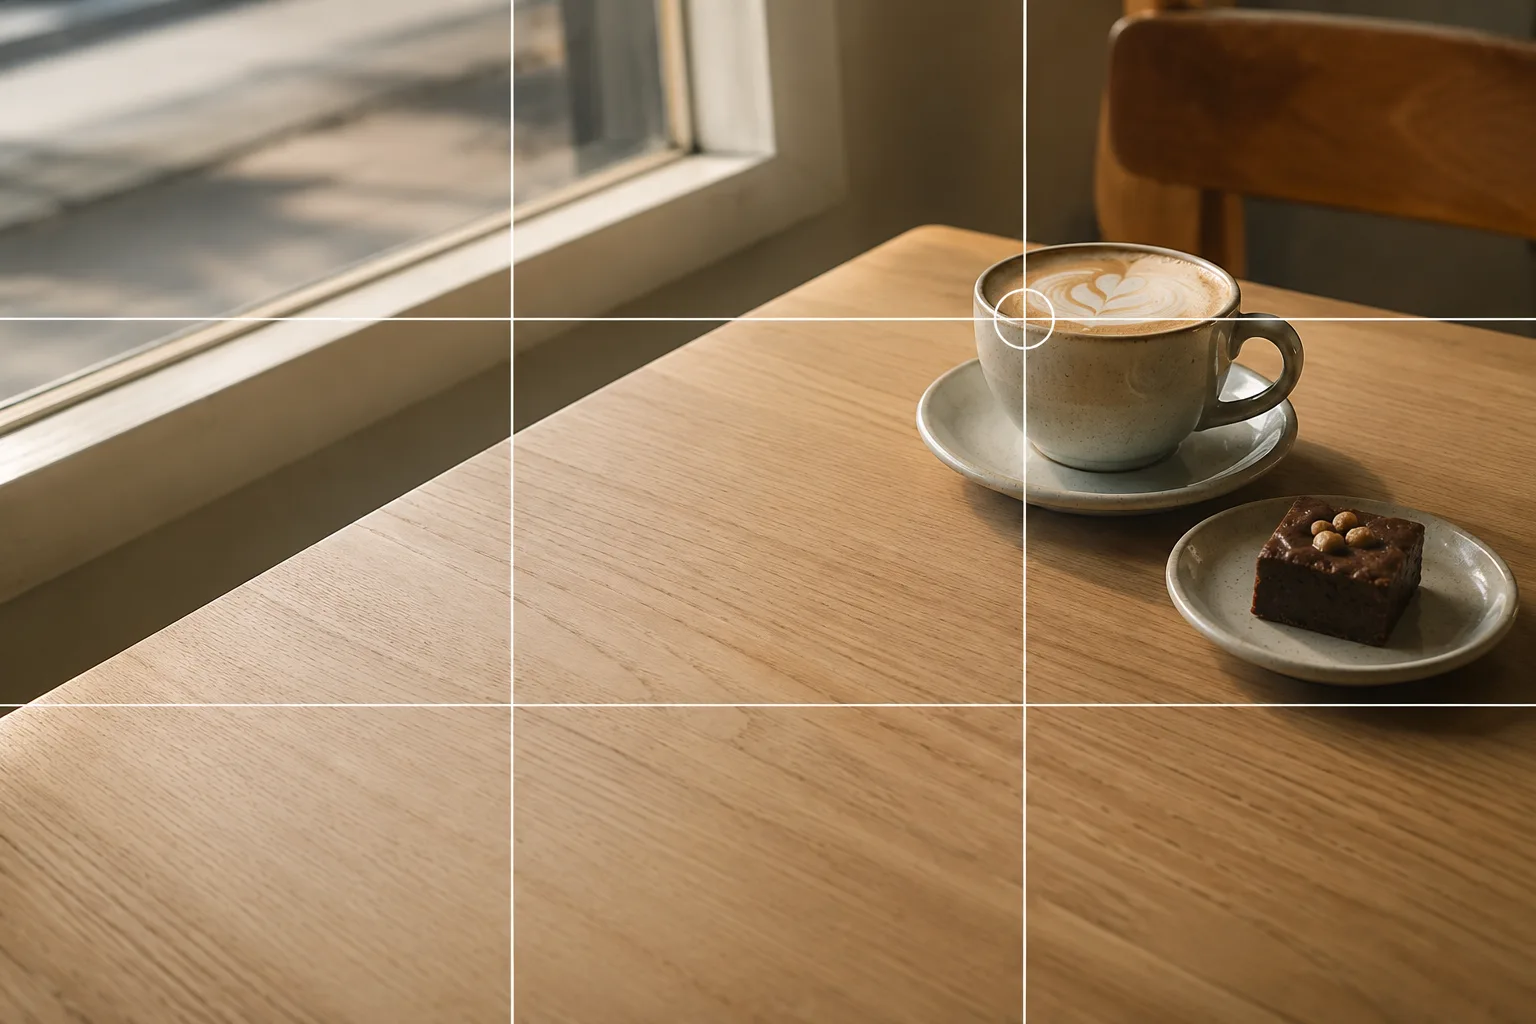 Composition guideRule of thirdsSee the full guide for this composition →
Frame it with a windowsill or pillars for depth
When the view is so wide the stand gets buried, build a “frame” up close to gather the eye on your fave. Set it on a windowsill with the view behind it, or stand it small between the pillars of a gate, and you get a shot of your fave inside a picture frame (→ Framing). A palm-sized stand suits a small frame right beside it better than a huge one. Where a path or rail line runs into the distance, place the stand at the near end of the line — even a tiny figure becomes the starting point of the eye’s journey, and depth follows (→ Leading lines).
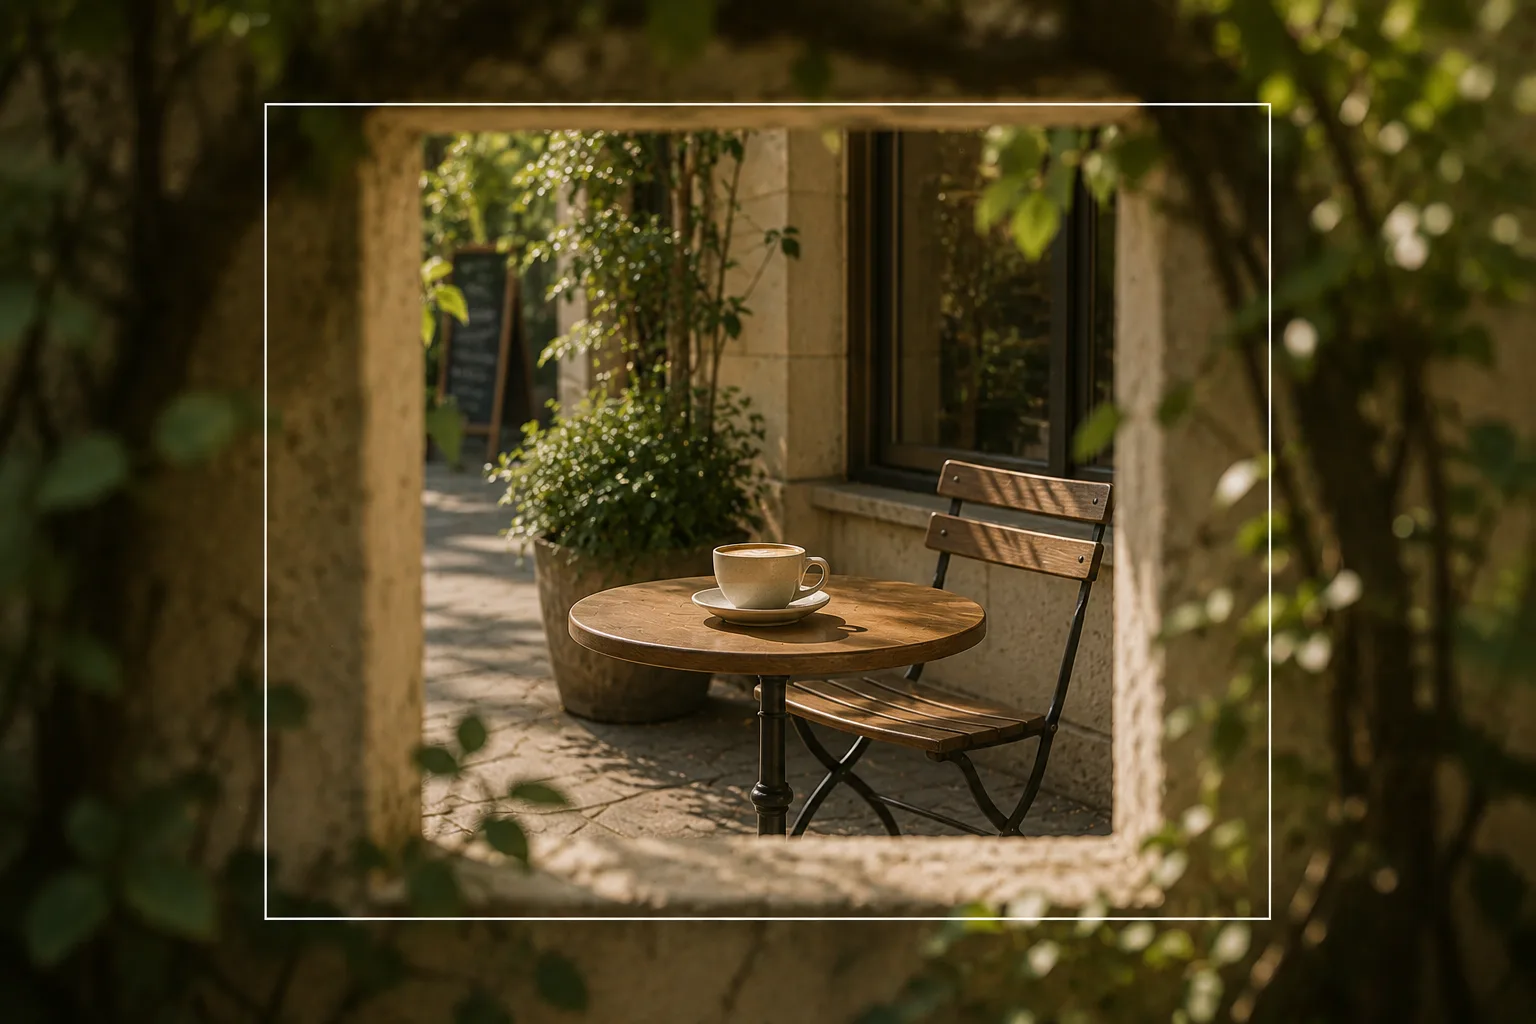 Composition guideFramingSee the full guide for this composition →
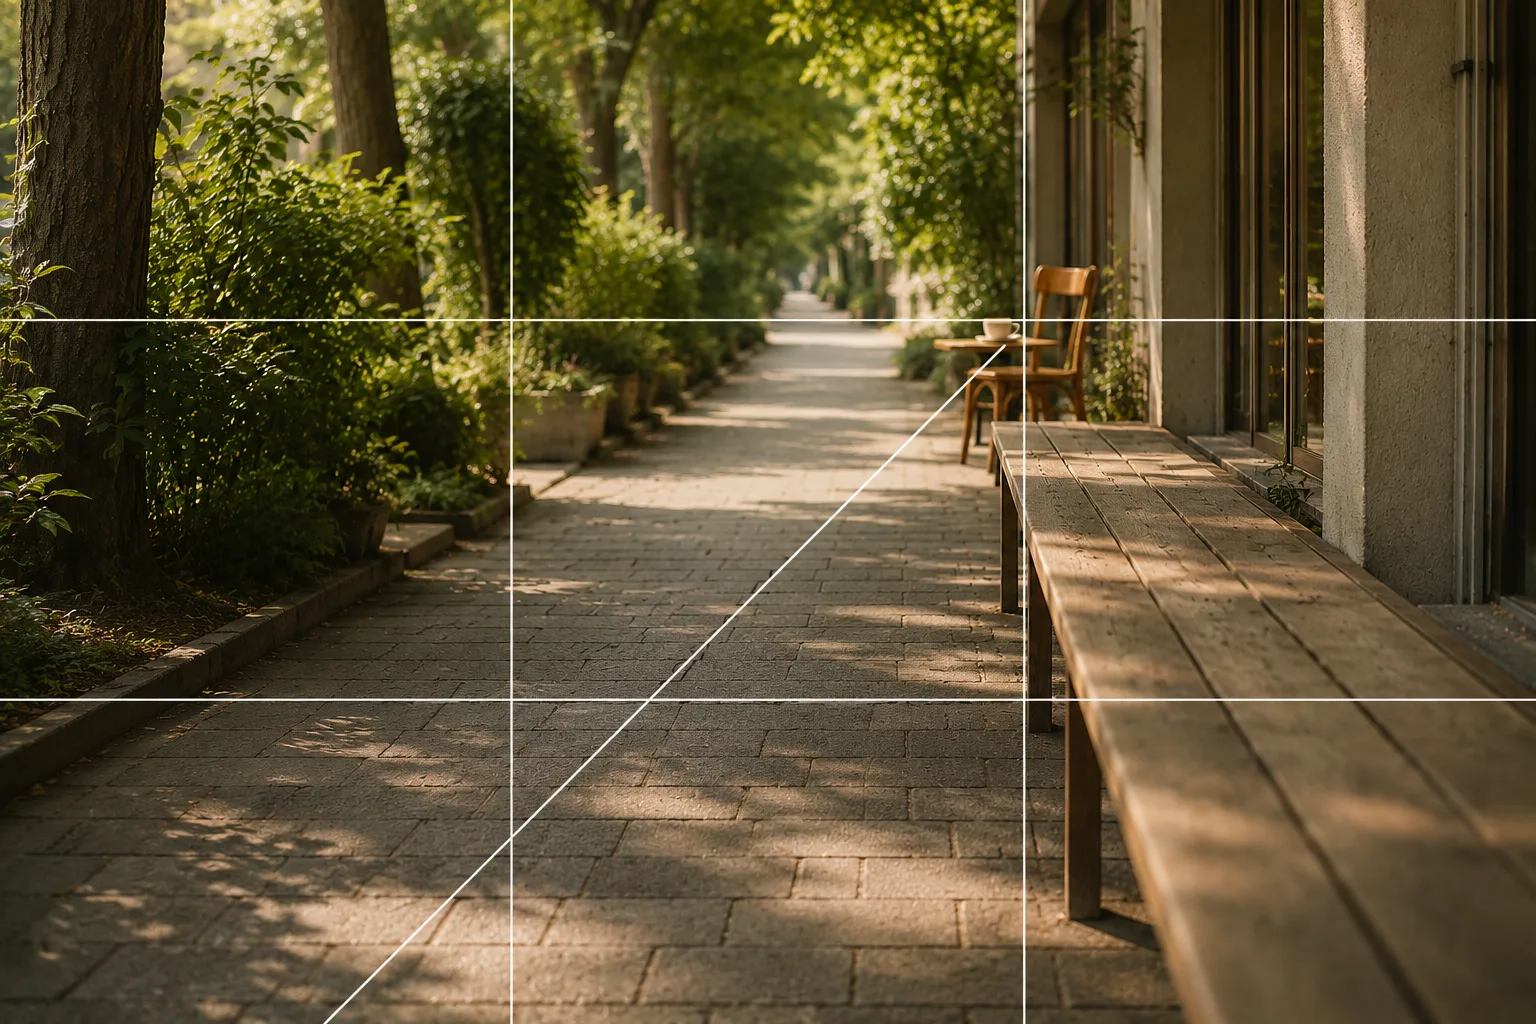 Composition guideLeading linesSee the full guide for this composition →
Set it down instead of holding it
Hand-held shots tend to catch your pinching fingers in the clear parts, and one-handed shooting adds shake. Attach the base and set it on a fence top, a table, or a flat stone — no stray fingers in the shot, and keeping things level gets easier. Acrylic stands are light and tip over in wind, so keep them low on breezy days. If shake bothers you, the self-timer helps too (→ How to use the self-timer). In crowded spots, pick a place that doesn’t block the way and keep it brief.
Start with just this
Lock focus on the face, choose a clean background, and place the stand on an intersection with scenery and breathing room. These three transform acrylic stand travel photos. The compositions in Plushie photos while traveling carry over directly. For the scenery side, see How to shoot travel photos, and for goods photography at home in general, How to photograph fan goods.
FAQ
Should focus go on the acrylic stand or the background?
The stand's face, as a rule. Tap the face on screen to set focus and press and hold to lock it (AE/AF Lock). When you also want the scenery sharp, step back a little from the stand so both near and far stay clearer.
My fingers and the background show through the clear parts.
See-through is the nature of acrylic, so working with it beats fighting it. Choose a clean background like sky or sea and the transparency becomes an ally. Skip pinching the edge — setting it down on its base keeps stray fingers out of the shot.
Outdoors, sunlight reflects and hides the artwork.
Strong sun hitting the front turns the surface white. Turn the stand so the light comes from the side, or soften it by casting a light shadow with your body. Moving into bright shade also works.
Example gallery
Related reading
Compositions used
Related subject guides
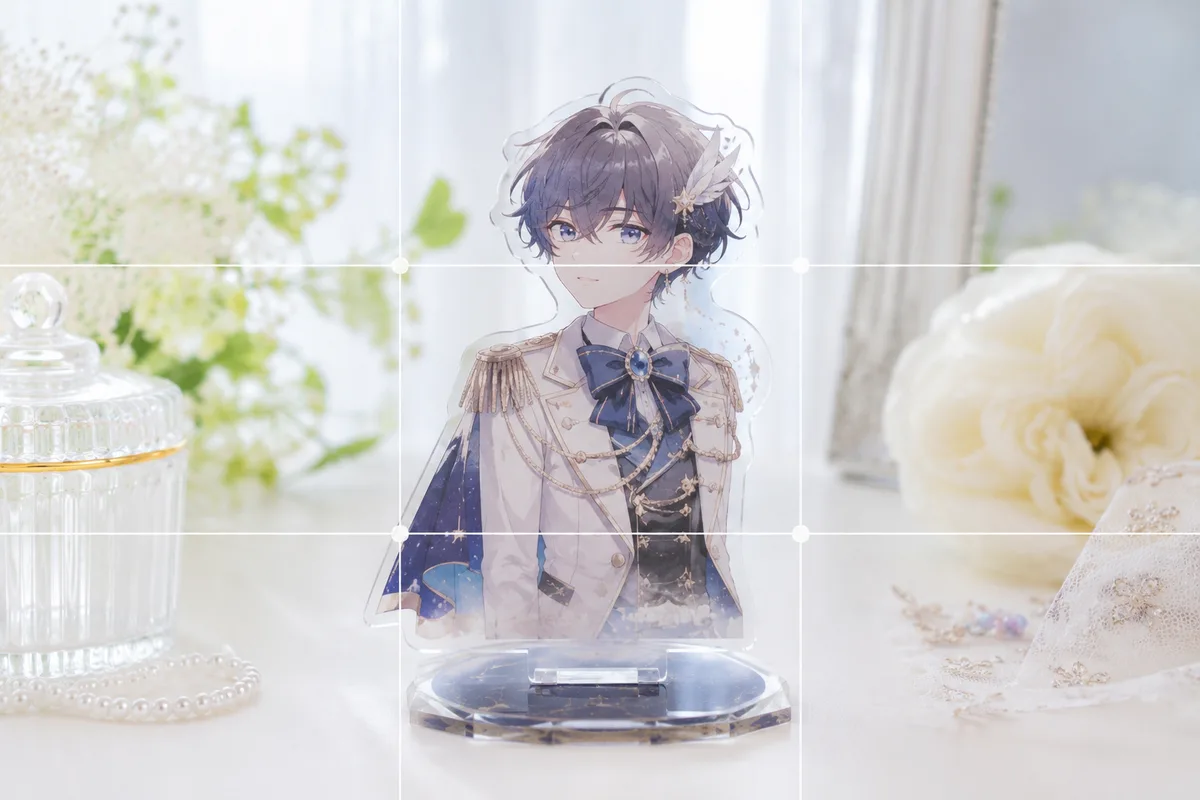
How to Photograph Fan Goods — Glare and Blur on Acrylic Stands & Photocards

How to Photograph Plushies as the Star — Fixing Tiny, Blurry, Busy Shots
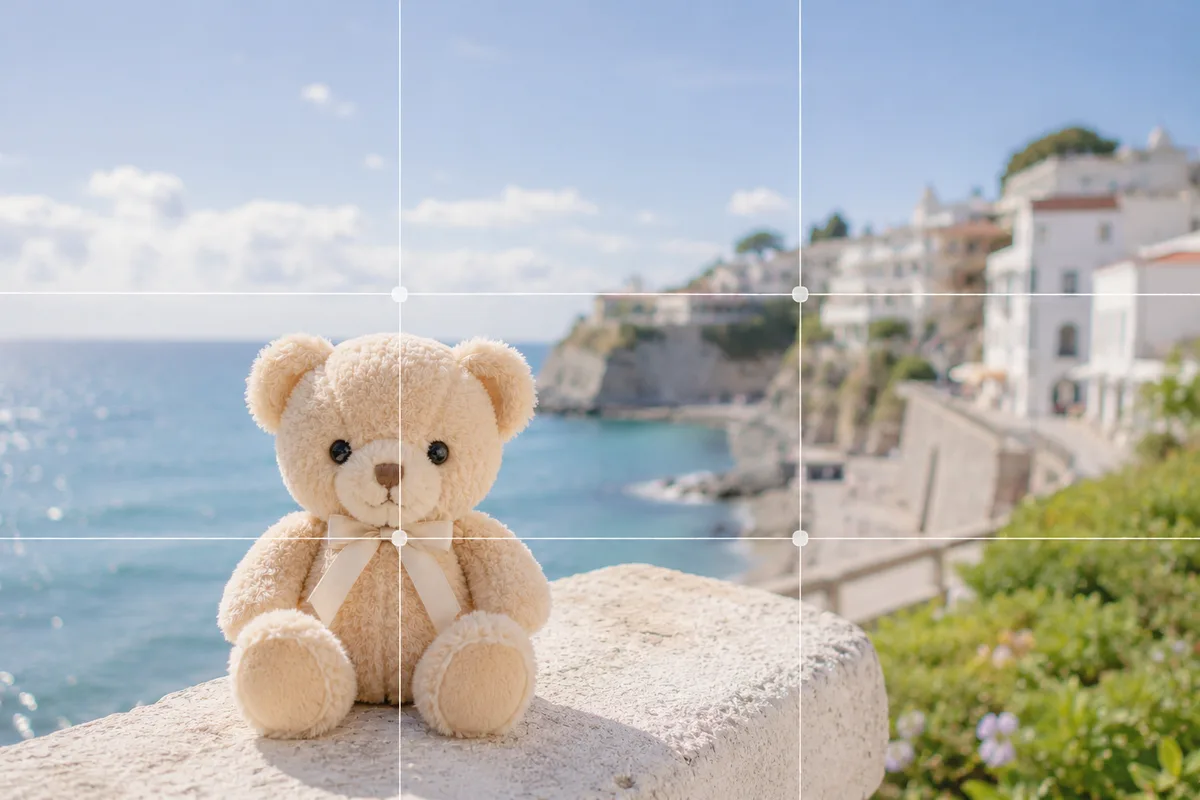
Plushie Photos While Traveling — When the Plush Loses to the Scenery or Tilts

Travel Photos Worth Remembering — Why They Look Like Postcards, and Cropping