A Center Composition Is the Right Call for Social Icons
Published Jul 3, 2026
A social media icon is a special spot — displayed small and round. Shoot it like an ordinary photo and the subject gets cut off at the edge, or ends up too small to make out. In fact, an icon suits a center composition, with the subject right in the middle. Here’s how to make a flattering, centered icon.
Why a center composition works for icons
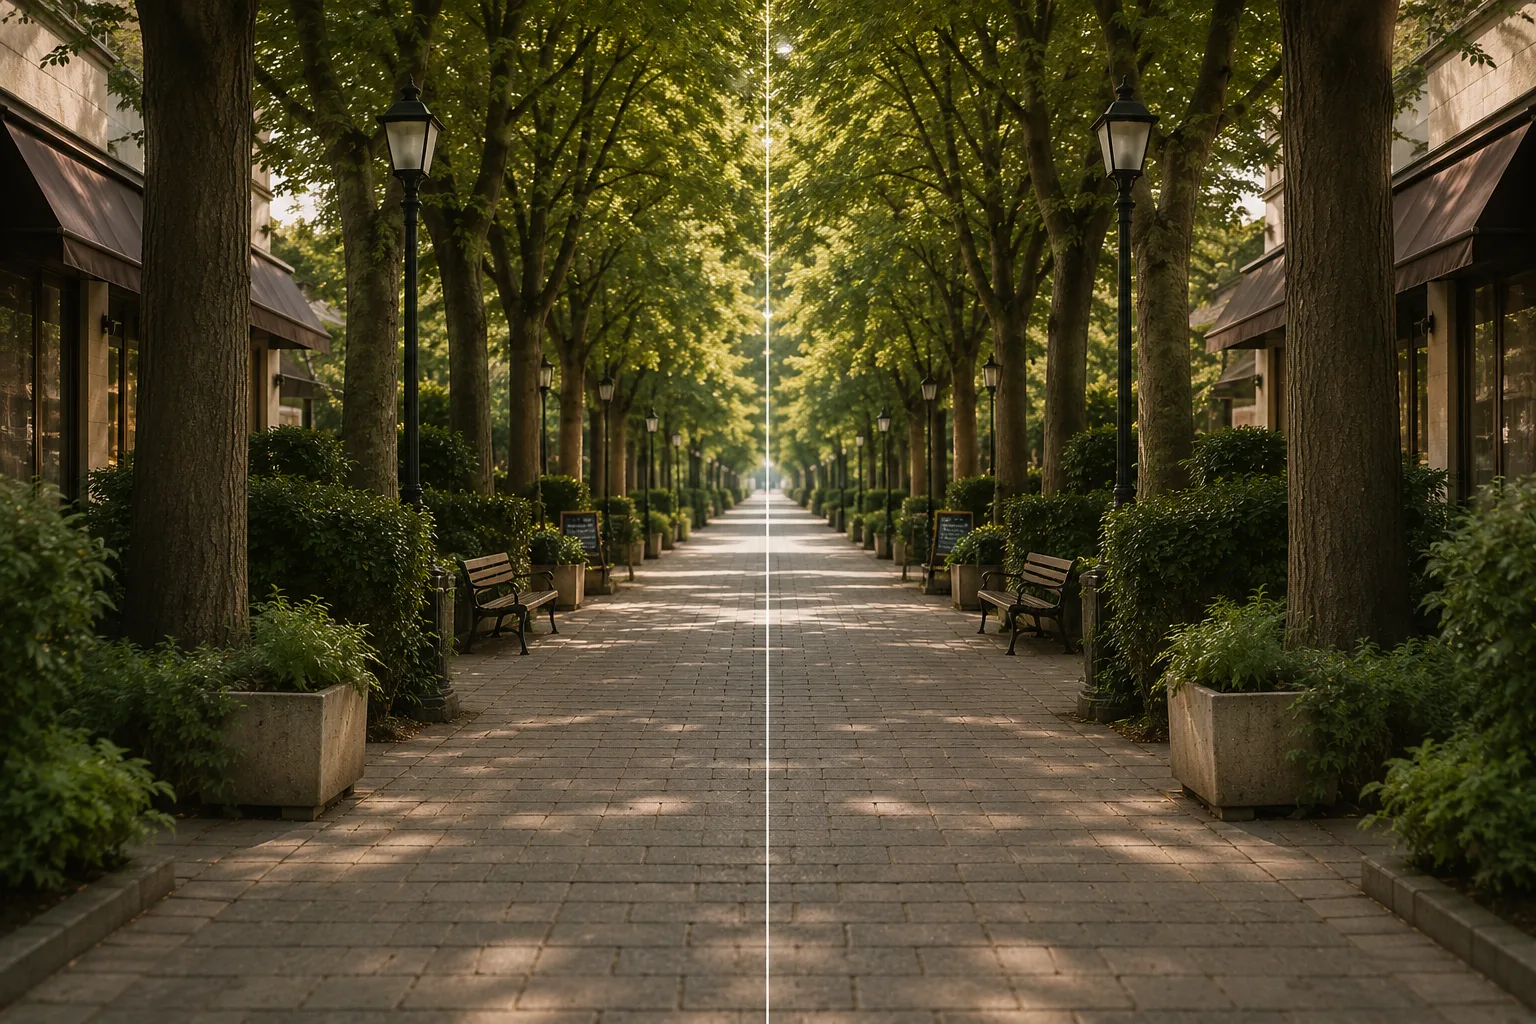
Platforms automatically crop icons small and round. A subject near the edge gets cut off by that circle. A center composition places the subject large and central, so a round crop keeps it centered and nothing falls apart at any display size. It answers an icon’s conditions — small, round, needs to stand out — head-on (→ What is a center composition?).
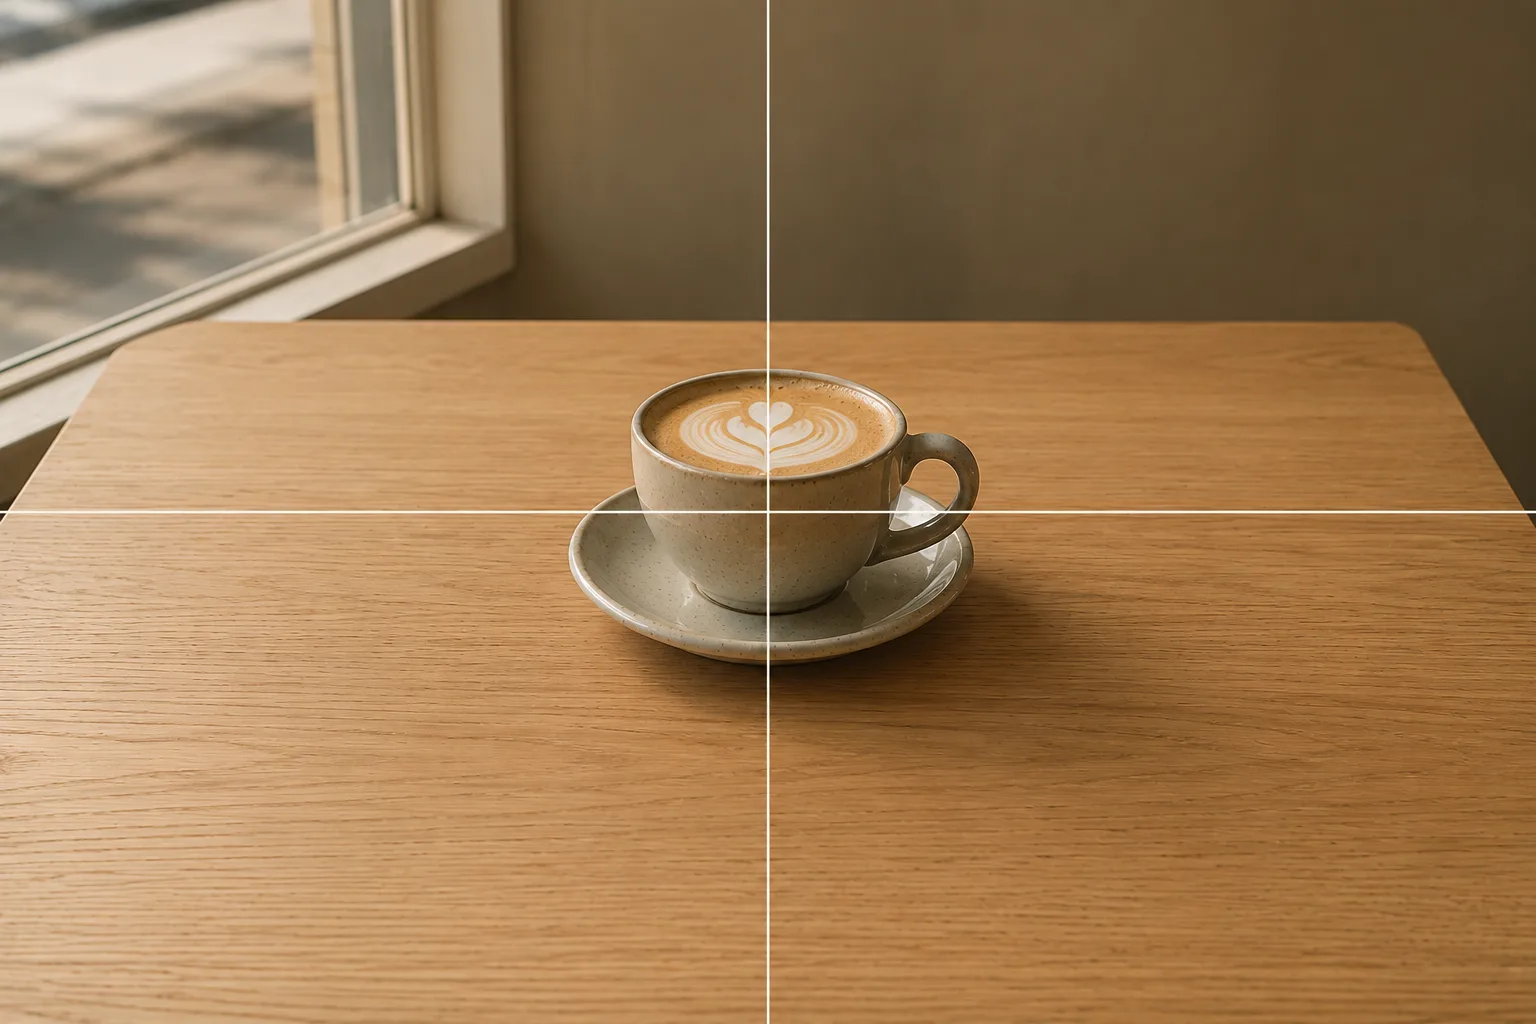 Composition guideCenter compositionSee the full guide for this composition →
The steps on your phone (3 steps)
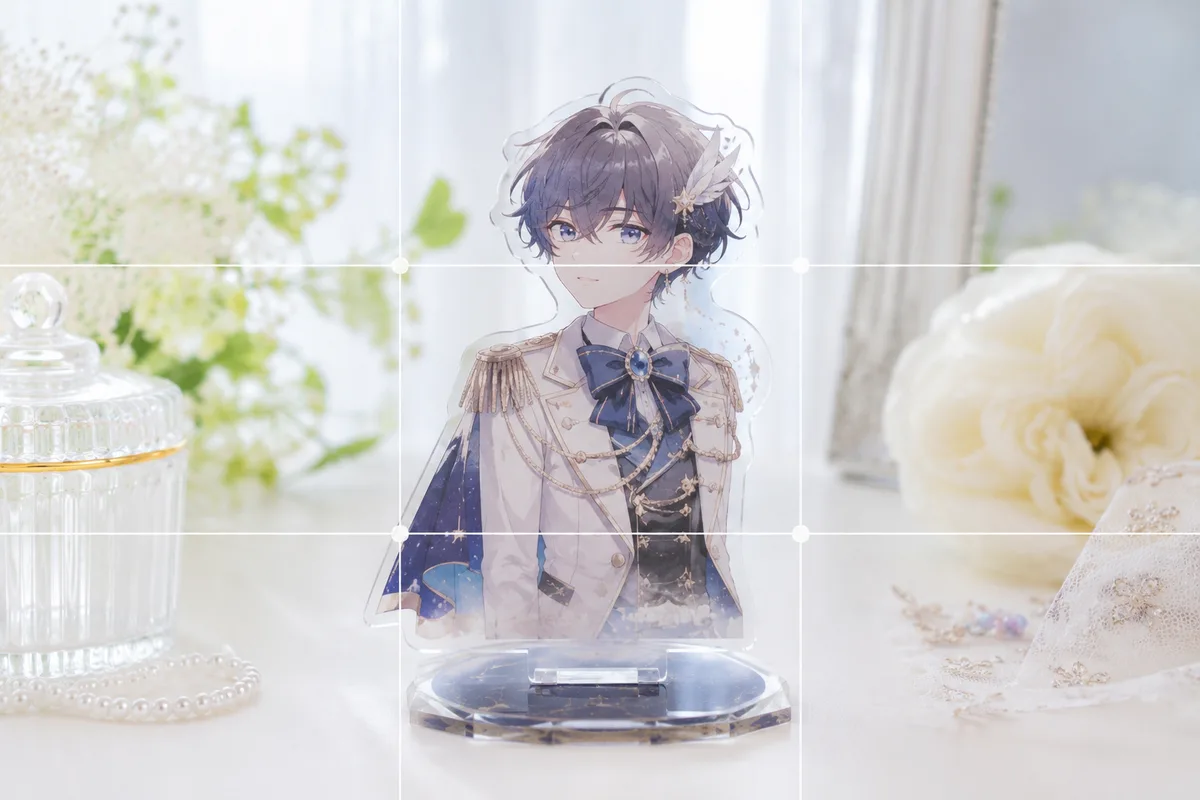
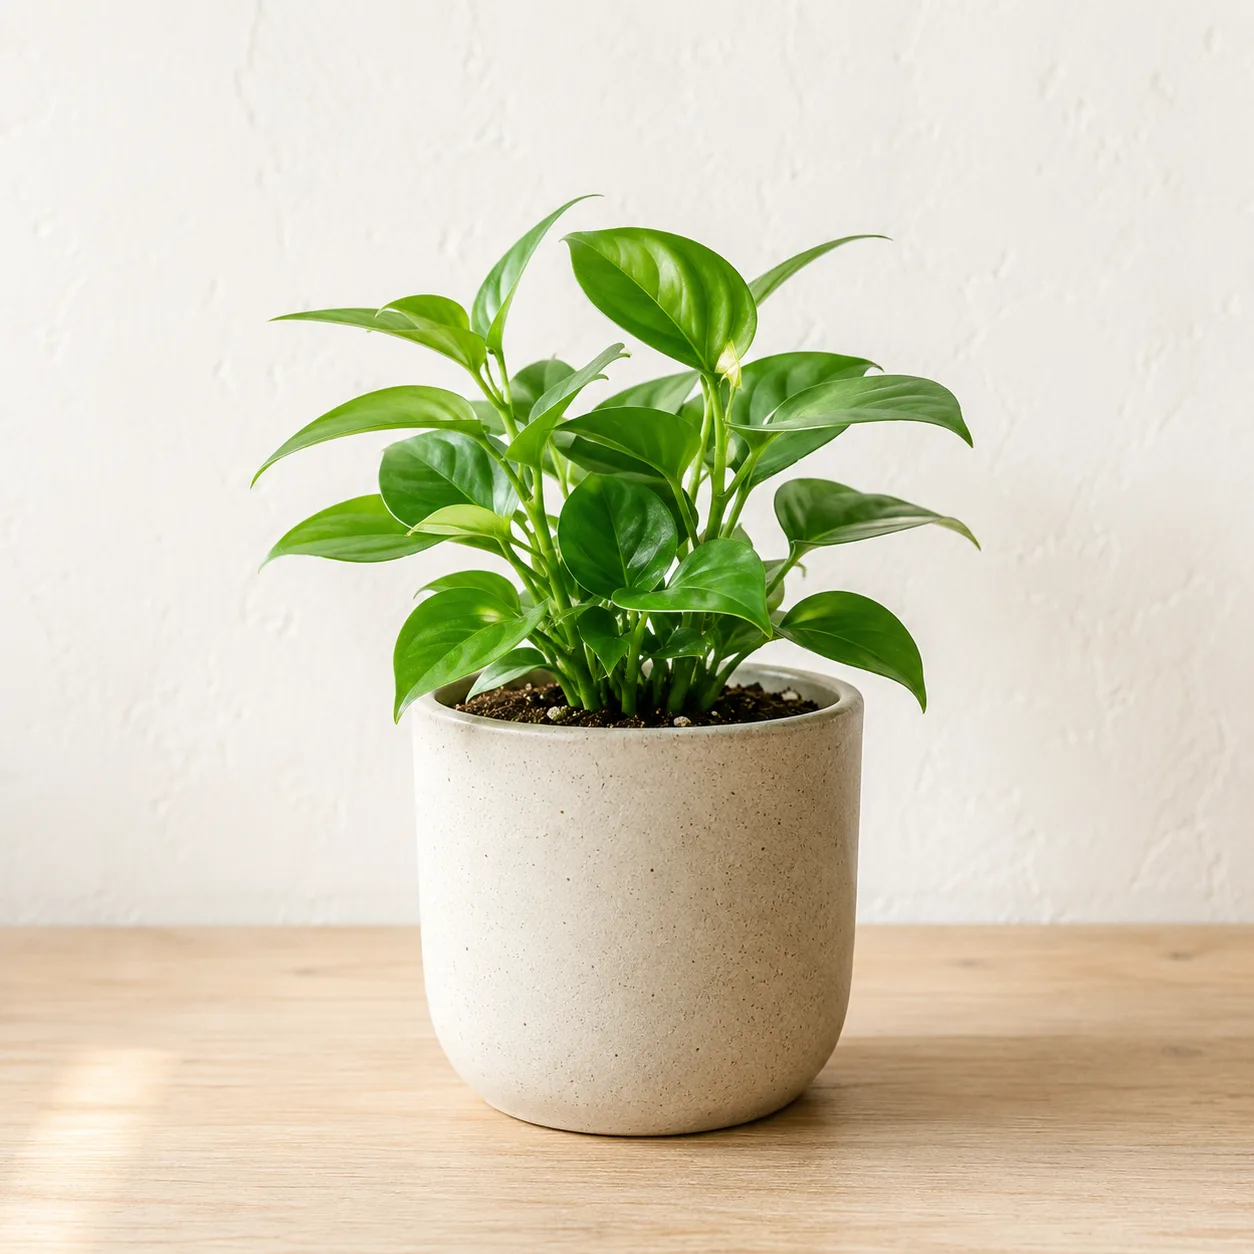
First, settle on one subject (your face, your hands, a plushie, fan goods). Next, turn on the grid, place the subject in the center of the frame, and hold it so the space above the head and on each side is even. Finally, make the background plain or blurred and get the horizon straight. Beyond just centering, matching this “even space” and “level” is what makes it suddenly look polished.
Using the self-timer lets you hold the phone steady with both hands, reducing shake and distortion (→ Using the self-timer).
Three conditions that erase the “amateur” look
Centered shots look stiff usually for three reasons. A busy background (a lived-in room, scattered objects) — kill it with a plain wall or a blur. Uneven space (a cramped forehead, one side too open) — even out the top and sides. A tilted horizon — line your eyes or shoulders up with a grid horizontal. Fix these three and the same centered shot turns into “a proper frame” (→ Using negative space).
Getting it right on iPhone and Android
A centered shot comes together with three controls — grid, brightness, and timer. On iPhone, turn on the grid in Settings → Camera, tap the subject and swipe up on the sun icon to adjust brightness, and pick 3s or 10s from the timer icon at the top of the camera screen. On Android (Pixel, Galaxy, Xperia, AQUOS and others), turn on the grid from the settings menu, drag the brightness slider after tapping, and set the timer from the clock icon. Icons sink when the face area is dark, so finishing a touch brighter is recommended (→ Turning on the grid / Brightness and exposure).
Overlay the center frame at /en/try
How large to place the subject is easiest to decide while you hold the camera. Open the center frame in the composition finder (/en/try?frame=center-composition) and a center guide overlays your camera. Line the subject up with the middle and find the position where the space top, bottom, and sides evens out.
Common mistakes and fixes
Too small a subject and a round crop leaves it unreadable — place it “large” in the center. When the subject drifts below center, the round crop crowds the forehead; putting the eye line slightly above the frame’s center keeps it stable. Clutter creeping into the background is a near-miss too, so check the background once before you shoot.
Start with just this
Narrow to one subject, place it large in the center, even out the space above and to the sides, make the background plain or blurred, and get the horizon straight. Those four give you a flattering icon that holds up even when shown small and round.
FAQ
Why is a center composition best for a social icon?
Icons are cropped small and round for display, so a subject near the edge gets cut off. A center composition places the subject large and central, so even a round crop keeps it centered and it holds up on any platform. It's the composition best suited to making one strong frame at a tiny size.
Doesn't centering look stiff, like an ID photo?
When it looks stiff, fixing three things changes the impression — background, space, and level. Make the background plain or blurred to remove noise, keep the space above the head and on each side even, and get the horizon straight. Add a little movement with an expression or a small prop, and even a centered shot looks natural and appealing.
What if I don't want to show my face?
The center approach works just the same with your hands, your back, a plushie, fan goods, or a favorite object as the subject. Narrow to one subject, place it large in the center, and tidy the background, and even without a face it becomes an icon that feels "like you."
Example gallery
Related reading
Compositions used