Photographing Can Badges and Acrylic Charms — Glare and Reflections, Fixed
Published Jul 17, 2026
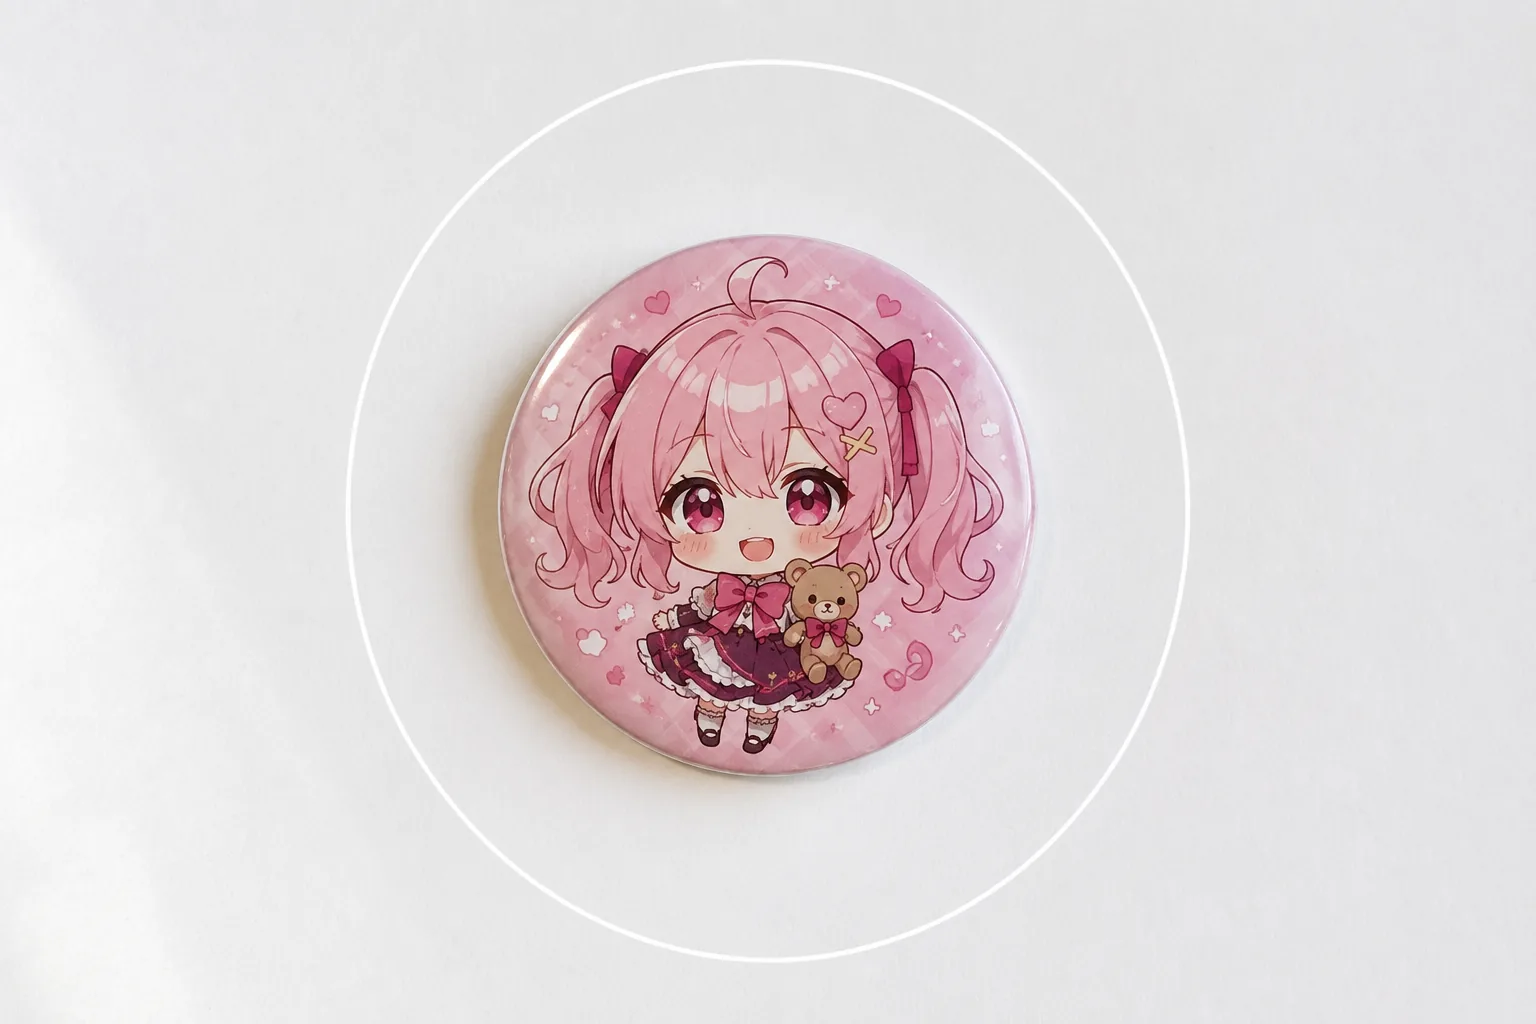
Photograph a can badge or acrylic charm and the surface flares white, the ceiling light or your phone shows up in it, and the colors sink. The cause: a badge’s glossy dome and a charm’s clear acrylic bounce light straight back like mirrors. Shooting a fully decorated itabag is covered in Itabag photos — this article digs into making a single favorite look its best.
Slide the light sideways, push reflections out of frame
A can badge’s rounded face behaves like a gently curved mirror. Shoot under a ceiling light and the light itself lands as a white dot on your fave’s face. The quickest fix: move to a window and turn the badge so light comes from the side. Side light bounces away past the camera instead of into it. If you or your phone appear in the badge, stop peering at it straight-on and shift half a step sideways. Fingerprints on the surface — and on your lens — also read as white haze, so give both a quick wipe (→ Cleaning your lens).
Tilt just a little to let the glare escape
If a white patch of glare survives the repositioning, slip a sheet of paper under one edge of the badge to tilt it slightly. On a curved face, a tiny change of angle moves the reflection a long way — watch the screen and find the angle where the white light exits the frame. For holo and glitter badges, killing every reflection also kills the sparkle, so tilt bit by bit, find where the pattern floats up, take a few shots, and compare later. It’s the same balancing act as holo trading cards (→ Photographing trading cards). If the colors sink, tap the badge and swipe up to raise the brightness a step (→ Exposure basics).
Step in and keep one star
Badges and charms are palm-sized, so a casual shot leaves them tiny in a sea of background. Step in until your fave fills most of the frame (→ Fill the frame). Up close, focus gets indecisive — tap the star to set it, press and hold to lock if it drifts (→ How to use AE/AF Lock). For charms, sweep the chain aside so it doesn’t cross the artwork and the details stay clean.
 Composition guideFill the frameSee the full guide for this composition →
Center it on white, let the space work
Wood grain and desk clutter show through a charm’s clear areas and bury the star. One sheet of white paper resets both the background and the see-through parts, and a round badge sits naturally dead-center — center composition suits it perfectly (→ Center composition). Leave breathing room around it and even a single badge makes a picture (→ Negative space). Photographing for a trade or resale is a different goal — accuracy first — so see Shooting fan goods for trades and resale.
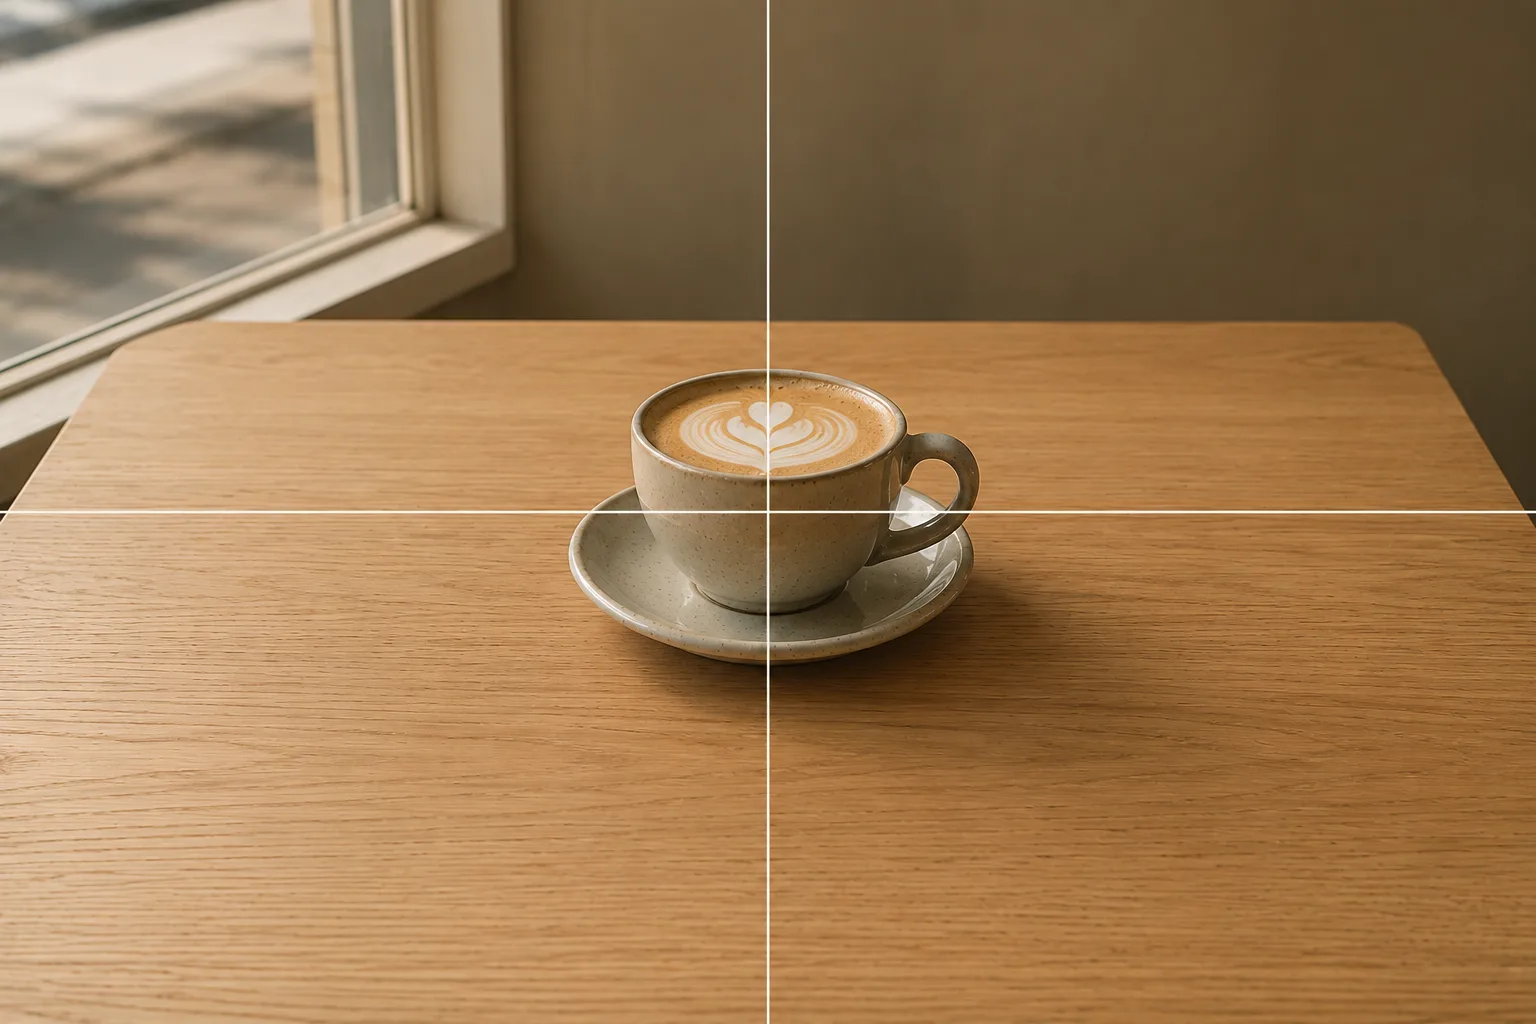 Composition guideCenter compositionSee the full guide for this composition →
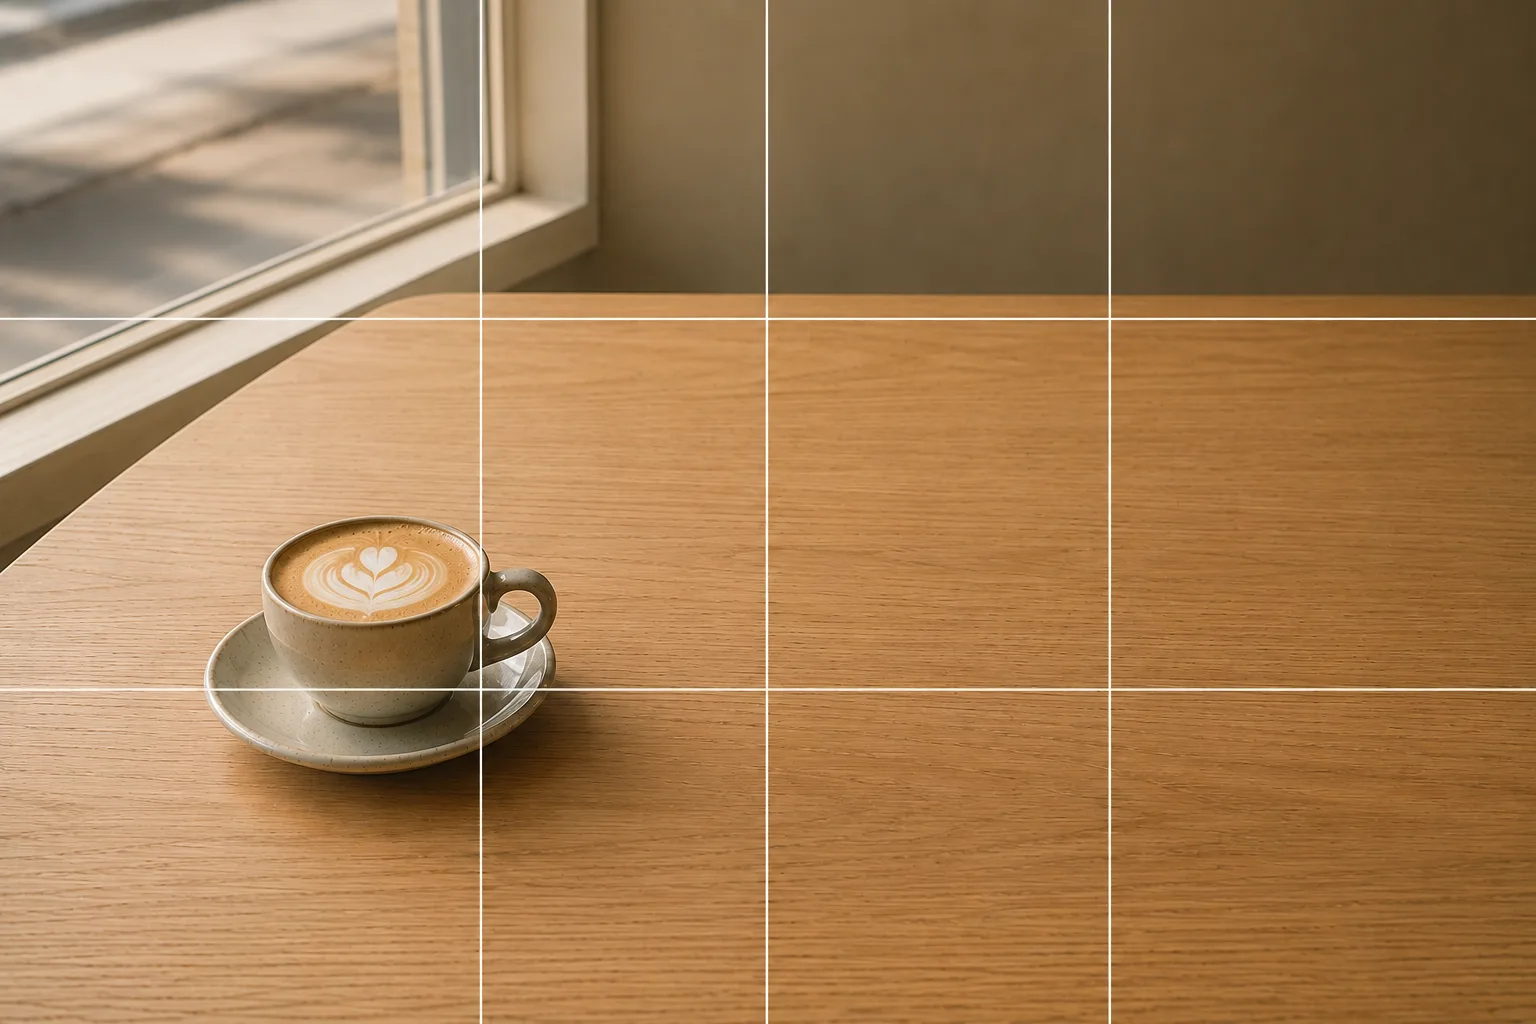 Composition guideNegative spaceSee the full guide for this composition →
Start with just this
Side light by a window; a slight tilt if glare remains; step in, lock focus, and center it on white paper. These three steps transform badge and charm photos. For fan-goods basics, see How to photograph fan goods; for shooting cafe bonus goods on the spot, see Collab cafe photos.
FAQ
My ceiling light shows up as a round spot on the badge.
A can badge's domed face works like a gently curved mirror, so a light directly above becomes a white dot right on your fave. Move away from under the light to a window, turn the badge so the light comes from the side, and the reflection slides out of the frame. Even a slight tilt of the badge moves the reflection a long way.
The clear parts of my acrylic charm look messy.
Acrylic shows whatever is behind it, so wood grain and clutter appear inside the clear areas. One sheet of white paper resets that see-through look into clean negative space. Arrange the ball chain so it doesn't cross the artwork, and the whole charm reads crisp and tidy.
Do I need to buy a photo light?
You can do without one. Soft daylight by a window is the easiest light to work with and the easiest to control reflections in. Shooting at night, start by avoiding the spot directly under your room light and raising the brightness a step.
Example gallery
Related reading
Compositions used
Related subject guides
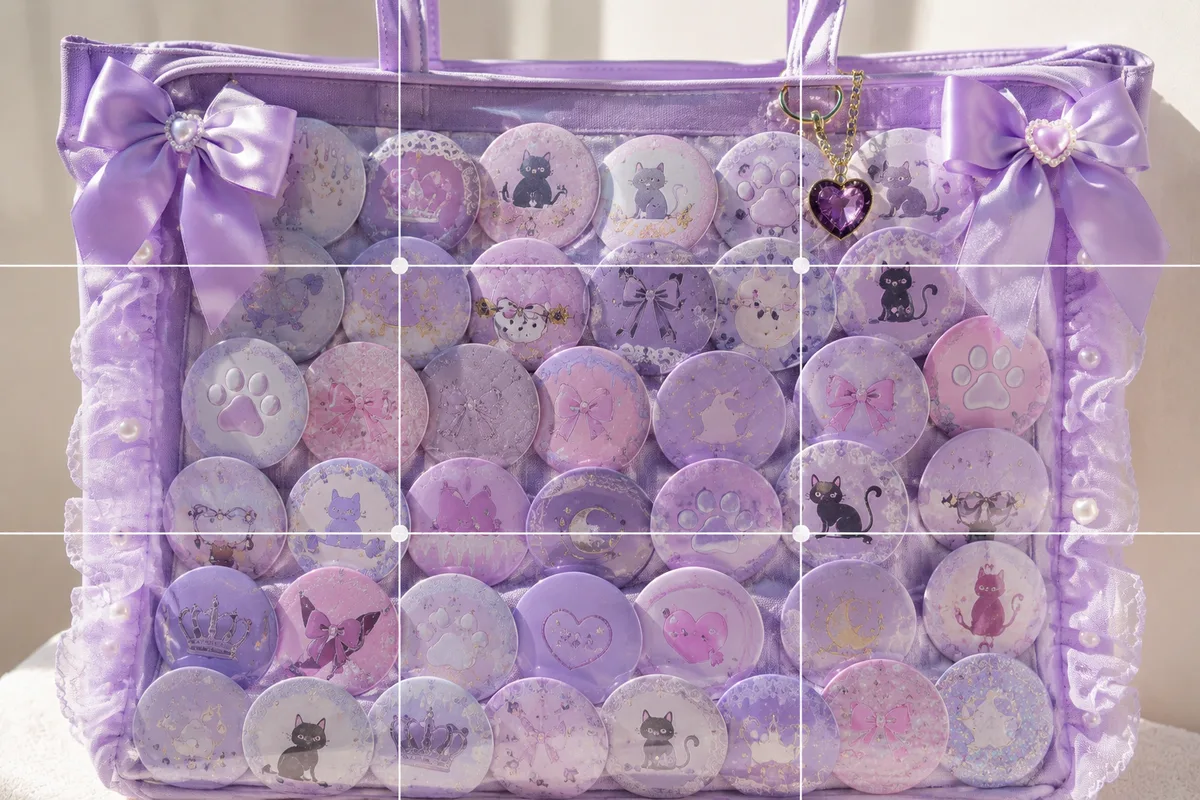
How to Photograph an Ita Bag Cutely — Flat, Glare-y Shots and How to Show It Off
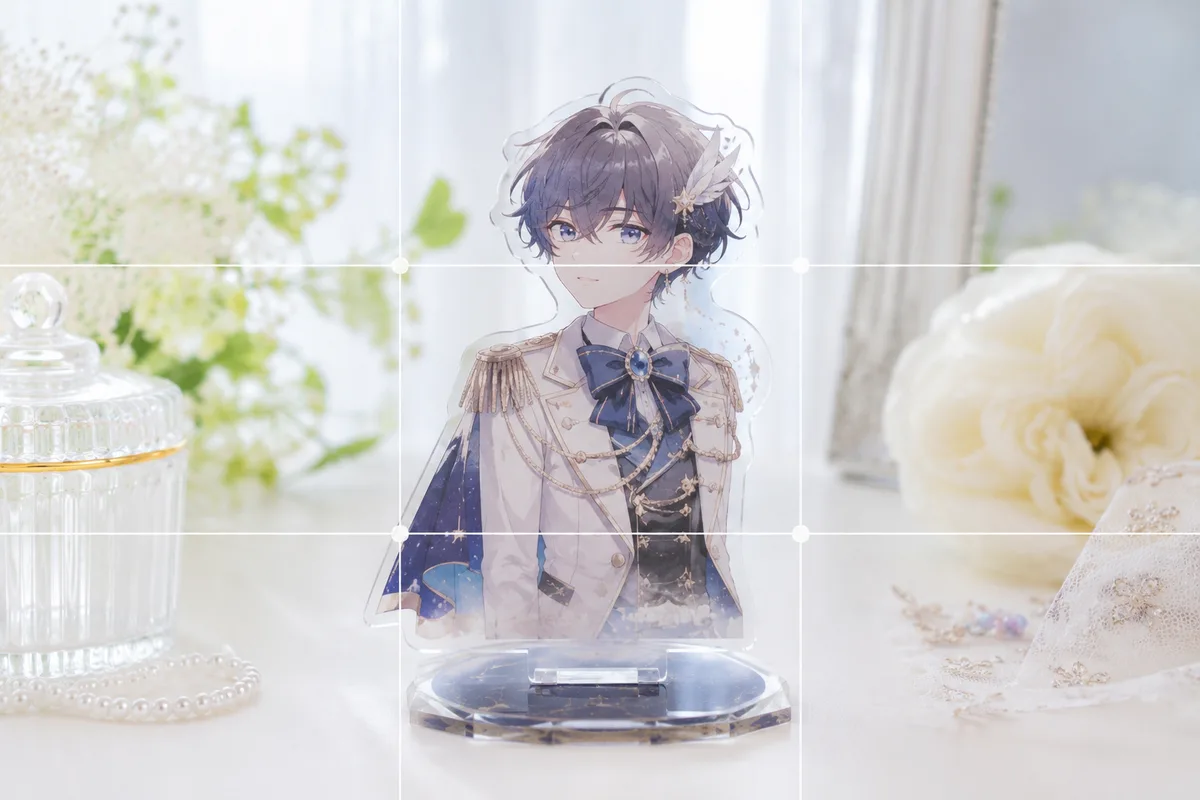
How to Photograph Fan Goods — Glare and Blur on Acrylic Stands & Photocards
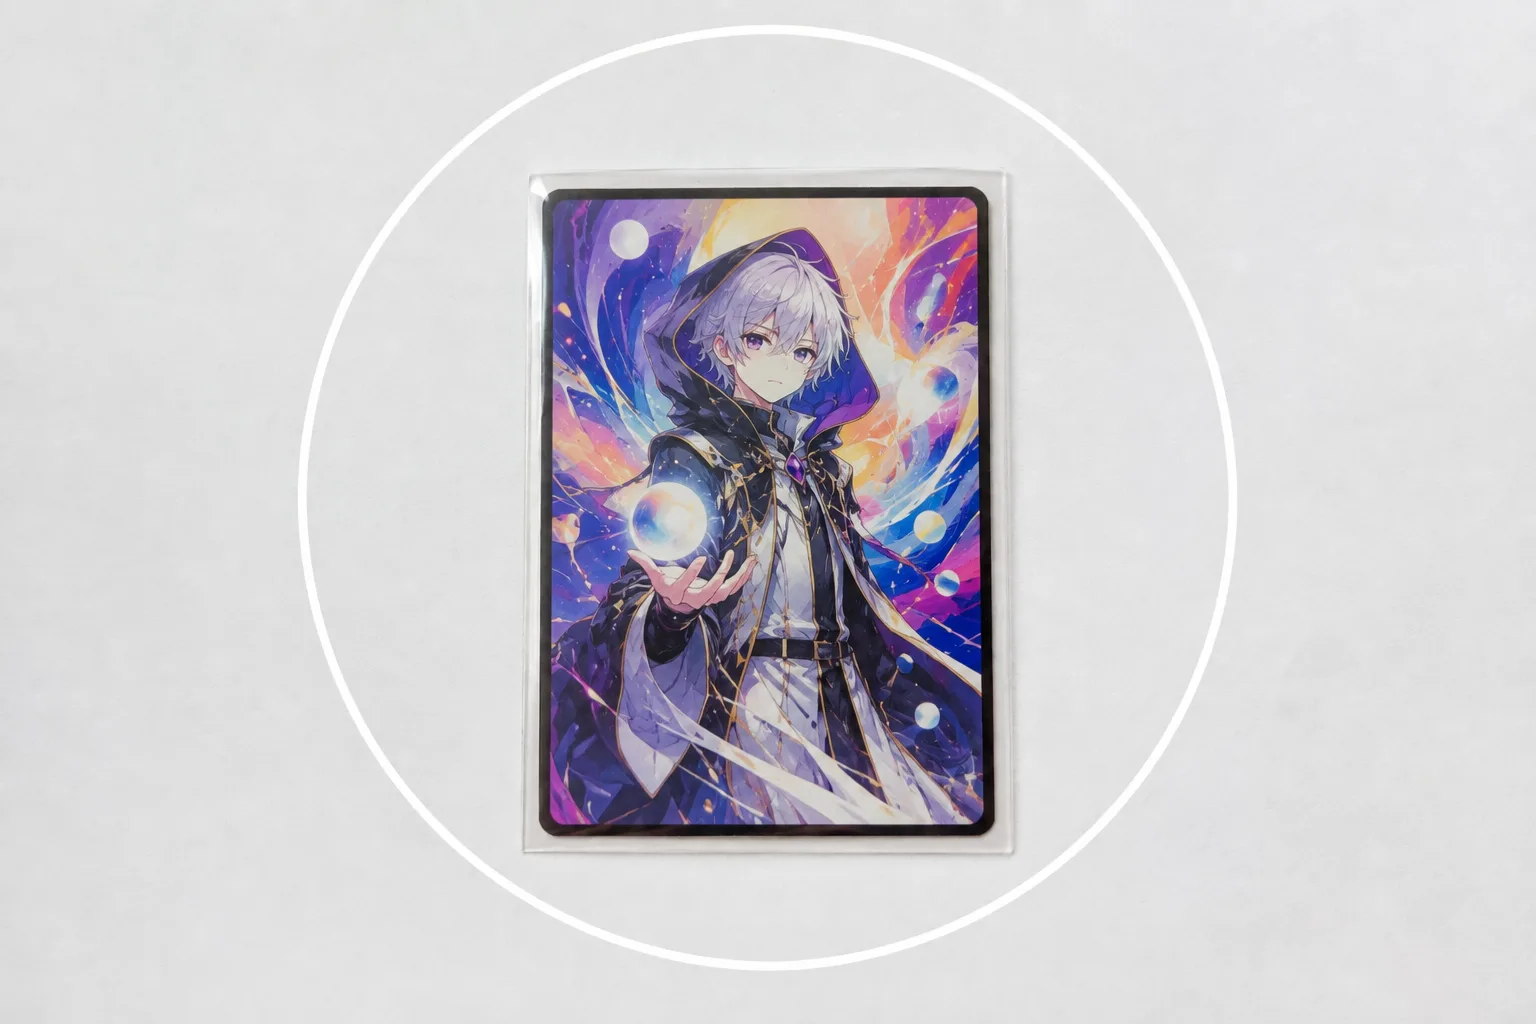
Photographing Trading Cards — Sleeve Glare and Lost Holo Shine, Fixed
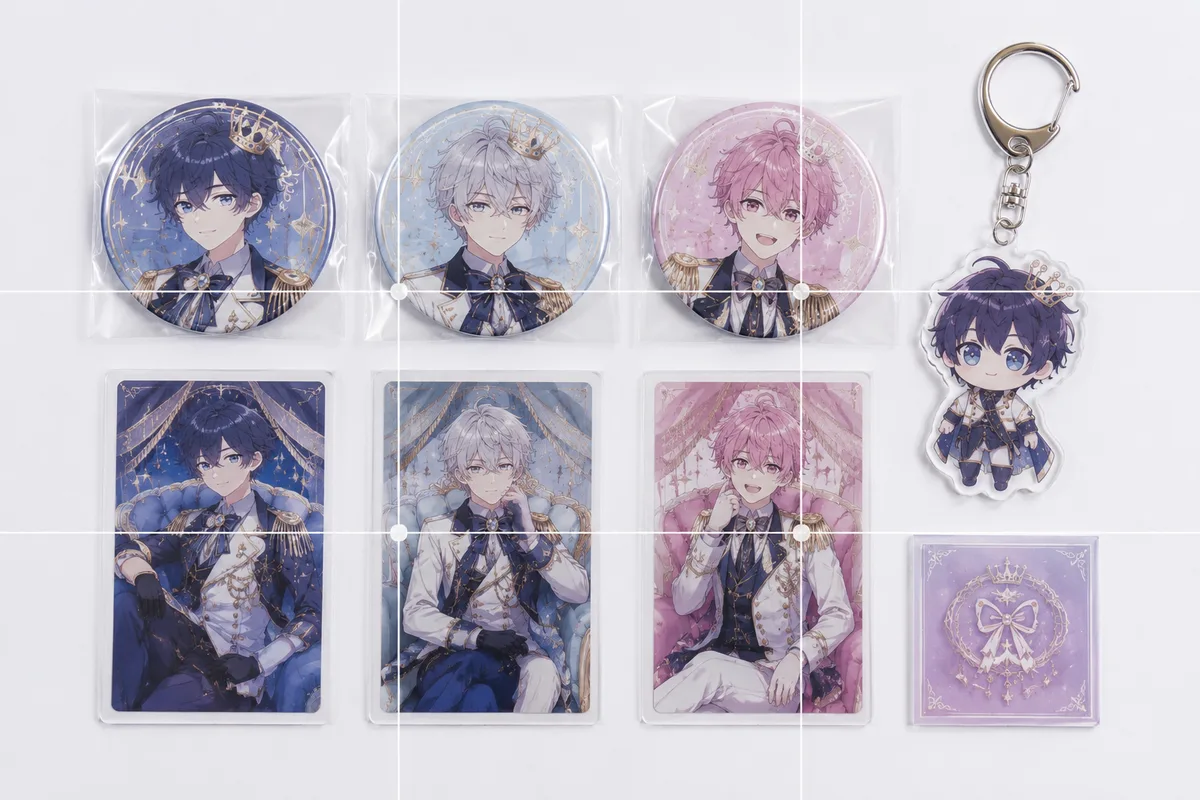
Photographing Fan Goods for Reselling — When Condition Doesn't Come Through
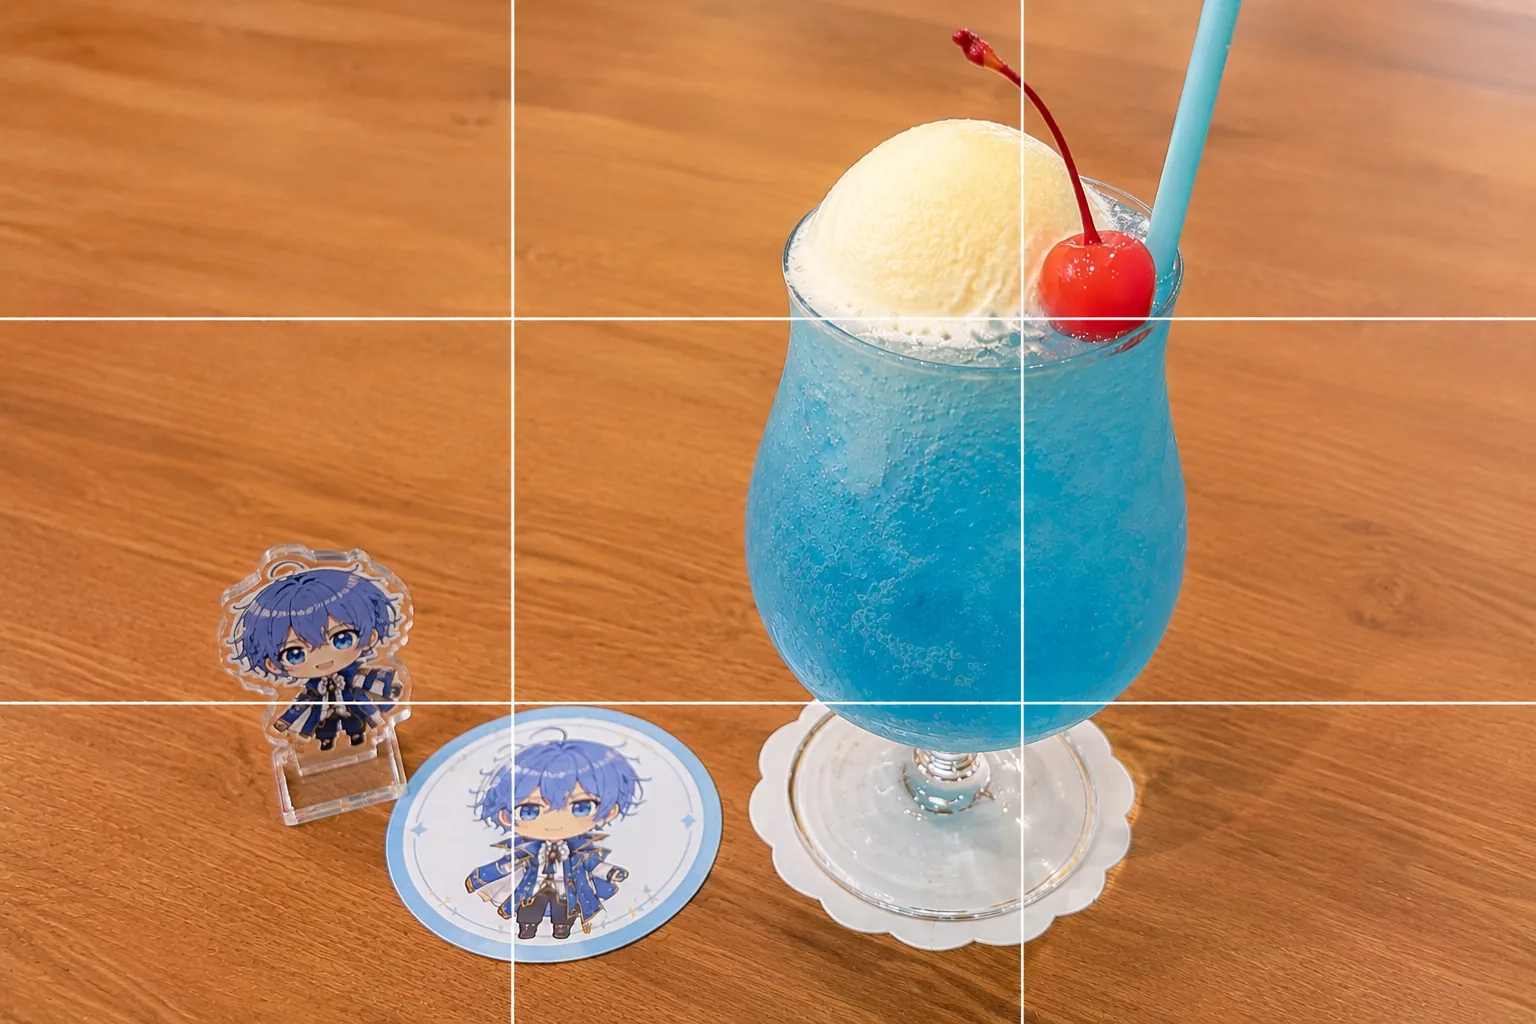
Collab Cafe Photos — Dim Light, No Time, Cluttered Table, Fixed